5-27
1
2
3
4
5
6
7
8
9
10
ELECTRICAL
ELECTRICAL COMPONENTS
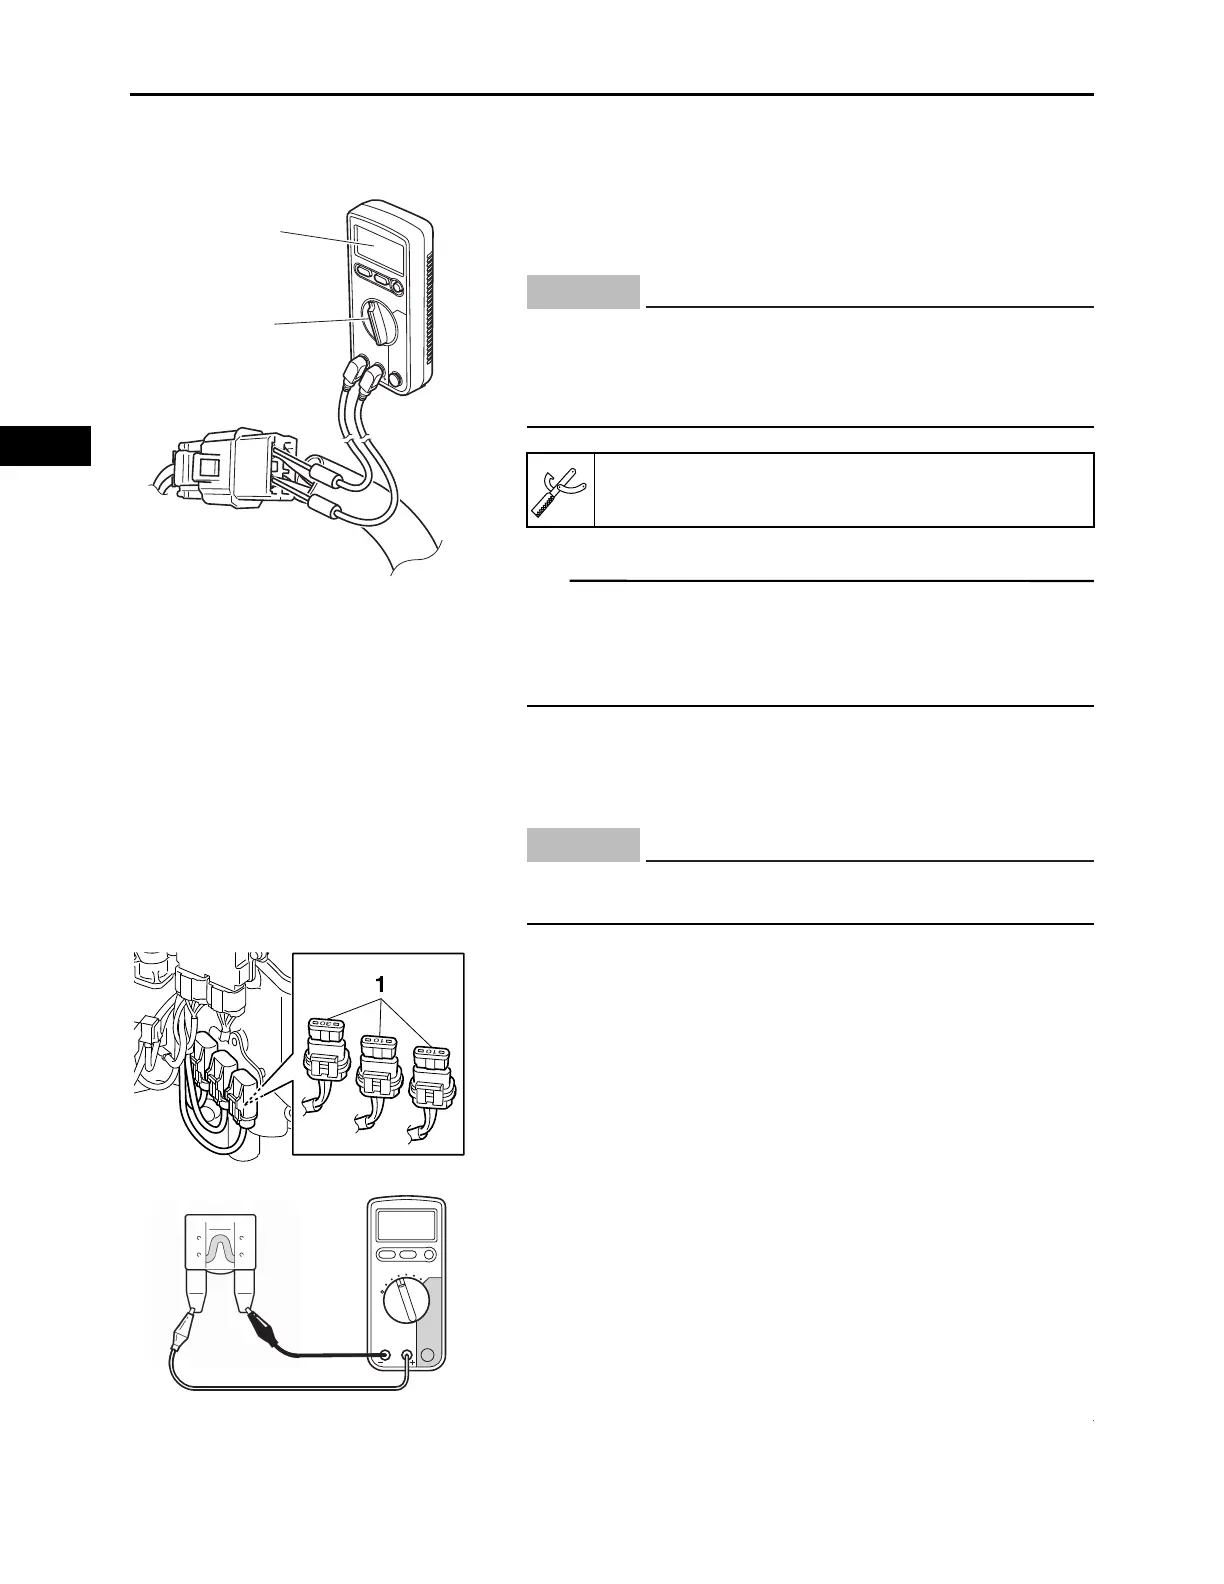
CHECKING THE SWITCH CONTINUITY
Check each switch for continuity with the tester. If the con-
tinuity reading is incorrect, check the wiring connections
and if necessary, replace the switch.
• Before checking for continuity, set the digital circuit tester
to the “” range.
• When checking for continuity, switch back and forth
between the switch positions a few times.
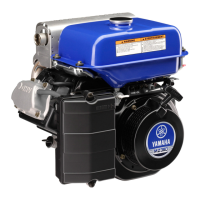
CHECKING THE FUSES
The following procedure applies to all of the fuses.
1.
Remove:
• Fuse “1”
2.
Check:
•Fuse
▼▼▼▼▼▼▼▼▼▼▼▼▼▼▼▼▼▼▼▼▼▼▼▼▼▼▼▼▼▼▼▼▼▼▼▼▼▼▼▼▼
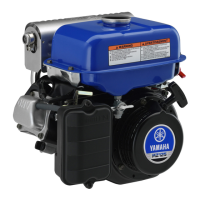
a. Connect the digital circuit tester to the fuse and
check the continuity.
Never insert the tester probes into the coupler termi-
nal slots. Always insert the probes from the opposite
end of the coupler, taking care not to loosen or dam-
age the leads.
Model 88 Multimeter with tachometer:
YU-A1927
To avoid a short circuit, always set the main switch to
“OFF” when checking or replacing a fuse.