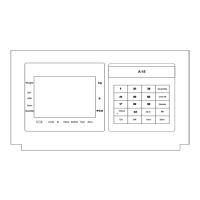
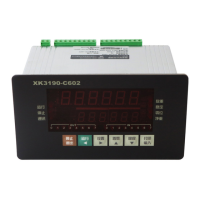
X K 3 1 9 0-C 602
the calibration is valid.
Toggle the switch to ‘ON’, press the button 【Setting】and press 【↑】or 【↓】repeatedly until
is shown. Press 【Input】 and the indicator will show , which means it is
the calibration status. Press 【Input】again to start the calibration process. Please see the following
table for the calibration instruction and operation method (* is the original setting value).
Table 4-6 Calibration Setting
Step
Parameter
Display
Parameter Instruction Operation Instruction
1
[ *]
[dC ]
Decimal Digits(0-3)
Press 【 Input 】 after
modifying the parameter
2
[ *]
[e ]
Division(1/2/5/10/20/50)
Press 【 Input 】 after
modifying the parameter
If the decimal digit is not
zero, 10, 20, 50 cannot be
selected.
3
[******]
[F ]
Max. Weighing
Press 【 Input 】 after
modifying the parameter
4
[ A]
[CAL 0?]
A—Save the original zero
point
0 : Should reconfirm the
current zero point;
1:Skip the confirmation of
current zero point
Choose 0 to go to step 5;
Choose 1 to skip step 5 and
go to step 6.
5
[******]
[noLoAd]
The confirmation of zero
point
The upper part shows AD
code of the indicator
Confirm that the current
weighing platform has no
load and light is stable ON,
then press 【Input】
6
[******]
[AdLoAd]
Load weight
The upper part shows AD
code of the indicator
Press 【Input】after the load
is finished and the light is
stable ON
7
[******]
[LoAd ]
Input the current load
weight
Press 【 Input 】 after
changing it to current
weight value
[ ]
 Loading...