42
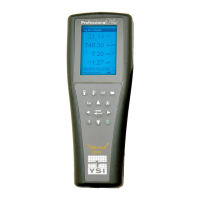
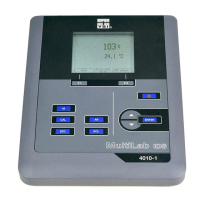
Calibration
PE, PC and Chlorophyll Calibration 2-Point
Each channel of the sensor must be calibrated independently. Calibration
of the chlorophyll channel does not set the calibration for the PC channel
or the PE channel. In addition, calibrating in RFU for a channel does not
automatically calibrate the µg/L measurement for the same channel. The
following calibration procedure must be performed for each channel and
each unit the user would like to display.
1. Fill the calibration cup to the appropriate level with deionized
water (0 standard). Immerse the probe in the standard. Make sure
the sensor guard is installed.
2. Push the
Cal
key, then select either TAL-PC or TAL-PE, depending
on the sensor to be calibrated.
3. Select the channel and units to be calibrated. Options for the TAL-
PC sensor are shown in Figure 55, while options for the TAL-PE
sensor are shown in Figure 56.
4. Select Calibration Value and enter 0.00.
5. Make sure there are no air bubbles on the sensor lens. If present,
lightly tap the guard against the cup to dislodge any bubbles.
Observe the actual measurement readings for stability (white line
on graph shows no significant change for 40 seconds), and then
select Accept Calibration. “Ready for cal point 2” will be displayed
in the message area.
6. Discard the used water, and rinse the probe, guard, and calibration
cup with a small amount of the standard for calibration point #2.
Discard the rinse standard.
NOTE: For standard #2, use the 0.625 mg/L Rhodamine WT
solution when calibrating chlorophyll (RFU or µg/L) on
either TAL sensor, or when completing a PC (RFU or µg/L)
calibration on a TAL-PC sensor. Use the 0.025 mg/L
Rhodamine WT solution when completing a PE (RFU or
µg/L) calibration on a TAL-PE sensor.
7. Fill the calibration cup to the appropriate level with fresh standard
#2. Immerse the sensors in the second calibration standard.
8. Observe the temperature reading on the calibration display
(Figure 57). Use the table in the Rhodamine WT dye solution
preparation section to identify the appropriate value for the
calibration standard.
9. Select Calibration Value and enter the value of the second
calibration standard.
10. Observe the actual measurement readings for stability (white line
on graph shows no significant change for 40 seconds), then select
Accept Calibration. The procedure will automatically finish after
calibrating using the second standard.
Figure 55 TAL-PC Calibration Options
Figure 56 TAL-PE Calibration Options
Figure 57 Calibrate PC RFU