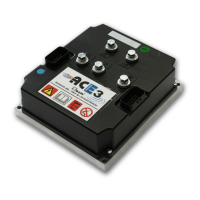
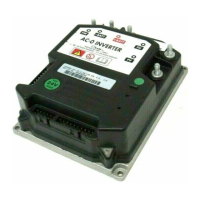
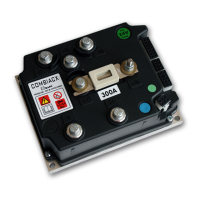
AFCZP0BC – COMBIACX & ACEX - User Manual Page - 31/81
9 ONE SHOT INSTALLATION PROCEDURE
This section of the manual describes the basic connection procedure.
To move, the truck needs a minimum I/O outfit that it is mandatory: this minimum
outfit is listed in the Steps from 1 to 8 below.
Step1 Connect a potentiometer in the range 0.5 to 10Kohms, to modify the
wished speed between +12V / +5V (CNC#8) and GND (CNA#3). The
potentiometer wiper is connected to CPOTTR (CNC#4).
Step2 Connect two travel demand switches. The FWD travel demand must
be connected between a battery (key) voltage and CNB#4. The REV
travel demand must be connected between a battery (key) voltage and
CNB#8. Only one of them can be active at the same time. They
become active when connected to a key.
Step3 Connect a tiller (or seat) switch enabling/disabling the truck motion
between CNC#6 and a key voltage. It becomes active, enabling the
motion, when closed to a key voltage.
Step4 Connect the encoder in the motor shaft between CND#2=VDD,
CND#5=GND, CND#1=CHA, CND#4=CHB. The VDD voltage may be
12V or 5V depending on a jumper inside the controller.
Step5 Connect the plus battery voltage through a key switch at the KEY input
CNC#1. This is the input for the controller supply.
Step6 Connect the Main Contactor Coil to CNC#1 and CNB#6. The contactor
must connect the battery positive to the +BATT power terminal of the
ACEX / COMBIACX.
Step7 Connect the motors and the minus battery to the corresponding power
terminals of the ACEX / COMBIACX.
Step8 Connect the Electromechanical Brake coil between CNB#1 and
CNB#5; when the tiller switch opens, the electromechanical brake gets
de-energized braking the truck.
The Steps from 1 to 8 describe the installation operations that is mandatory to do in
order your truck moves. Obviously the ACEX / COMBIACX may execute a wider set
of optional services as:
1) to handle some speed reductions requests.
2) to handle an analog sensor inside the motor.
3) to handle a proportional braking.
4) to handle a proportional forks lowering valve.
5) to handle a pump motor by a chopper.
6) to handle a belly switch, for truck quick inversion.
7) to handle a proportional input for the forks lifting/lowering.
8) to handle a number of on/off E-valves, driving a protected drivers.
9) to handle an Horn, driving a protected driver.
You must fill your I/O outfit with your optional functions. The optional functions are
shown in the connecting drawing and described in detail inside this manual. The
index may help you.