Deva 5.8 and Deva 16 Owner’s Manual
Chapter 2
11
Microphone/Analog Line Input
The eight analog input connections can be used with either microphones or with a line level analog input.
Caution: Prior to connecting any analog input to the Deva, you should ensure the Microphone/Analog Line Input
Connectors are setup correctly in the Analog Input Control menu.
When connecting microphones, you should always connect them with the power off on the Deva.
Setting Up the Analog Inputs
The Input Control menu contains the settings for
o toggling the connectors input
options: line and microphone.
o toggling the connectors power
options: 48 VDC and None
o Toggling the High Pass Filter
options: On and off
o Adjust Delay of any available channel
o Adjust trim of any available channel.
o Assigning output routing
o Equalization (EQ)
o Enabling the input limiter
o Enabling and adjusting the compression settings
The Input Control menu is accessed from the Main Menu.
Main Menu > Input Control
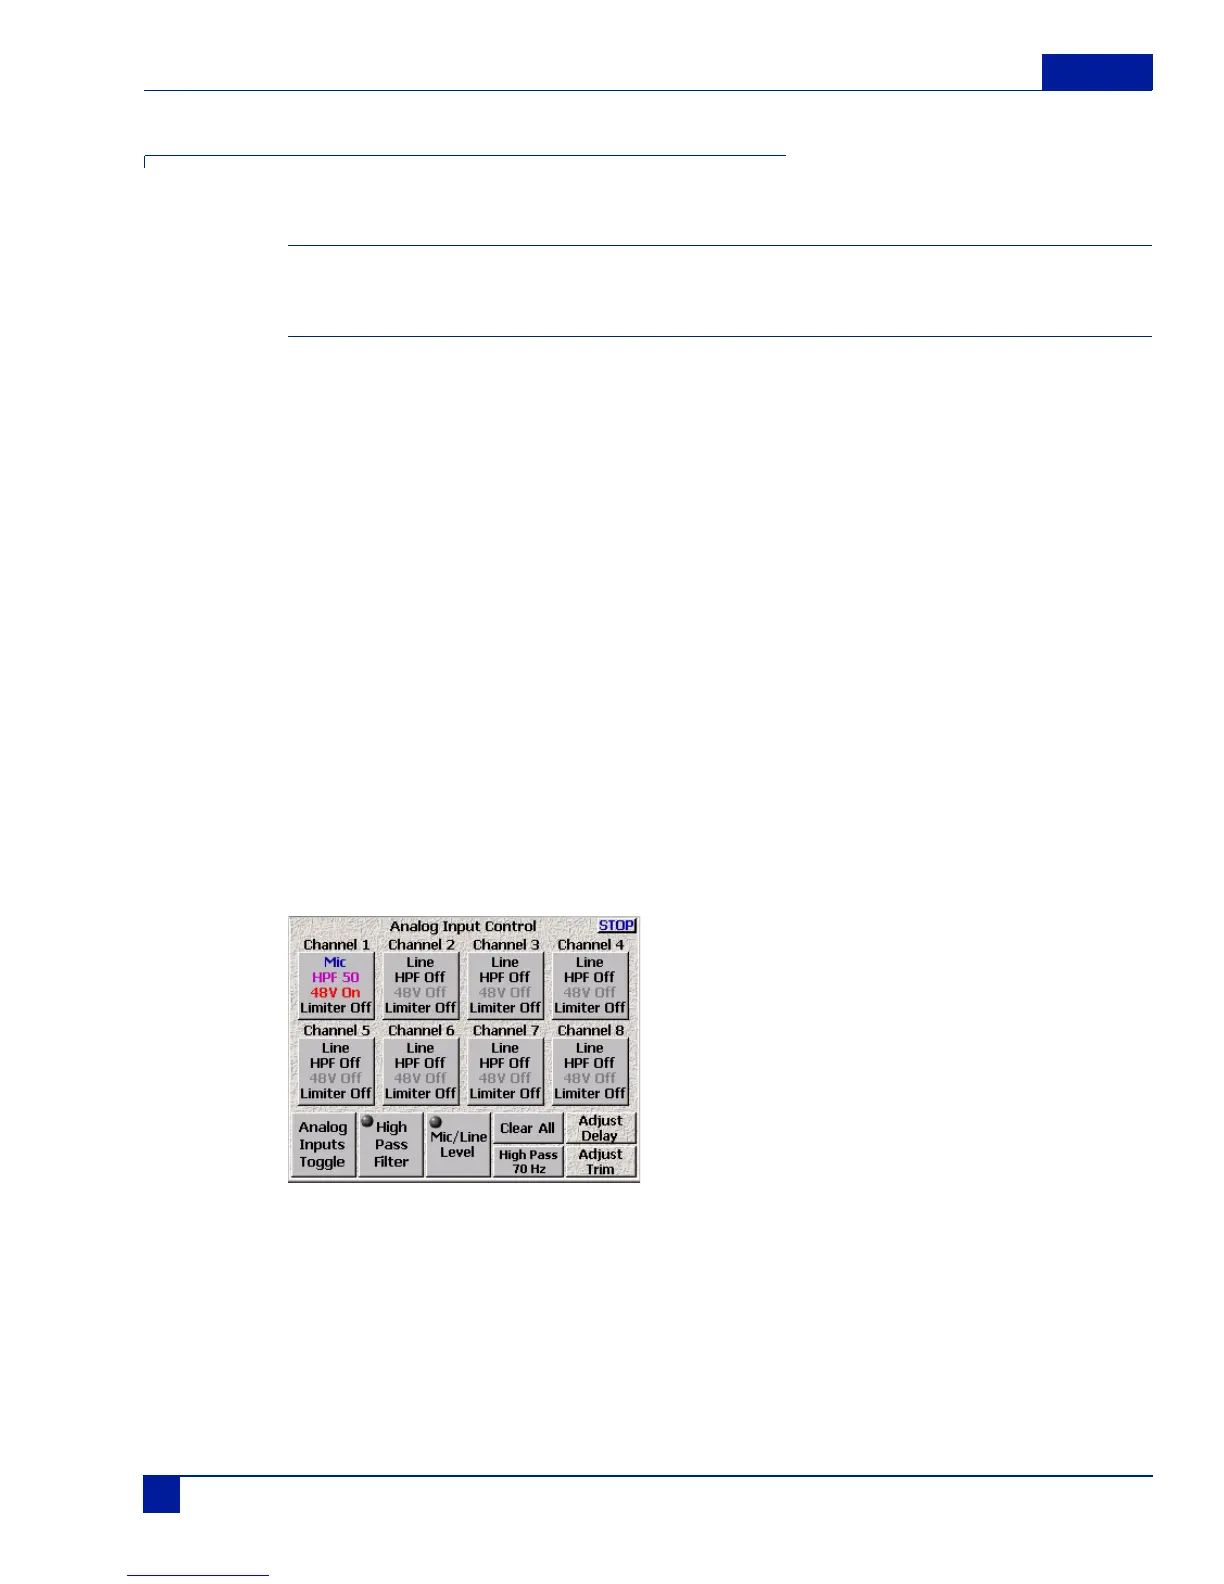
Figure 6 Analog Input Control Screens
Pressing the Stop button in the upper right corner or menu key on the keypad brings you back to the main
menu.
Pressing any of the channel buttons, displays the Input Channel menu for that channel. All functions for a
single input channel can be adjusted from within the Input Channel menu.