9
4.3 REMOTE CONTROL
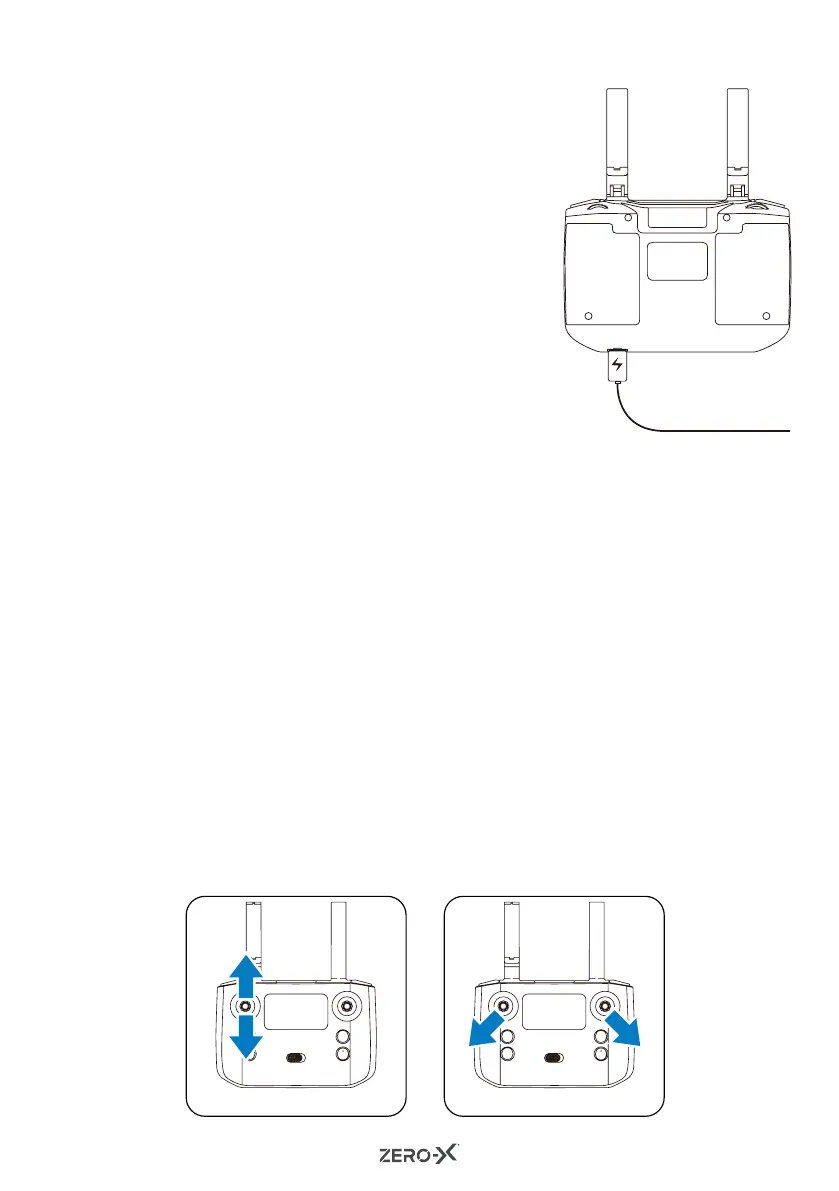
1. The remote control comes with a built-in
rechargeable 3.7V 400mAh Li-on battery.
When the remote control is low in power,
the power indicator light on the remote
control will keep on blinking to indicate
that it is time to recharge the remote
control. Connect the remote control to
the charging cable and the light will glow
red indicating charging is in process.
The power light on the remote control
will turn off once charging is complete.
The remote control can take up to 45
minutes to fully charge.
4.4 SYNCING YOUR DRONE
1. Press the ON/OFF button on the top of the Drone to turn on the
Drone. The LED light of the Drone will blink a green colour (front)
and a red colour (rear).
2. Turn on the remote control and it will make a beeping sound and the
LED indicator will blink in green.
3. Move the left control stick to the upside for 1 second and
then move the left control stick to the downside for 1 second.
The remote will beep and the LED light of the Drone will stop
blinking. The LED will change to a constant green at the front and
constant red at the rear. (Fig 1).
4. Please ensure that you have connected the Drone to your
smartphone via Wi-Fi before flying the Drone. Please refer to
"Connecting To The Drone Wi-Fi" on page 15.
5. Place the Drone on a flat surface, and hold the left and right control
sticks outward and downward (left stick 7 o'clock and right stick 5
o'clock positions) for 3 seconds. The indicator on the Drone will
change from a constant light to a rapidly blinking light. When the LED
light of the Drone remains constant again, this means that the Drone
has been calibrated successfully.
(Fig 2).
(Fig 1) (Fig 2)