17
13.0 DRONE MAINTENANCE
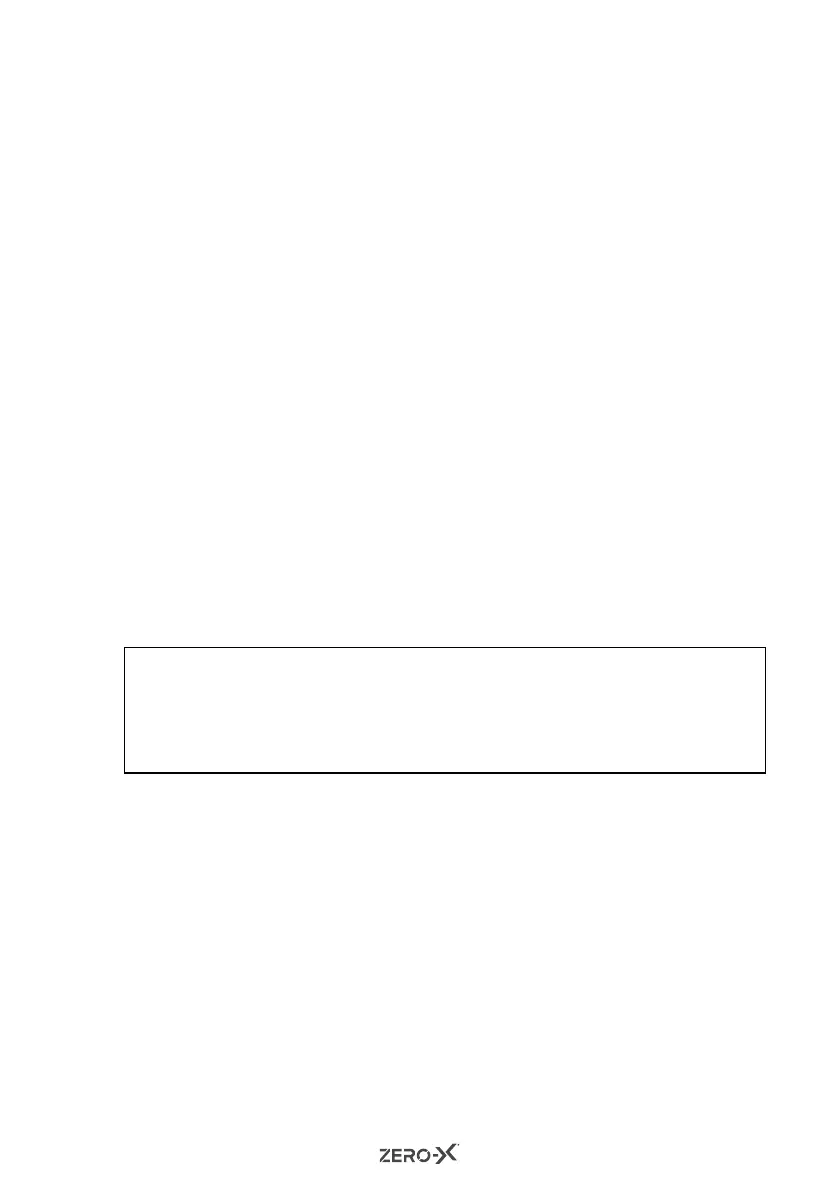
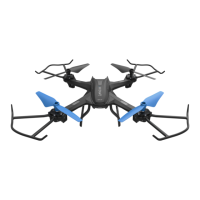
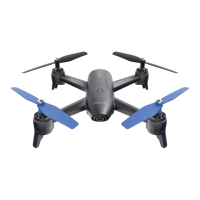
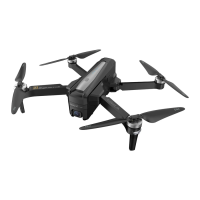
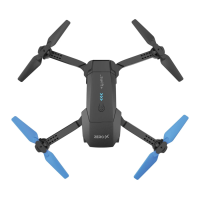
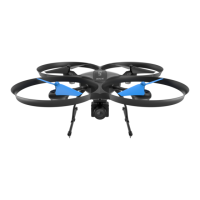
13.1 REPLACING ROTOR BLADES
If your rotor blades become damaged or the Drone is no longer flying
straight, the rotor blades may need to be replaced. To replace the
Drone's rotor blades, please follow the directions below.
There are two types of rotor blades included with the Drone, A blades
(clockwise rotation) and B blades (counter clockwise rotation). The blades
are marked on top showing either A or B. The arms of the Drone are
marked A and B, showing what blades each motor is compatible with.
It is important that the rotor blades are installed on the designated
motors or else the Drone may not fly and you could potentially burn out
the Drone's motors.
To remove and replace the rotor blades, please follow the instructions
below.
1. 1. Remove the rotor blades by turning the securing screw counter
clockwise with the screwdriver (included).
2. 2. Once the screw has been removed gently pull the rotor blade
upward to remove the rotor blade from the motor stem.
3. 3. Please ensure you identify and match the correct blade with the
motor (A rotor blade to A motor, B rotor blade to B motor).
4. 4. Place the new rotor blade over the motor stem and press it to
ensure it is locked.
5. 5. Replace and tighten the screw.
NOTE
• It is important that the correct rotor blades are installed on the correct motors. If they
are installed incorrectly, then the Drone will not fly and you could burn its motors.
• When replacing multiple rotor blades please replace the blades one at a time to
avoid any confusion in re-attaching the rotor blades.