6
2.3 Installing the cell
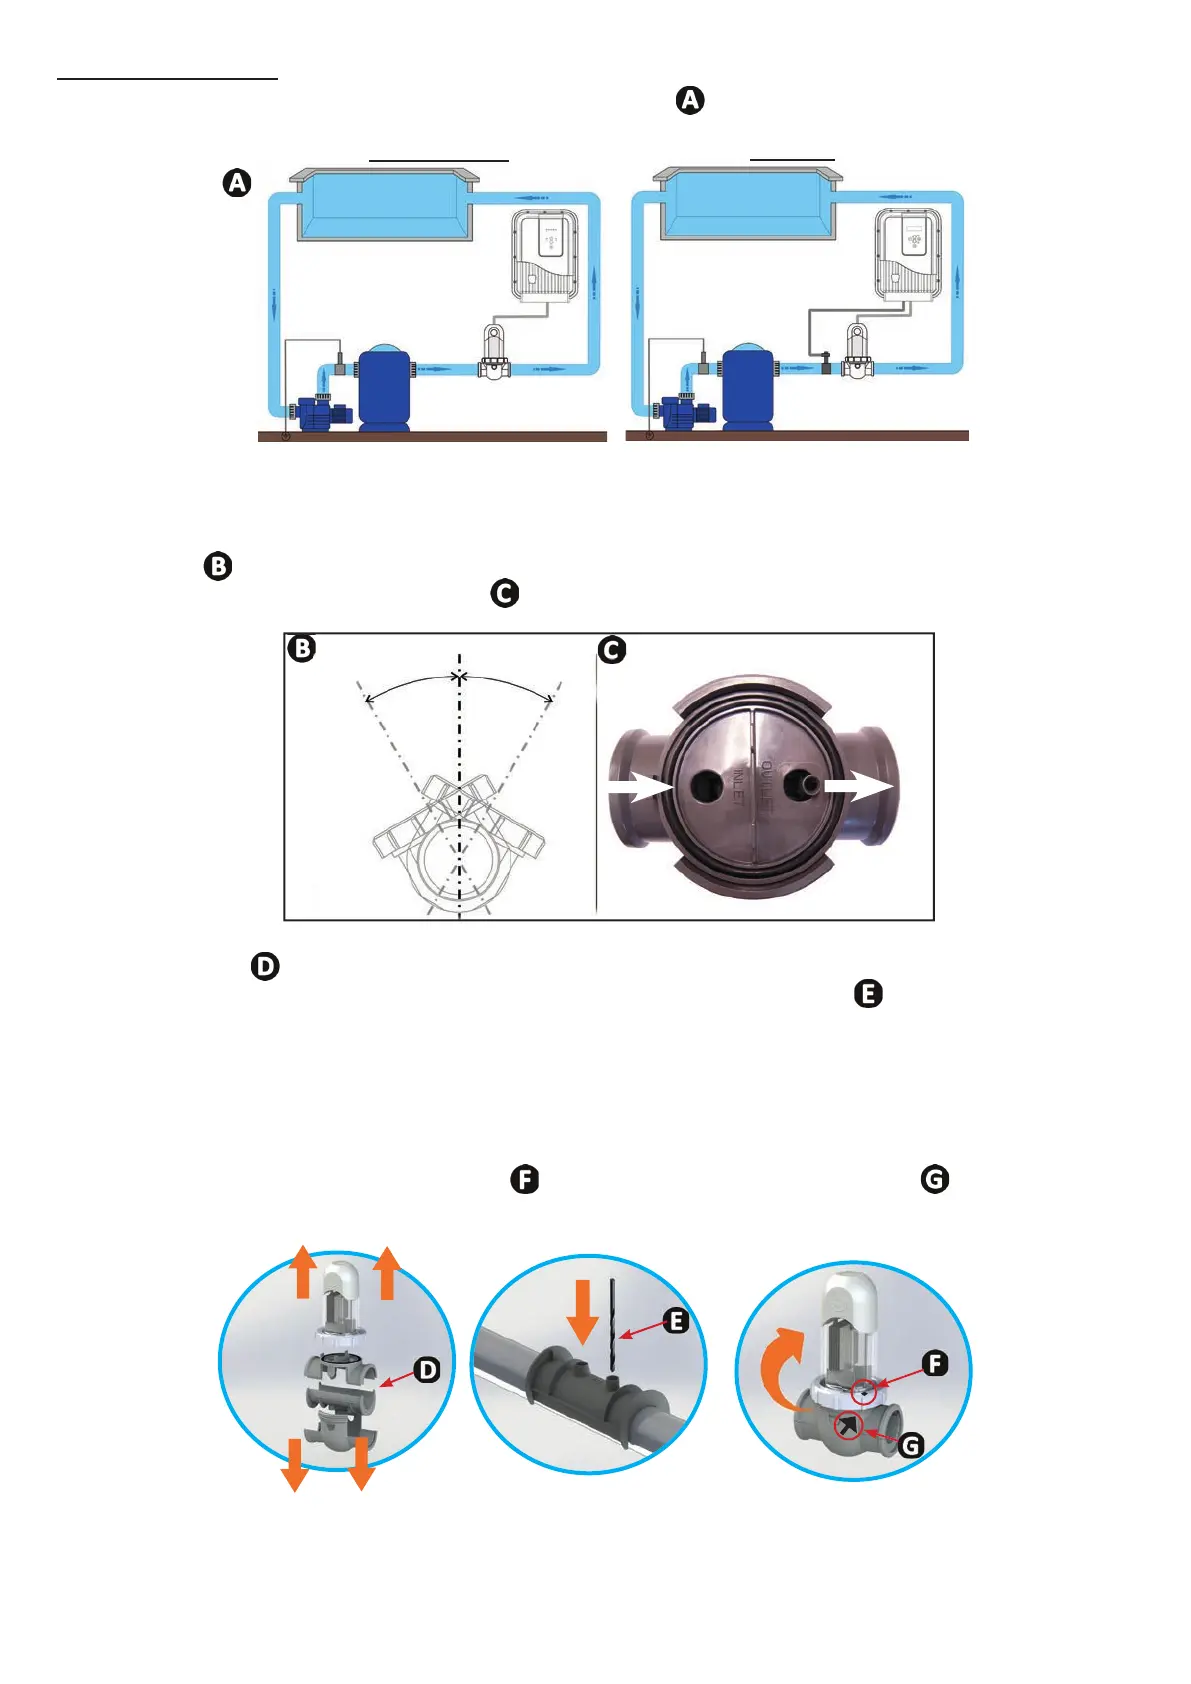
• The cell must be installed on the piping a er the ltra on system ( ), a er any measurement sensors, and a er any
hea ng systems.
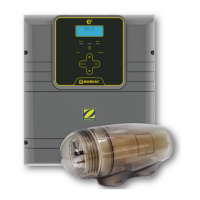
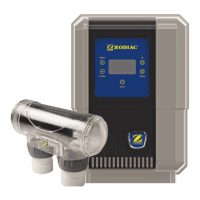
Ei² - GenSalt OE
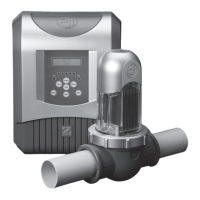
Ei² Expert
• The cell must be installed on a horizontal pipe so as to guarantee that the water fl ow passing therethrough is primarily
horizontal, and that the angle/slope does not exceed 30°. The pipe must have a free horizontal length of at least 30 cm,
on which the cell will be installed. The cell must also be installed as far as possible from any right angle or curve formed
in the piping (
).
• Respect the water fl ow direc on (see arrows (
)).
INLET OUTLET
30°
0°
30°
max.
max.
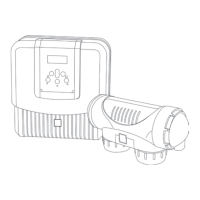
• Dismantle the cell (
).
• Posi on the EU pipe adapter (DN 50 mm) upside down at the posi on where the pipe (
) will be installed.
• Use a drill bit or centre-punch to mark the posi ons of the holes to be drilled on the pipe, remove the EU pipe adapter
(DN 50 mm) and drill the holes using the hole saw supplied.
• Check that the edges are perfectly smooth and deburred (use abrasive paper for example).
• Clip together the lower and upper parts of the cell collar on the pipe at the holes, respec ng the water fl ow direc on
(use the "EU" Ø50 reducer for a Ø50 mm pipe).
• Posi on the top transparent part of the cell (presence of a foolproof loca ng notch), posi on the locking ring on the
thread of the upper collar by aligning the point (
) of the collar with the arrow of the collar ( ), then ghten rmly
by hand (do not use a tool).
• Connect the cell power cord in compliance with the wire colour codes (red, black and blue connector(s)) and then t
the protec ve cap.
• For Ei² 12, GenSalt OE 10 or Ei² Expert 10 models, the second red connector will not be connected; leave it as it is before
posi oning the protec on cover.