SECTION 3 – QUICK RELEASE CASSETTE SYSTEM
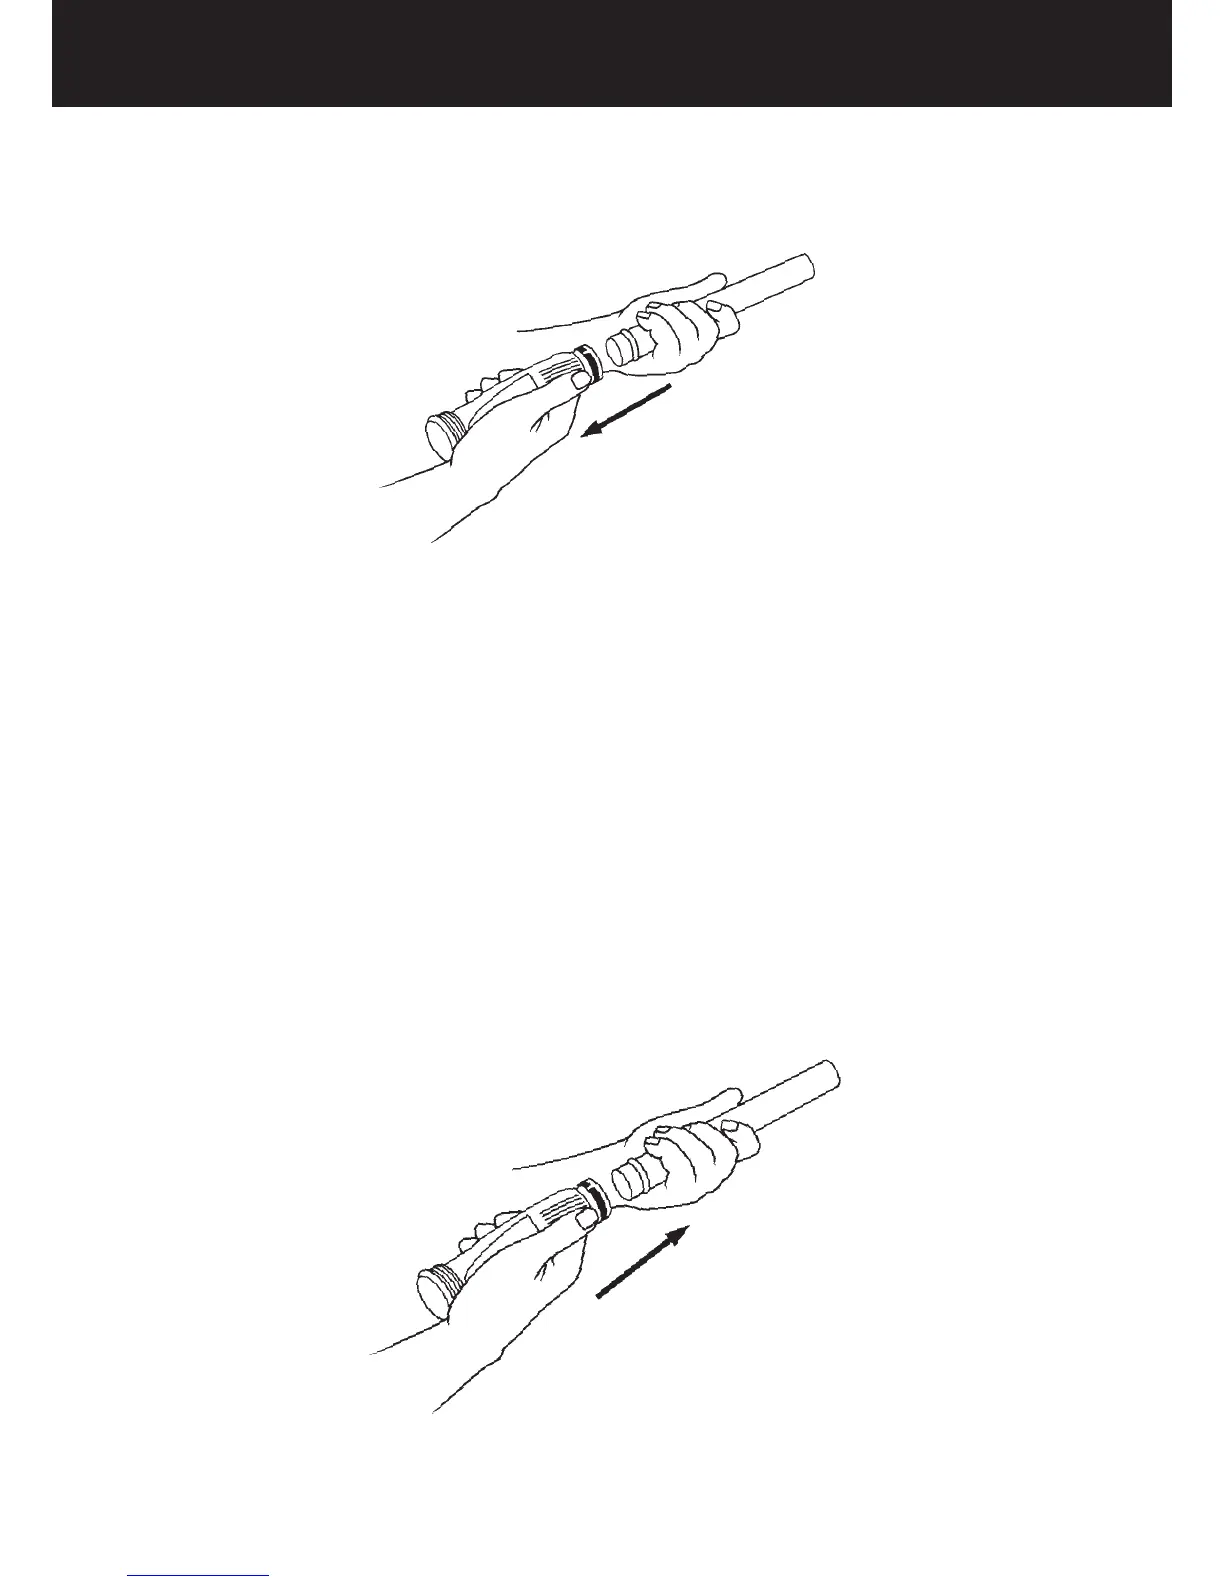
Remove the Diaphragm from the Inner Pipe (Diagram 11), leaving the Retaining Ring on the Diaphragm.
Diagram 11
STEP 3: Examination
Inspect the Diaphragm for a blockage or any damage. Even small holes will compromise its operation. If any
damage is evident, i.e. a cut or hole on the sides of the Diaphragm, replace it.
If there is a blockage, carefully remove it. If this can’t be done, a garden hose may be used to ush the obstacle
through. Do not use any sharp objects to probe or push an obstruction as this may damage the Diaphragm.
STEP 4: Diaphragm Assembly
Prior to re-installing the Diaphragm, rinse the Diaphragm and the Inner Extension Pipe thoroughly to remove any
grit. Attach the Diaphragm to the inner Extension Pipe (Diagram 12). Slide the top of the Inner Extension Pipe (the
end which is opposite the Diagram) into the body.
Diagram 12
9