14
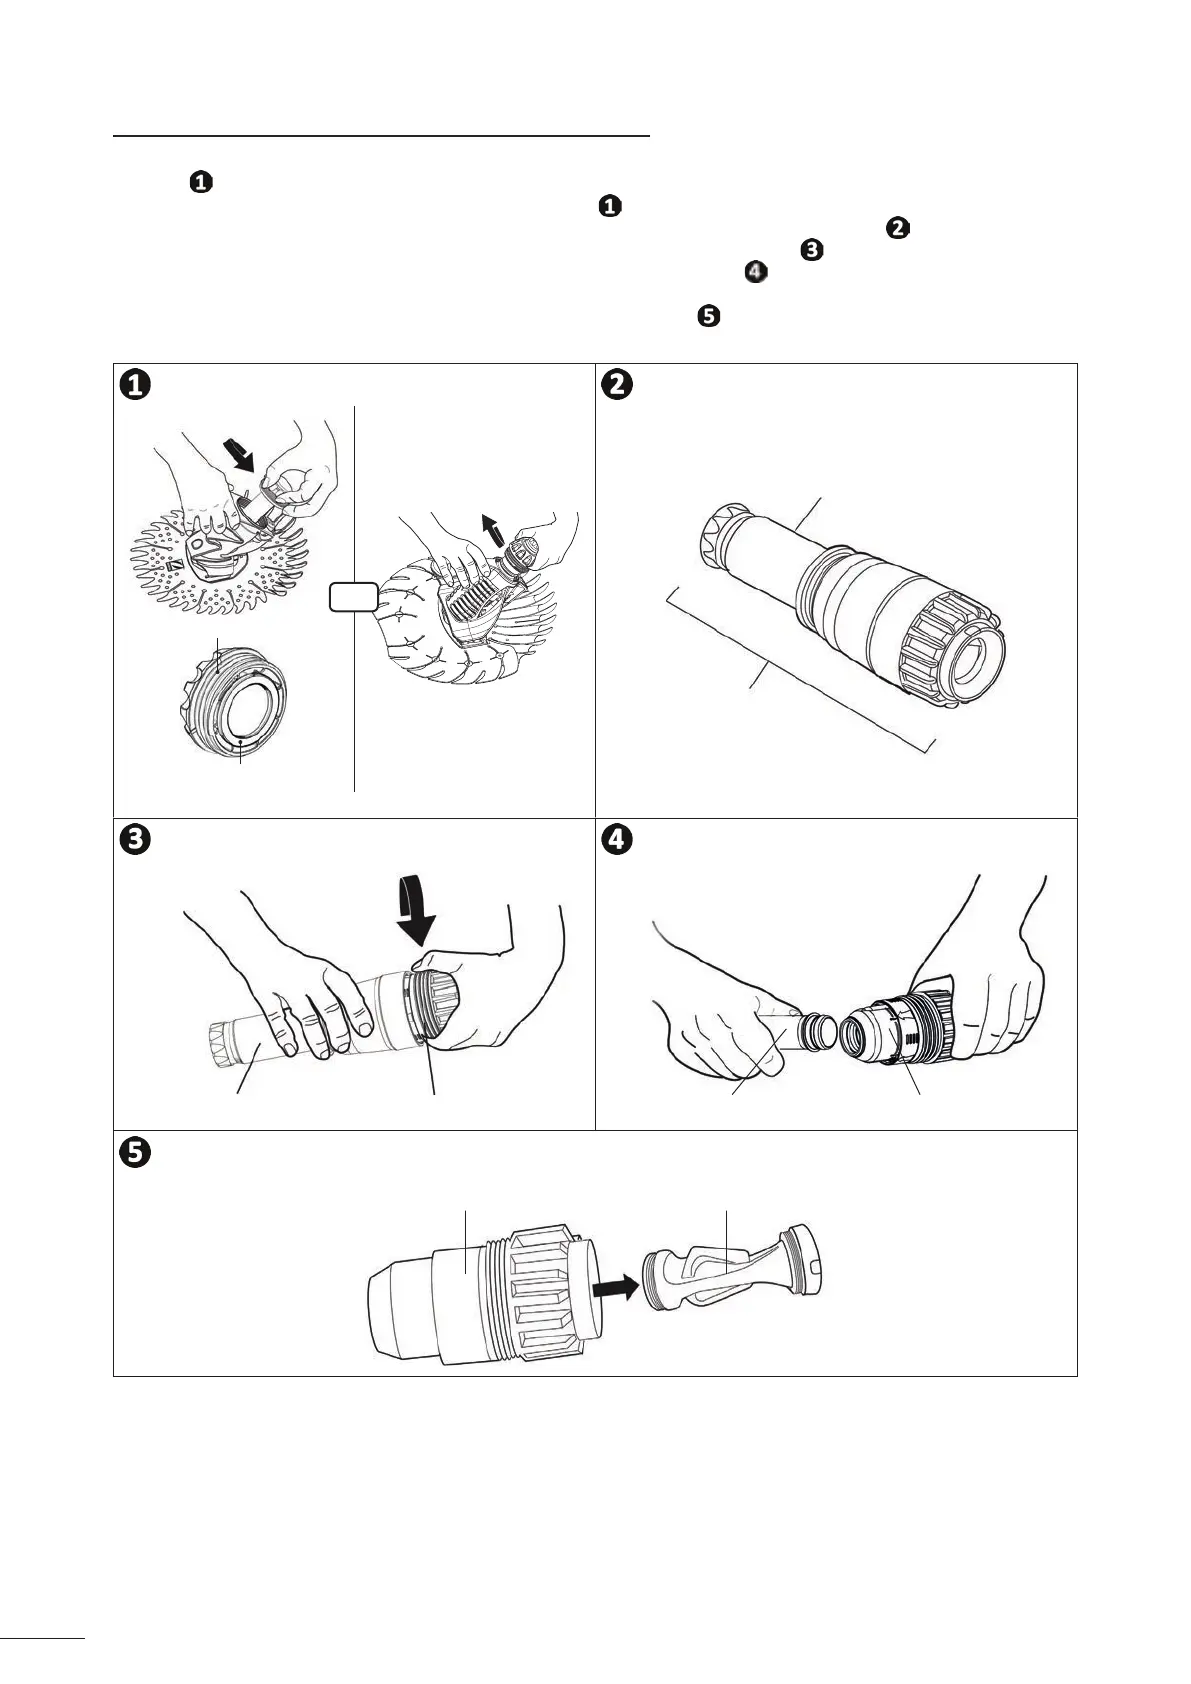
4.3.2 Removing the diaphragm for cleaning or replacement
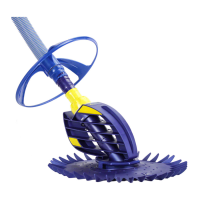
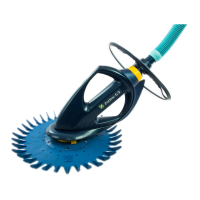
• For the T3 / R3 / B3 models, unscrew the clamping nut, remove it by sliding along the external output hose (see
image ) and set aside. The seal is designed to stay inside the nut for removal in one piece.
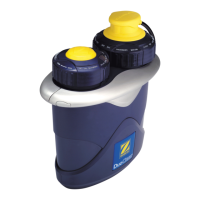
For the T5 Duo model, unscrew the cartridge (see image ).
• Remove the cartridge and the external output hose from the body of the cleaner (see image ).
• Unscrew the cartridge, remove the external output hose and set aside (see image ).
• Firmly pull on the internal output hose to remove and set aside (see image ).
• Remove the diaphragm from the cartridge and check that no foreign bodies or wear issues are present. Rinse
thoroughly with fresh water before reassembling the unit (see image ).
• Replace the diaphragm where necessary.
Nut
Seal
External output hose
Cartridge
T3 / R3 / B3 T5 Duo
External output hose Cartridge
Internal output hose Cartridge
Cartridge Diaphragm
or
 Loading...