2N® Indoor View User Manual
•
•
•
1.
2.
3.
4.
5.
1.
2.
3.
•
•
•
•
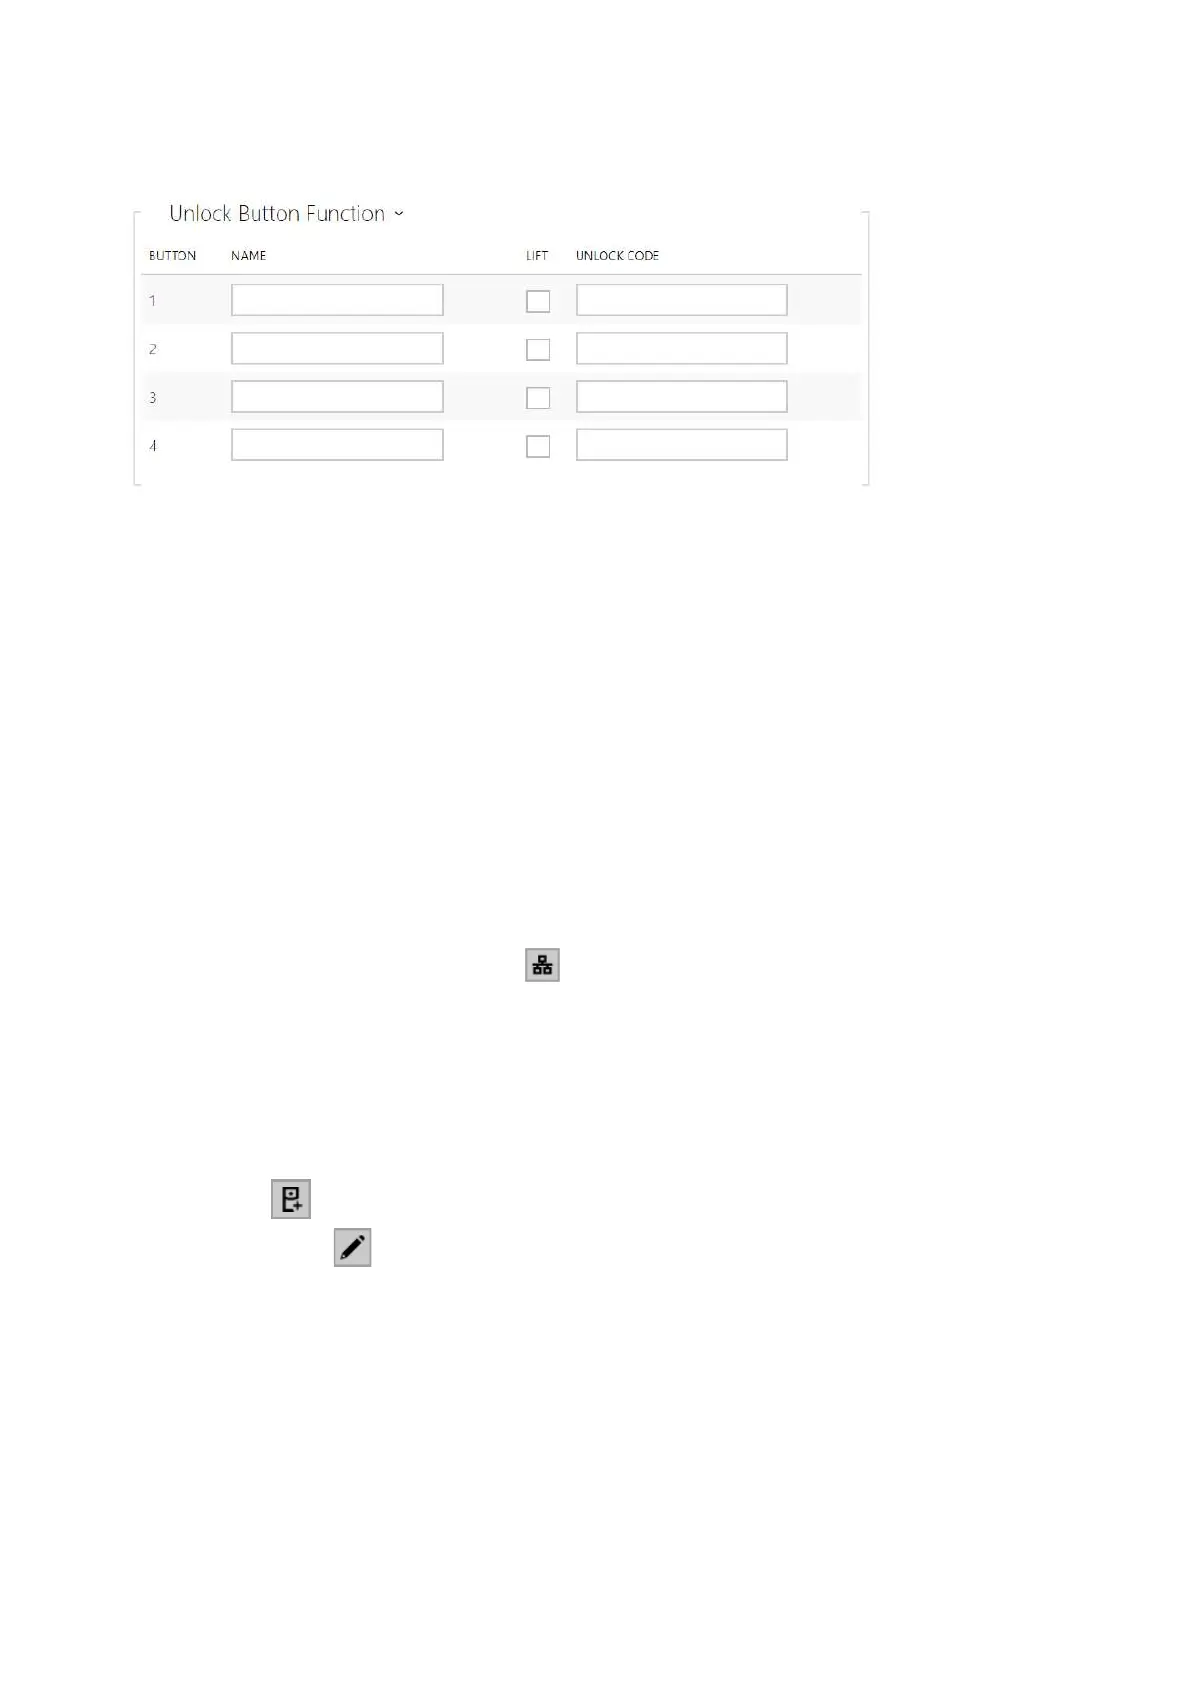
Name –enter the code assigned to unlock button #1, #2, #3, #4.
Lift – selectthe door lock / lift unlock button icon on the display.
Code 1, 2, 3, 4 – It is used for remote unlocking of the entrance door, for example. Make
sure that the code includes at least two door unlocking characters via the intercom
keypad and at least one door unlocking DTMF character via a phone. The supported
characters also inlcude * or#.Four characters at least are recommended.
3.2.1.1.1 Call Connection Settings
To make calls with other terminal devices in IP networks, it is necessary to assign the device to a
contact in the Directory.
Connection with 2N Devices in LAN
Make sure thatLocal callsis enabled on both the 2N devices.
Click Search for registered devices . Check the listed device that you want to make
connection to. Once the device is added, editing become available.
You can edit basic information.
Once saved, the contact will be shown in the phone book on the device display.
Make sure thatLocal callsis enabled on the called 2N device to make a successful call.
Connection with Other Devices
Click the icon to create a new contact or open an existing contact detail.
Click the pencil icon next to the Phone number to open phone number editing.
Select the type of call:
SIPfor calls via SIP,
ravafor calls with Creston,
vmsfor calls with Axis Camera Station,
devicefor calls with a local 2N device.