93D Systems, Inc.
4
REPAIRING A JAMMED EXTRUDER
TOOLS NEEDED
• 2.5 mm Hex Head Driver
• T10 Torx Driver
• Wire Cutters
REPAIRING A JAMMED EXTRUDER PROCEDURE
WARNING: BEFORE SERVICING THESE COMPONENTS, ENSURE YOU ARE WEARING A WELL-GROUNDED
ELECTRO-STATIC DISCHARGE (ESD) STRAP. ESD PROTECTION IS REQUIRED.
WARNING: NEVER PULL ON WIRES TO DISCONNECT THE CONNECTORS. THIS COULD DAMAGE THE WIRES
AND THE CONNECTORS AND VOID THE MANUFACTURER’S WARRANTY.
NOTE: All cartridges except for the one feeding the affected extruder should be properly uninstalled.
The following procedure is intended to provide authorized service providers instructions about how to repair a jammed extruder. For
printers with more than one jammed extruder, follow these instructions for each affected extruder.
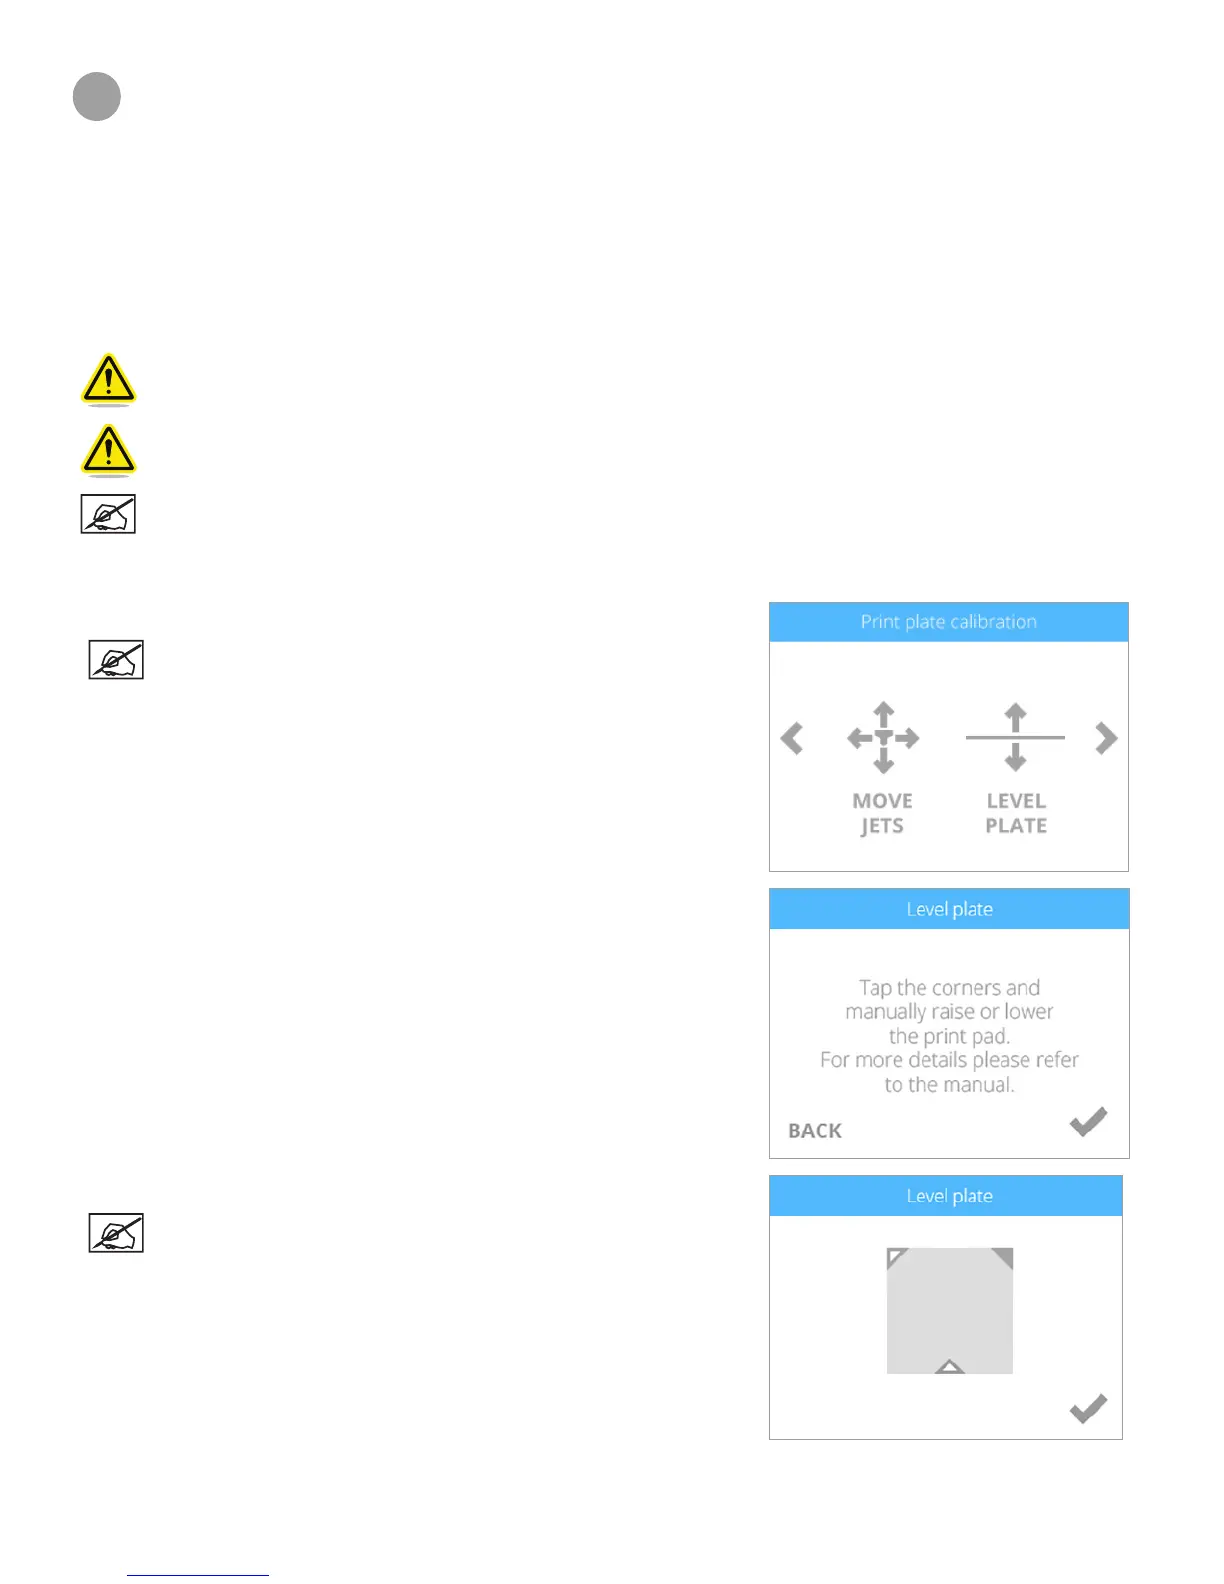
1. Navigate to the Print Plate Calibration screen and select LEVEL PLATE.
NOTE: The print pad will raise and the print jets will maneuver to
the left rear of the printer.
2. Select the upper right corner of the triangle on the touchscreen display.
NOTE: The printheads will move to the right rear corner of the print
pad.