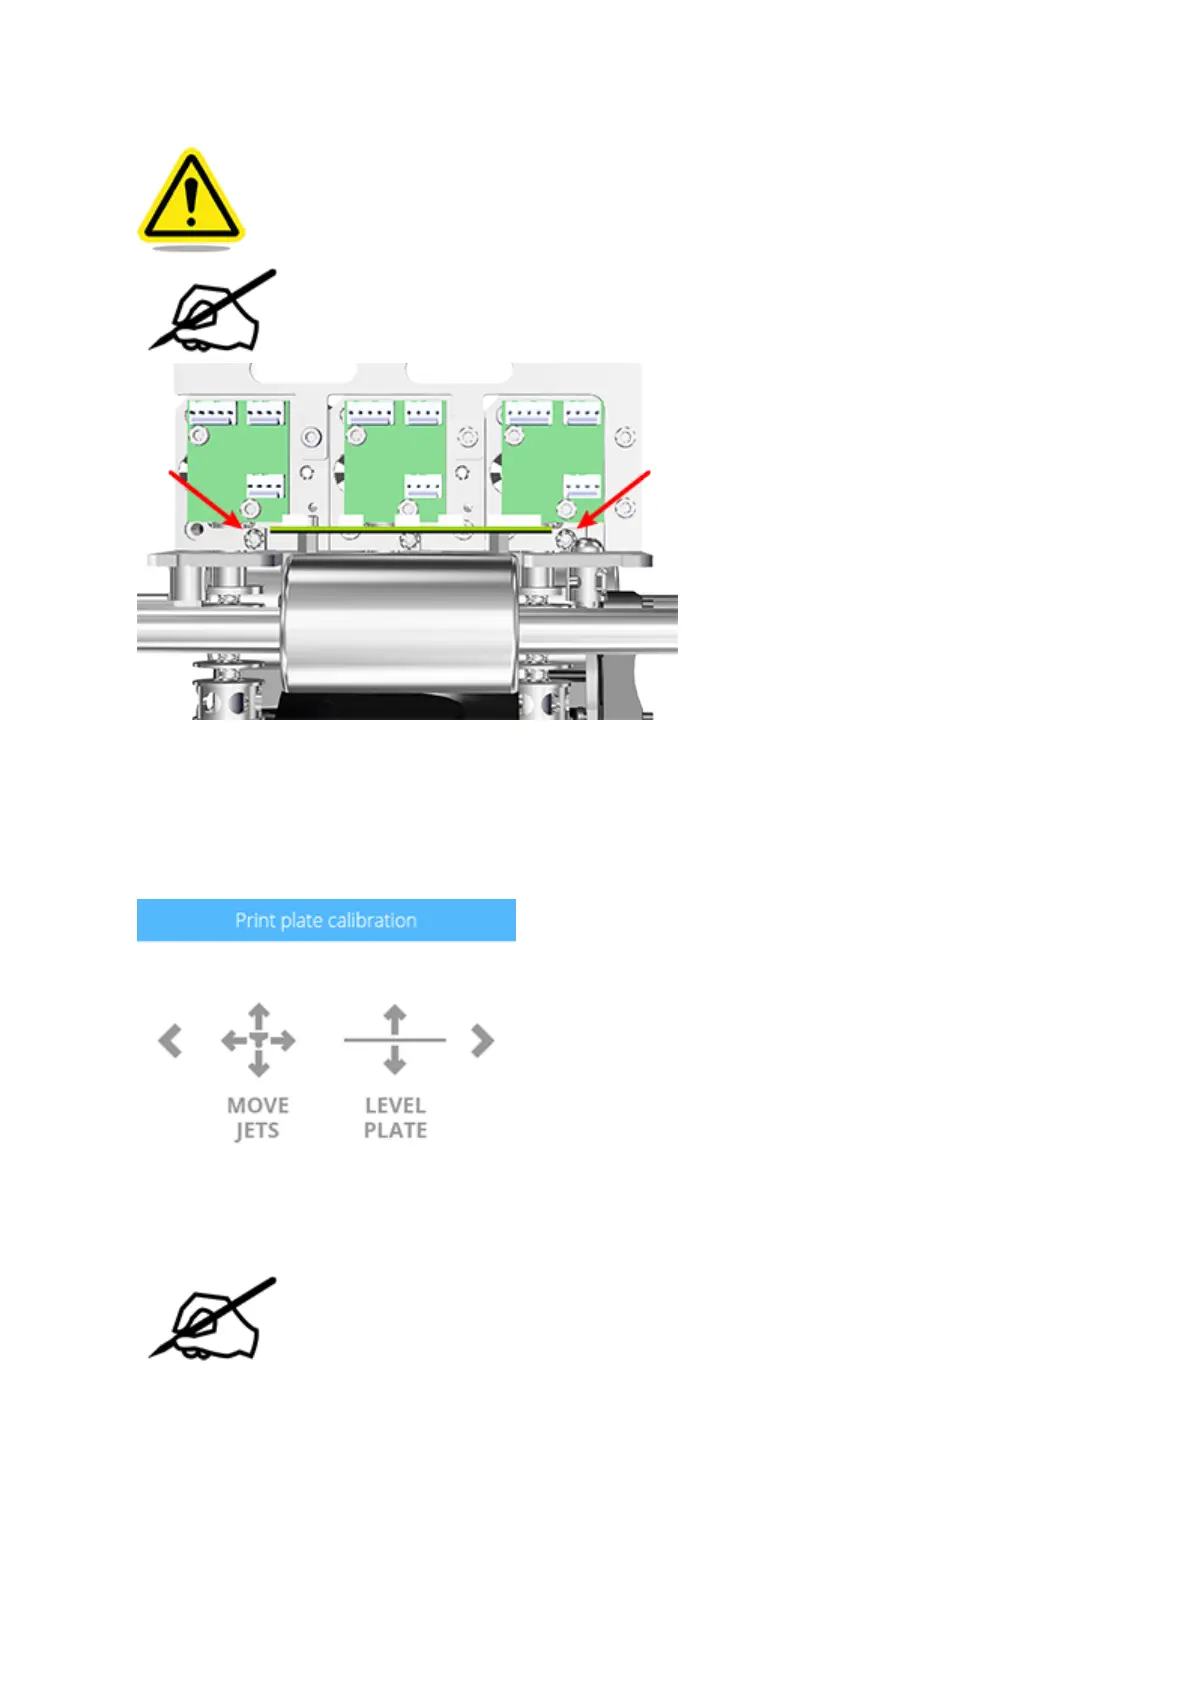
extruders 1 and 3.
CAUTION: There should be enough access to reach the torx screws using an
insulated torx driver. Exercise caution when working around the PCBs.
NOTE: Print jet 2 should not need further adjustment.
Connect the printer to utility power, turn on the main power switch and then turn on37.
the display.
Navigate to the Print Plate Calibration screen and select MOVE JETS.38.
Select the Z: down arrow until the display reads -0.50.39.
NOTE: Visually inspect the gap between the nozzle tip of print jet 2 and the
print pad. If necessary, press the Z: down arrow until there is a gap.





 To Next Page