53
3M
™
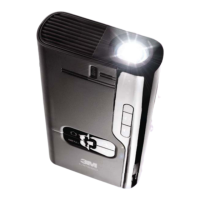
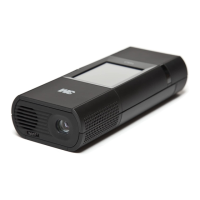
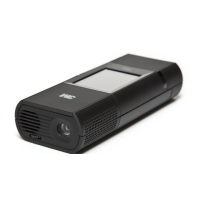
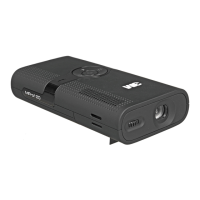
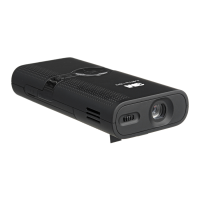
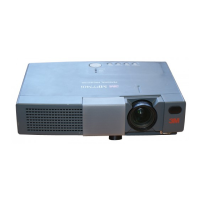
Pocket Projector MP220
© 2012 3M. All Rights Reserved.
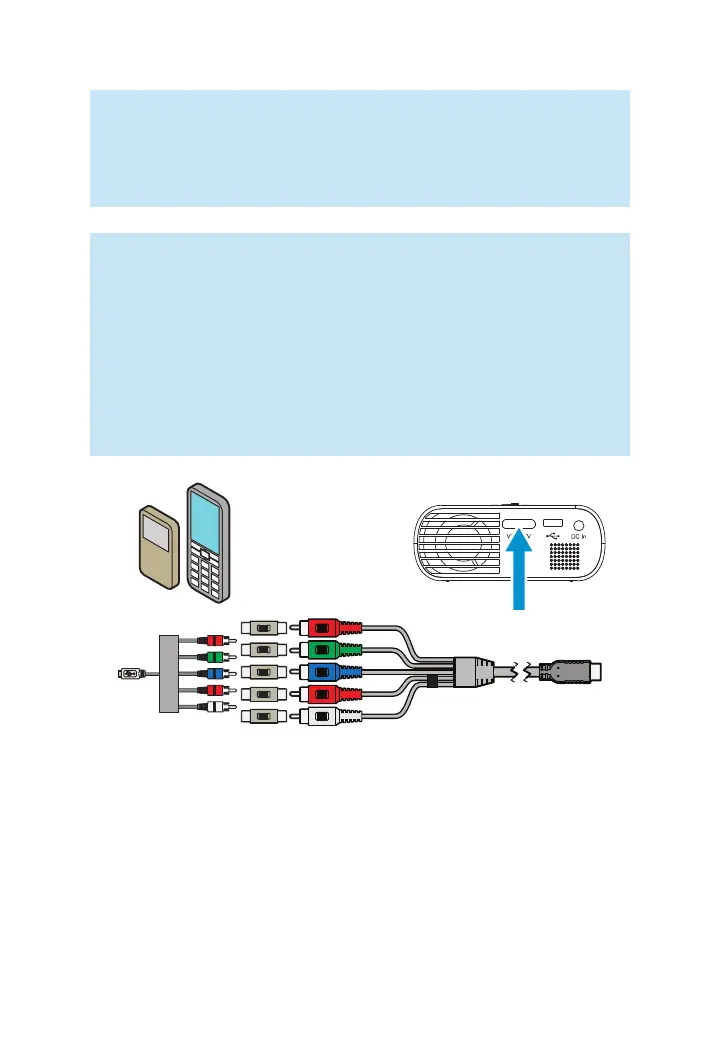
Important Note: There are two red connectors on the Component AV cable.
One is for the right audio channel and the other is for the Pr component video
signal. Be careful to connect the red audio to red audio and red video to red
video. If these connectors are switched, the projected image will appear green
and an abnormal noise will come from the right speaker.
Tip: Some video devices do not have the standard audio and video connections
and may require an AV cable specified by the manufacturer. The AV cable
allows you to connect your video device to your TV monitor or your projector
and may be purchased from the video device manufacturer. Once you have
the AV cable, use the cable adapters to connect the video device cable and the
projector cable.
Some video devices, by default, will not output a video signal. The video
device’s manual should provide instructions on how to change the video
output setting.
Connecting to a Computer (requires optional accessory)
For VGA-audio input, you must purchase the optional 3M MP220 VGA-audio Cable.
Use the VGA-audio cable to connect the projector to home screen computers,
laptop computers, ultra-portable computers and some personal digital assistants
(PDAs). The projector supports VGA, SVGA, XGA, and WXGA resolutions. For best
results, set the computer’s resolution to WXGA (1024x600).
1 Connect the VGA-audio cable to the 3M MP220 projector.