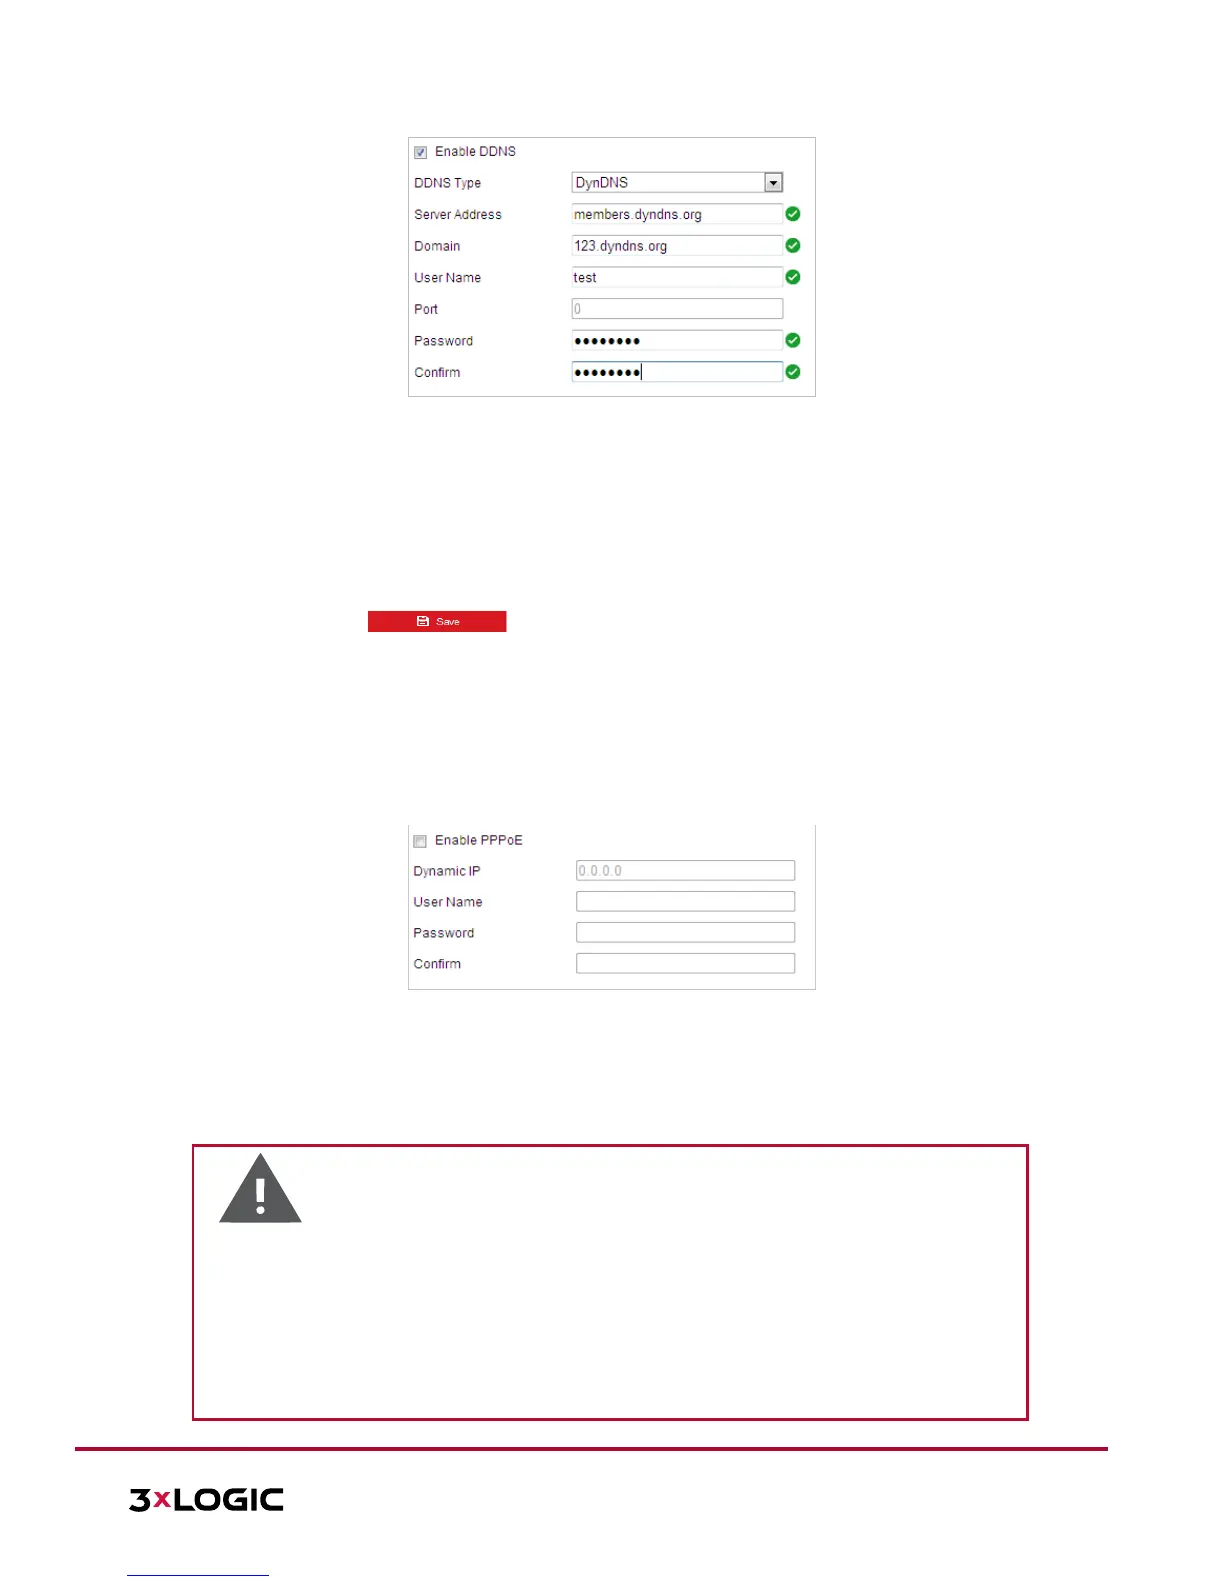
Figure 6-3 DynDNS Settings
NO-IP:
Steps:
a. Enter Server Address of NO-IP.
b. In the Domain text field, enter the domain name obtained from the NO-IP website.
c. Enter the Port of the NO-IP server.
d. Enter the User Name and Password registered on the NO-IP website.
e. Click to save the settings.
Configuring PPPoE Settings
Purpose:
If you have only a modem with no router, you can use the Point-to-Point Protocol over Ethernet (PPPoE)
function.
Steps:
1. Enter the PPPoE settings interface: Configuration > Network > Basic Settings > PPPoE
Figure 6-4 PPPoE Settings
2. Toggle the Enable PPPoE checkbox to enable this feature.
3. Enter User Name, Password, and Confirm password for PPPoE access.
NOTE: The User Name and Password should be assigned by your ISP.
Warning:
For your privacy and to better protect your system against security risks, we strongly recommend
the use of strong passwords for all functions and network devices. The password should be
something of your own choosing (using a minimum of 8 characters, including upper case letters,
lower case letters, numbers and special characters) in order to increase the security of your
product.
Proper configuration of all passwords and other security settings is the responsibility of the
installer and/or end-user.
 Loading...