6 ACS 400 User’s Manual
C Mounting the ACS 400 on a Wall
Warning! Before installing the ACS 400, ensure the input power supply to the drive is off.
1
The lid of the packing-box provides a Wall Mounting
Temp late.
Remove the lid from the box.
Figure 4 Removing the wall mounting template.
2
The ACS 400 should only be mounted vertically on a
smooth, solid surface, free from heat, dampness, and
condensation. Ensure minimum air flow gaps of 8 in
(200 mm) above and below, and 2 in (50 mm) around
the sides of the unit.
1 Using the mounting template, mark the position of
the mounting holes.
2 Drill the holes.
3 Screw in four screws or affix nuts and bolts
(depending on the mounting surface).
Figure 5 Marking and drilling the mounting holes.
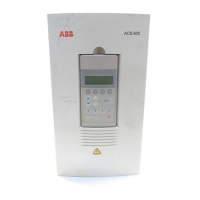
3
IP 21
Position the ACS 400 onto the mounting screws or
bolts and securely tighten in all four corners.
Note! Lift the ACS 400 by its metal chassis.
Figure 6 Mounting type IP21 drives.
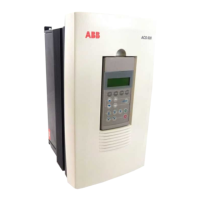
IP 54
1 Remove the front cover, see Figure 10.
2 Remove the rubber plugs by pushing from outside.
3 Screw in the screws.
4 Replace the rubber plugs.
Figure 7 Mounting type IP54 drives.
http://nicontrols.com