• At this point the b17 icon will ash, this indicates the start-up of the DC-
DC circuit (booster) part. This icon will remain permanently switched on
when the DC-DC will be operating at steady state (the ashing of the icon
usually lasts a few seconds).
Immediately after this, the b18 icon, which indicates the AC-DC circuit
(inverter) part, will also behave normally.
• Immediately after this the grid connection will start. During this phase
the icons will be displayed in sequence on the b21 board until the con-
nection of the inverter. After the inverter is connected, the icons on the
whole line b21 will come on steady.
If the inverter disconnects from the grid, the icons of the left side (cable
and plug) of the line b21 will stay on.
• Once the connection sequence has been completed, the inverter starts
to operate and indicates its correct operation by making a sound and by
the green LED coming on steady on the LED panel. This means there is
sufcient solar radiation to feed power into the grid.
DC
AC
DC
AC
DC
AC
DC
Inverter not connected to the grid
Inverter connected to the grid
• If the checking of the grid does not give a positive result, the unit will
repeat the procedure until all the parameters that allow connection to
the grid (grid voltage and frequency, insulation resistance) are within the
range. During this procedure, the green LED ashes.
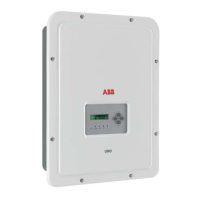
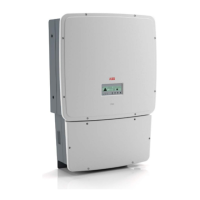
Once the inverter has been started for the rst time the wiring box must be congured by
means of the dedicated Aurora Manager LITE software.
POWER ALARM GFI ESC UP DOWN ENTER
DC
AC
DC
AC
BEEP
 Loading...