3-7
Questions? Refer to Page 10-10 for Technical Support Instructions.
Patient Test Procedure - β-Ketone
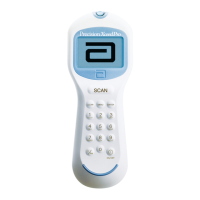
Use the following procedure to perform patient tests with the Precision Xceed Pro Blood β-Ketone Test Strip. The
Precision Xceed Pro Monitor recognizes the type of test strip based on the scan of the strip bar code.
Note: The following section illustrates some common settings. Depending on your institution's specific settings,
some screens will display differently or not at all. If the monitor does not display the screens shown, please
refer to Chapter 10, Troubleshooting.
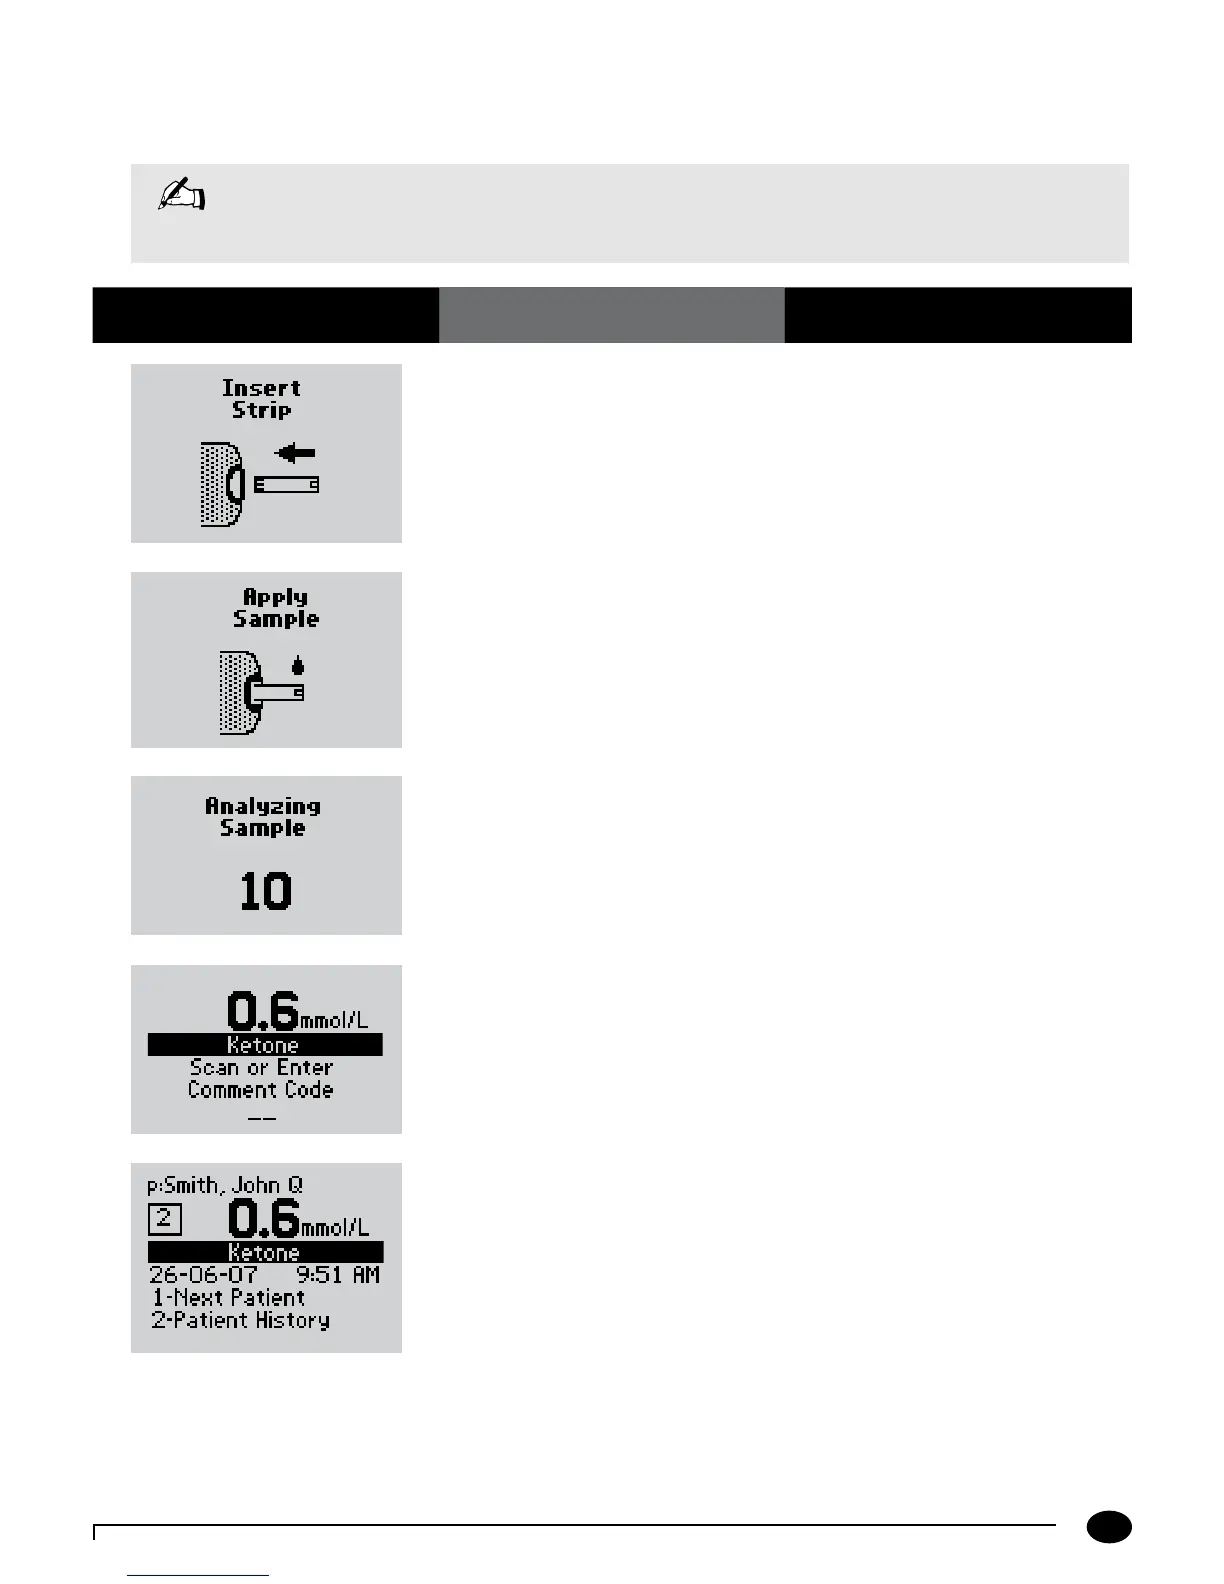
1. Follow steps 1 through 8 in the last
section on the Glucose Patient Test. Insert
the purple Blood β-Ketone Test Strip into
the test strip port until it stops and Strip
Inserted is displayed. The monitor will
recognize the strip based on the bar code.
Prior to inserting the test strip, ensure that
the port protector is installed and that it
is clean and dry. Replace if necessary. The
display will alternate between Insert Strip
and Ketone.
2. Apply a drop of blood from the patient's
finger, transfer pipette or syringe to the
target area of the test strip.
When sufficient sample has been applied,
the monitor beeps, displays Sample
Accepted and automatically starts the test.
For a detailed description of the test strip
target area, refer to the Test Strips section of
Chapter 1.
3. Wait for the monitor to analyze the
sample and display the test result.
The monitor counts down then displays
the test result. If an error is detected during
the assay, the assay is terminated and no
result is displayed. Once the assay begins,
all key presses are ignored until the assay is
completed.
4. If prompted, scan or manually enter the
comment code, and press Enter.
If there is no prompt to enter a comment
code, skip down to step 5.
The monitor may be enabled to scan or
enter a 1- to 2-digit comment code.
The monitor may display out-of-range
results similar to those for Glucose if
enabled for β-ketone testing.
The monitor may be also be enabled
to scan or enter up to two free text
information fields.
5. You can select one of the following
options:
Press 1 – Next Patient.
Press 2 – Patient History.
Press Menu to return to Menu Mode
menu.
Press On/Off to turn off the monitor.
Remove the test strip from the monitor
and discard it when finished testing.
Follow your facility’s biohazard disposal
policy.
The display shows:
Patient ID or Name (p: prompt)
Comment Code (Number in box)
Date and Time of test
Test Type (Ketone)
If 1 is selected, the Scan Patient ID screen
will appear. Return to Step 1 to continue
with testing on the next patient.
If 2 is selected, the monitor will display the
last test result for this patient as well as allow
you to view previous results.
What You See on the Display What You Do Comments
Chapter 3: Patient Test