PREPARATIONS, INSTALLATION AND TAKING INTO OPERATION
12
6. For the cable to enter from the top,
you must install the power supply such
that it is inserted into the connection
area from above and can be fixed us-
ing its allocated strain relief.
PLEASE NOTE: The strain relief is not re-
quired if the power supply enters from
the rear.
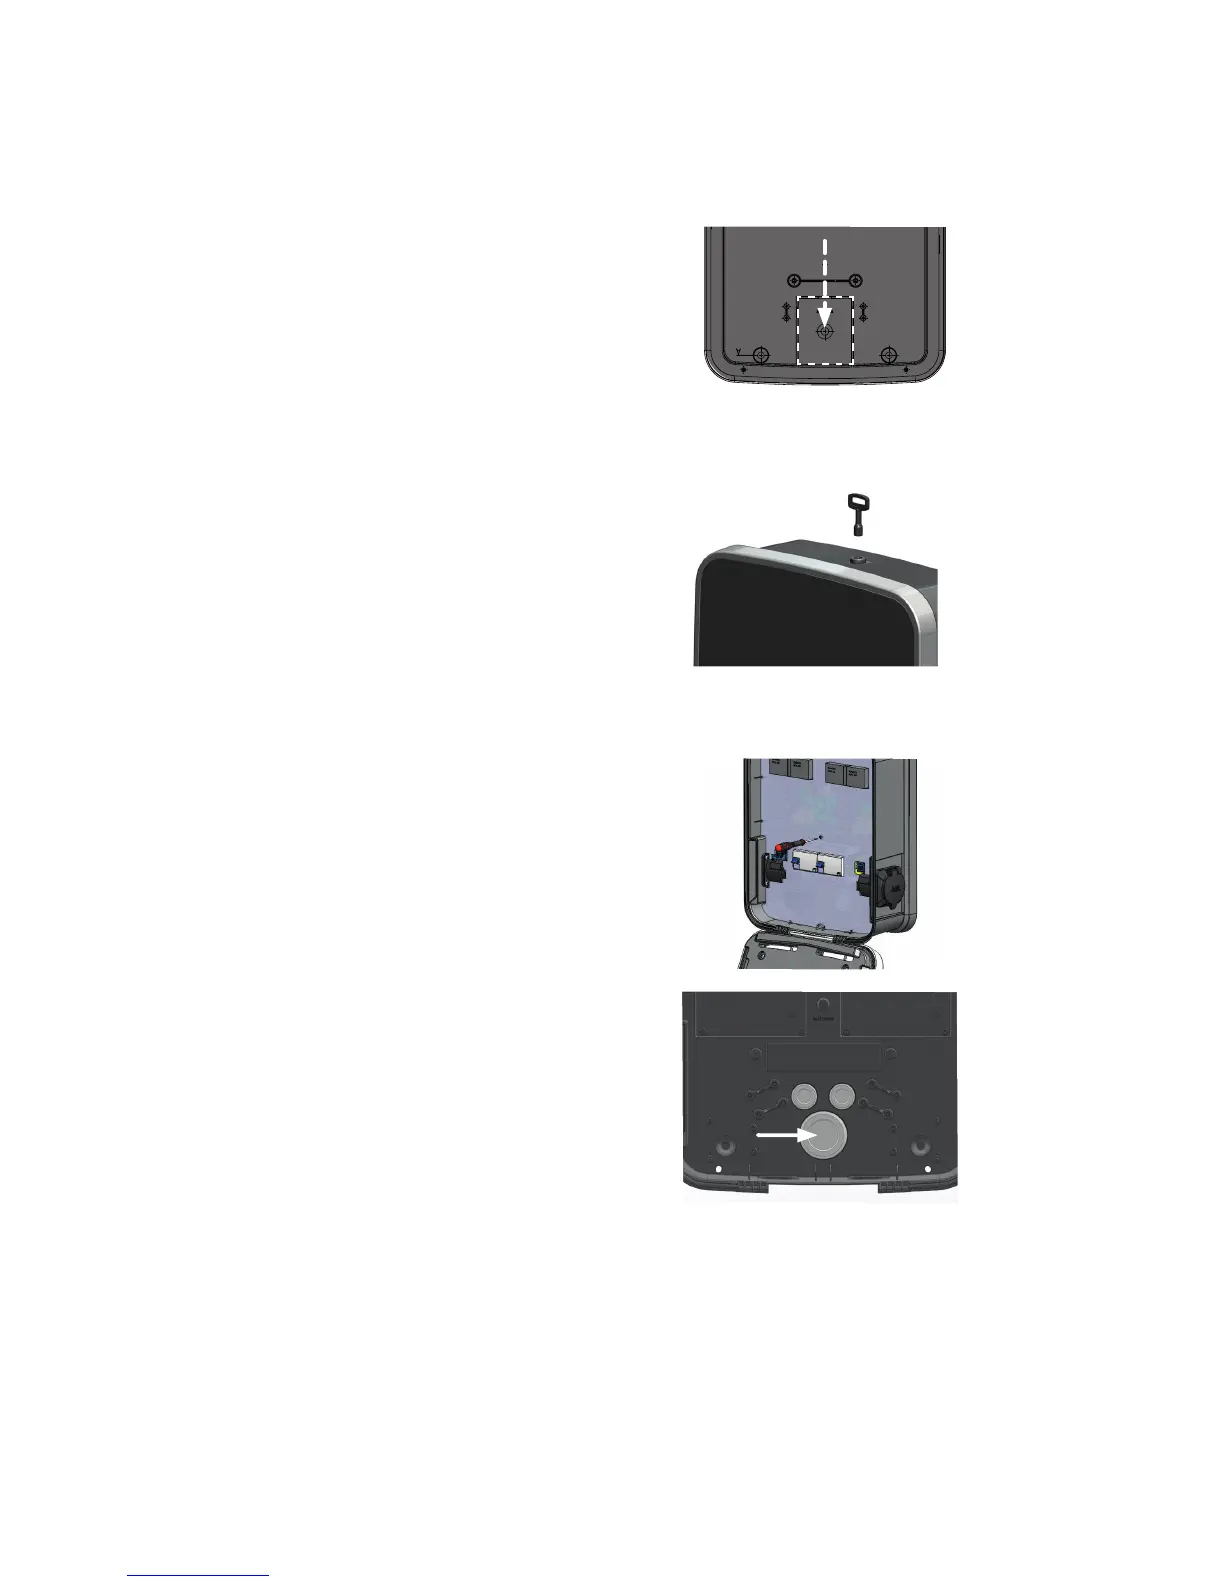
7. Now open the housing cover of the wall-
box using the triangular key supplied and
flip it towards the front.
PLEASE NOTE: Take special care with
this and protect the housing cover
against scratching and other external
damage. If possible, only remove the
protective film from the housing cover
just before completing installation.
8. Use the screwdriver to loosen the
TX20 screw holding the internal elec-
tronic components cover in place and
remove it. Keep the screw in a safe
place.
9. The wallbox includes three custom
sealing membranes for the openings
in the lower part of the wallbox: Insert
these and cut a slit into the large seal-
ing membrane: Now insert the supply
cable through this opening.

 Loading...