LCFF 1.2 Setup & Calibraon
workshop manual v2
Page 1
© The Bicycle Academy Limited 2019
Introducon
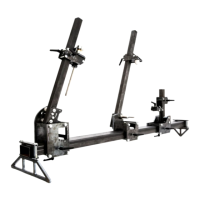
The Academy Tools Low Cost Frame Fixture (LCFF) provides aordability, accuracy
and ease of use thanks to clever design.
Our proprietary User Calibratable Fixture Alignment System gives you the funconality
you need to check and control the alignment of your frame xture, independently at
every interface, every me.
This has opened up some really excing possibilies such as reduced
manufacturing and producon cost, at-pack design, reduced shipping footprint
and cost, user assembly & calibraon and a huge and expandable build range.
As a result the LCFF is the only fully funconal low cost frame building xture in
existence.
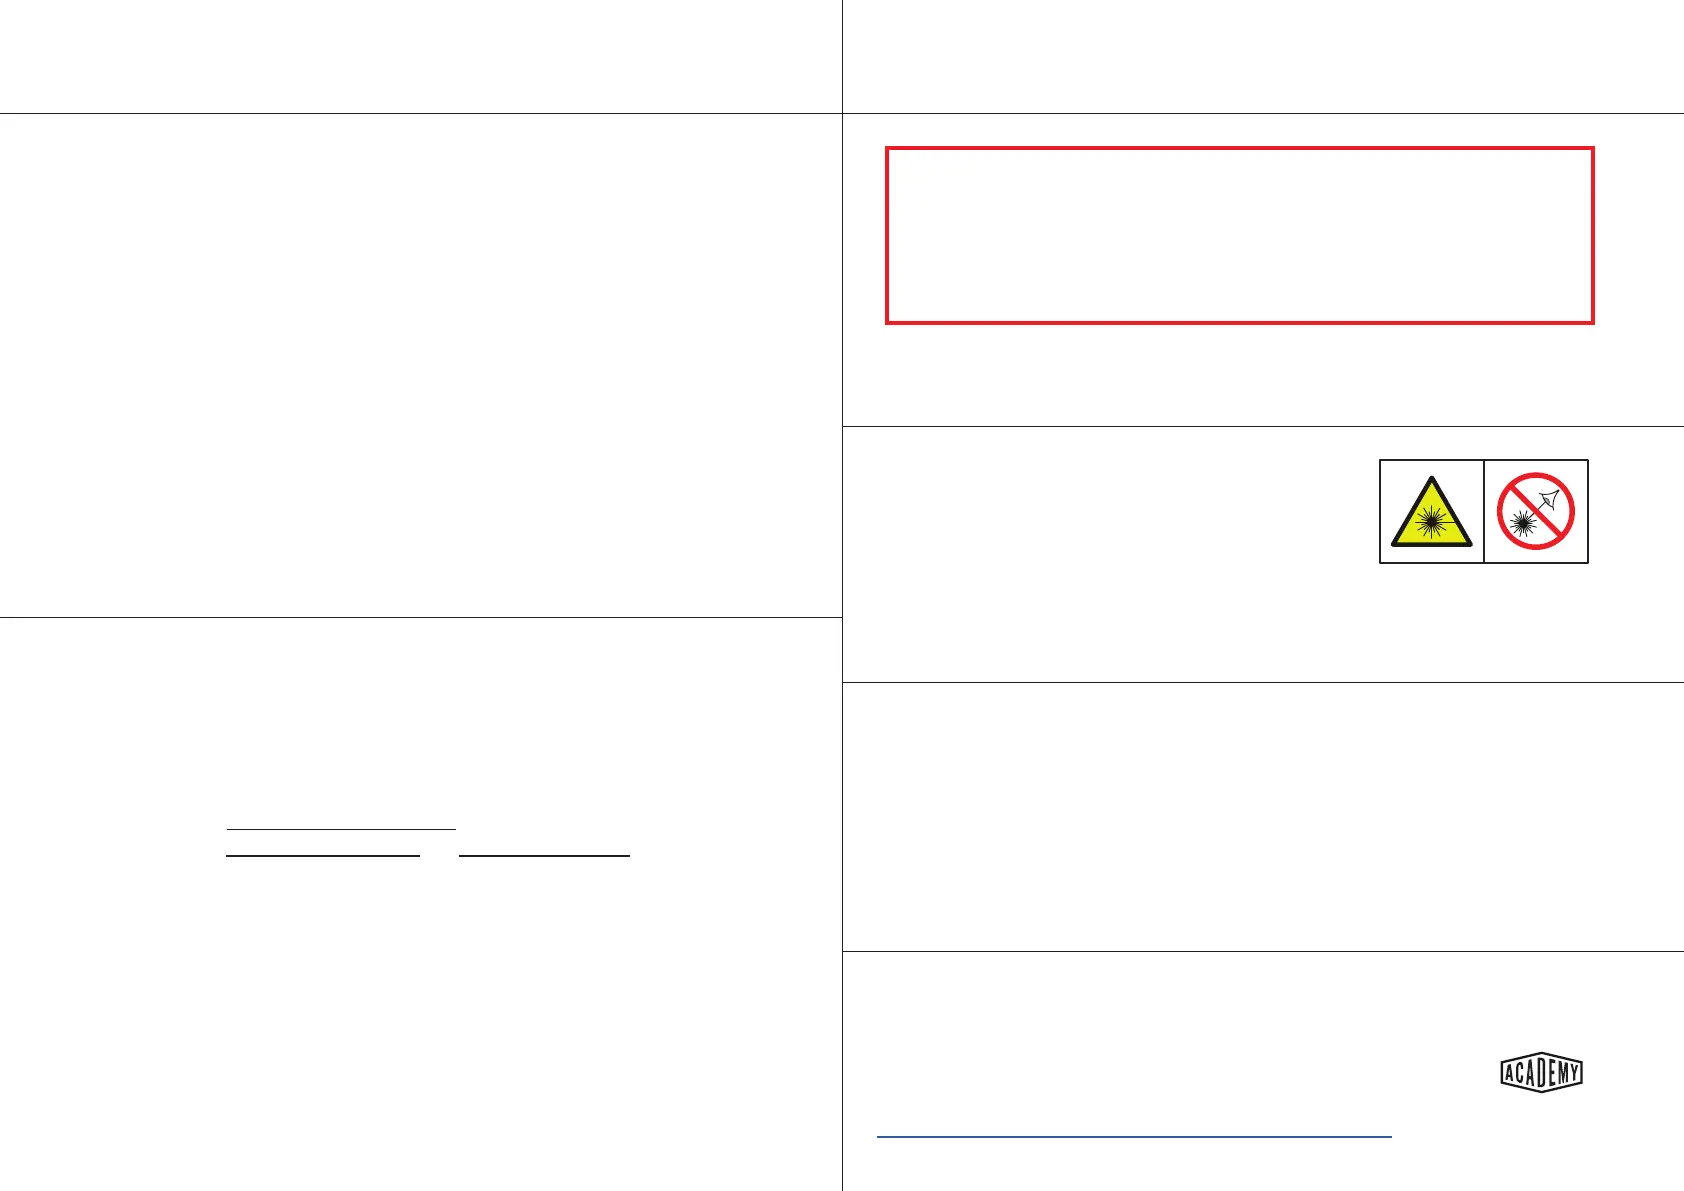
Laser Hazard
USE APROPRIATE EYE PROTECTION.
DO NOT LOOK INTO THE DIRECT OR REFLECTED BEAM.
NEVER POINT ANY LASER TOWARDS AIRCRAFT OR
VEHICLES; IT IS UNSAFE AND ILLEGAL.
THIS IS NOT A TOY.
Technical Documentaon
1. Setup & Calibraon Workshop Manual (included with your xture)
2. Assembly Instrucons (download)
PDF versions of both documents can be downloaded here:
hps://thebicycleacademy.org/pages/lc-owners-manual
Hollow Secon Beams
The LCFF is designed to use globally available mild steel hollow secon beams, of a
range of sizes, manufactured to BS EN 10219 or ASTM A500.
These beams are commonly referred to as Rectangular Hollow Secon (RHS) and
Square Hollow Secon (SHS).
Square - 38.1 mm (1.5”) to 40 mm
Rectangular - 100 mm to 101.6 (4”) x 50.8 (2”) to 60 mm
Wall Thickness - 3 mm (0.125”) (reccomended)
See the assembly manual for full details, including secon dimensions and lengths.
Mild steel hollow secon beams are inherently not straight. Each length of beam
will have a degree of bend and twist, within dened limits, this is a natural variaon
resulng from the beam manufacturing process. The Fixture Alignment System has
been designed to accommodate these variaons for the typical range of bicycle
frame sizes.
Setup & calibraon process summary
1. Set up the xture to the desired bike geometry (p 3-9)
2. Take care to correctly ghten the carriages (p 5)
3. Calibrate the laser pointer in the laser holder (p 11)
4. Calibrate the Seat Tube, Head Tube and Rear Axle features (p 12-17)
5. Install the correct bb spacer, head tube adaptor and dummy axle (p 18-19)
Important Calibraon Note
Due to the variaons in the beams it is necessary to calibrate the xture for
each frame geometry setup and every me a carriage is reposioned.
Calibraon of the laser pointer in the laser holder is an essenal rst step
before calibrang the xture.