58 Access Sensor Technologies UPAS User Guide
–If Diagnostic Mode is used for troubleshooting a UPAS, we request that
you email the resultant log file to Access Sensor Technologies for
evaluation (support@accsensors.com
).
Steps for Activating Diagnostic Mode
1 Remove the inlet cap and filter cartridge from the UPAS.
2 Place a sacrificial sampling filter in a cartridge (i.e. a filter that will not be
used for actual sampling - the filter will be contaminated during the
Diagnostic Mode test). For greatest relevance, use the same filter type
commonly used in your sampling.
3 Power up the UPAS via the normal > 5-second push button hold.
4 Open the mobile application (i.e. 'App') on your mobile device.
5 Connect to the UPAS with the App.
6 Once connected, enter DIAG# (all capital letters plus # character) in the
Sample Name field. None of the other parameters or settings matter;
DIAG# overrides all other settings. Your previous parameter settings are
recovered on next App connection, after the diagnostic test.
7 Start the diagnostic test run by touching the Start button in the App.
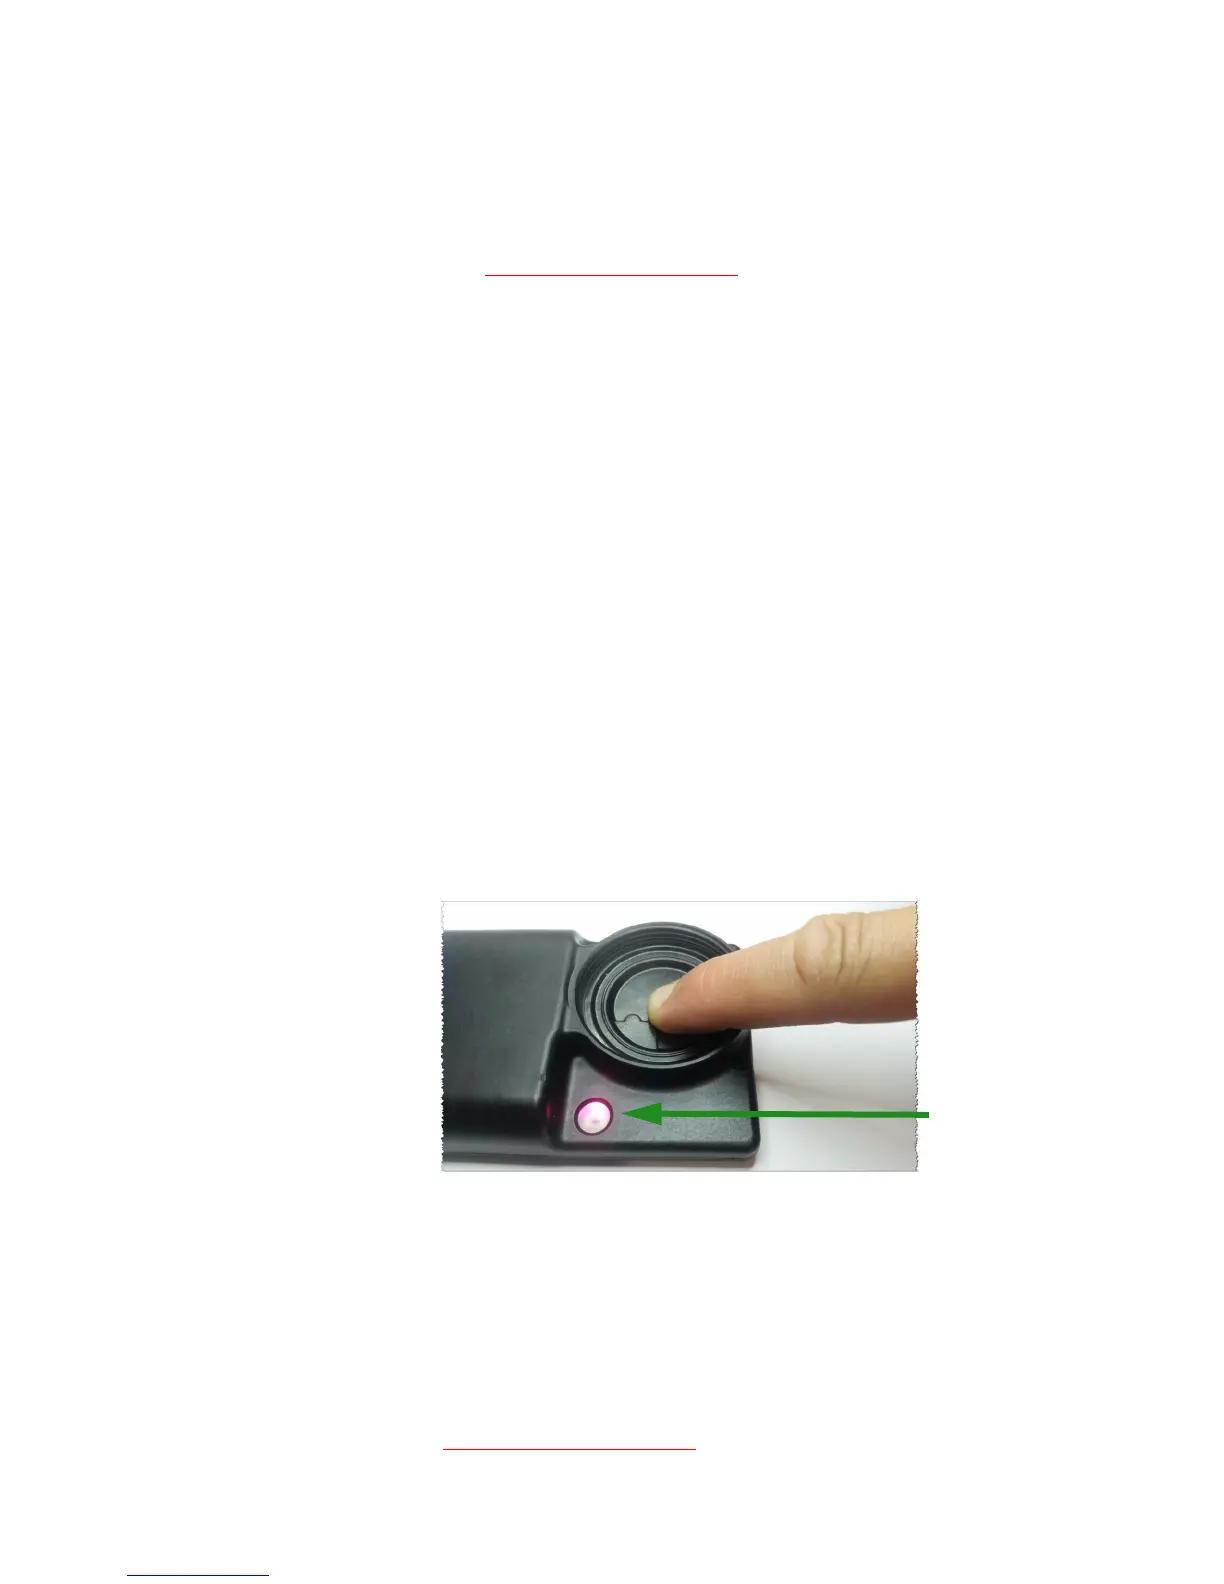
8 As soon as you click Okay to start the sample run, block the inlet hole in
the UPAS Sampler with your finger – keep it covered through the first
pumping step until the pumping stops (approximately five seconds – easy
to hear) and the Status indicator light begins flashing yellow.
9 While yellow light is flashing (about 15 seconds), unblock flow by removing
finger. Install the filter cartridge and the inlet cap as usual.
10 The Sampler goes through a number of tests automatically from that point
on. Allow the test to run for at least 15 minutes.
11 Shut Sampler down via >5-second button hold.
12 Download or transfer the resulting log file, which contains the word
diagnostic in the filename – and send to Access Sensor Technologies via
email (support@accsensors.com
).