6
INSTALLATIONCONFIGURATIONOPERATION
FURTHER
INFORMATION
INDEX
CONNECTIONS
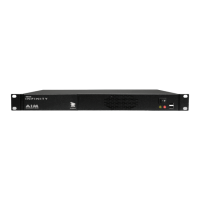
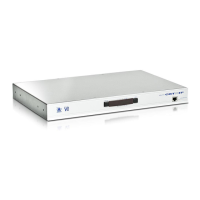
The A.I.M. server unit is supplied fully pre-loaded and permits no local user interaction.
All conguration takes place remotely via the network connections and as a result only
two connections are required: Network and power.
Note: If an existing A.I.M. server must be replaced, follow the important advice given within
Appendix C (Swapping out an A.I.M. server).
Note: The A.I.M. server is supplied with the front panel USB connections blanked off. There is
no need to connect a keyboard or mouse to the unit as conguration takes place across the
network connection.
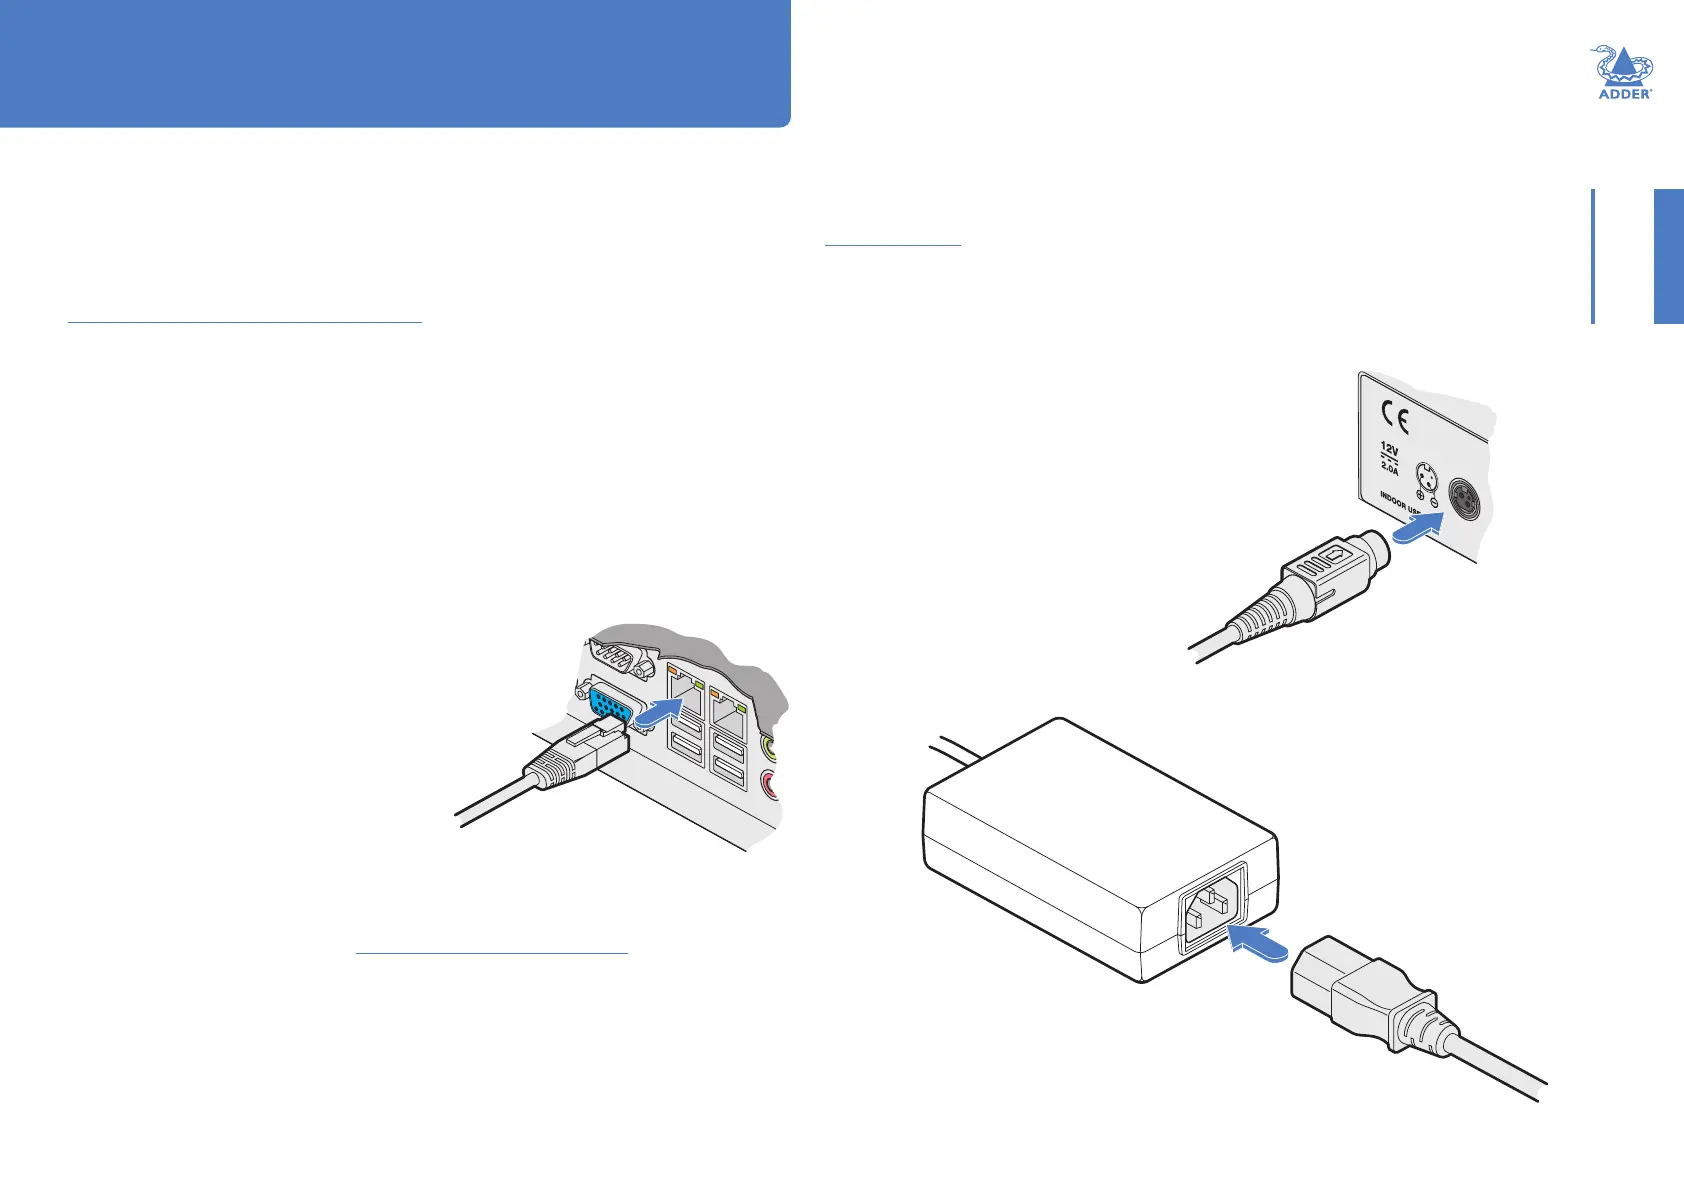
Network connections
The A.I.M. server has two network connections on the rear panel: port 1 on the left
and port 2 on the right. These allow the unit to be connected to internal and external
network connections (respectively) as required. The external network connection allows
admin users located away from the internal network to be able to login. Network port 2
supports DHCP, however, port 1 does not and needs to be congured manually.
To connect the internal IP network port
1 Run a category 5, 5e or 6 link cable from the
appropriate hub or router to the A.I.M. server
unit.
2 Connect the plug of the link cable to the left IP
port (1) on the rear panel of the A.I.M. server
unit.
Category 5, 5e or 6 cable
from LAN / network switch
Power supply connection
IMPORTANT: Please read and adhere to the electrical safety information given within the
Safety information section of this guide. In particular, do not use an unearthed power socket or
extension cable.
Note: The A.I.M. server can also be powered from the optional RED-PSU managed power supply
system using a VSC 48 cable.
To connect the power supply
1 Attach the output connector of the power
supply to the power input socket on the left
side of the rear panel.
2 Connect the main body of the power supply to a nearby earthed mains outlet.
To switch on the A.I.M. server unit, click the power
switch on the front panel. Allow 3 minutes for the
booting process to complete.
Installation
Note: The precise operation of the two ports are determined within the A.I.M. server
Management Suite, particularly the Dashboard > Settings > Network page.
HT