Chapter 2 33
Installation
Setting the Internal Clock
2. Installation
Setting the Internal Clock
You can set the date/time displayed at the lower right of the screen. When you save data in
the storage unit, for example, the internal clock data will be used. The following describes
the setting procedure that uses keys on the front panel.
NOTE When turning on the instrument power for the first time after delivery, always be sure to set
the internal clock.
Setting the Date/Time
Step 1. Press the [System] key in the INSTR STATE block. Press the [↓]or [↑] key to move the
focus to the
Misc Setup button and then press the [Enter] or [→] key. Press the [↓]or [↑]
key to move the focus to the
Clock Setup button and then press the [Enter] or [→] key.
Point the focus to the
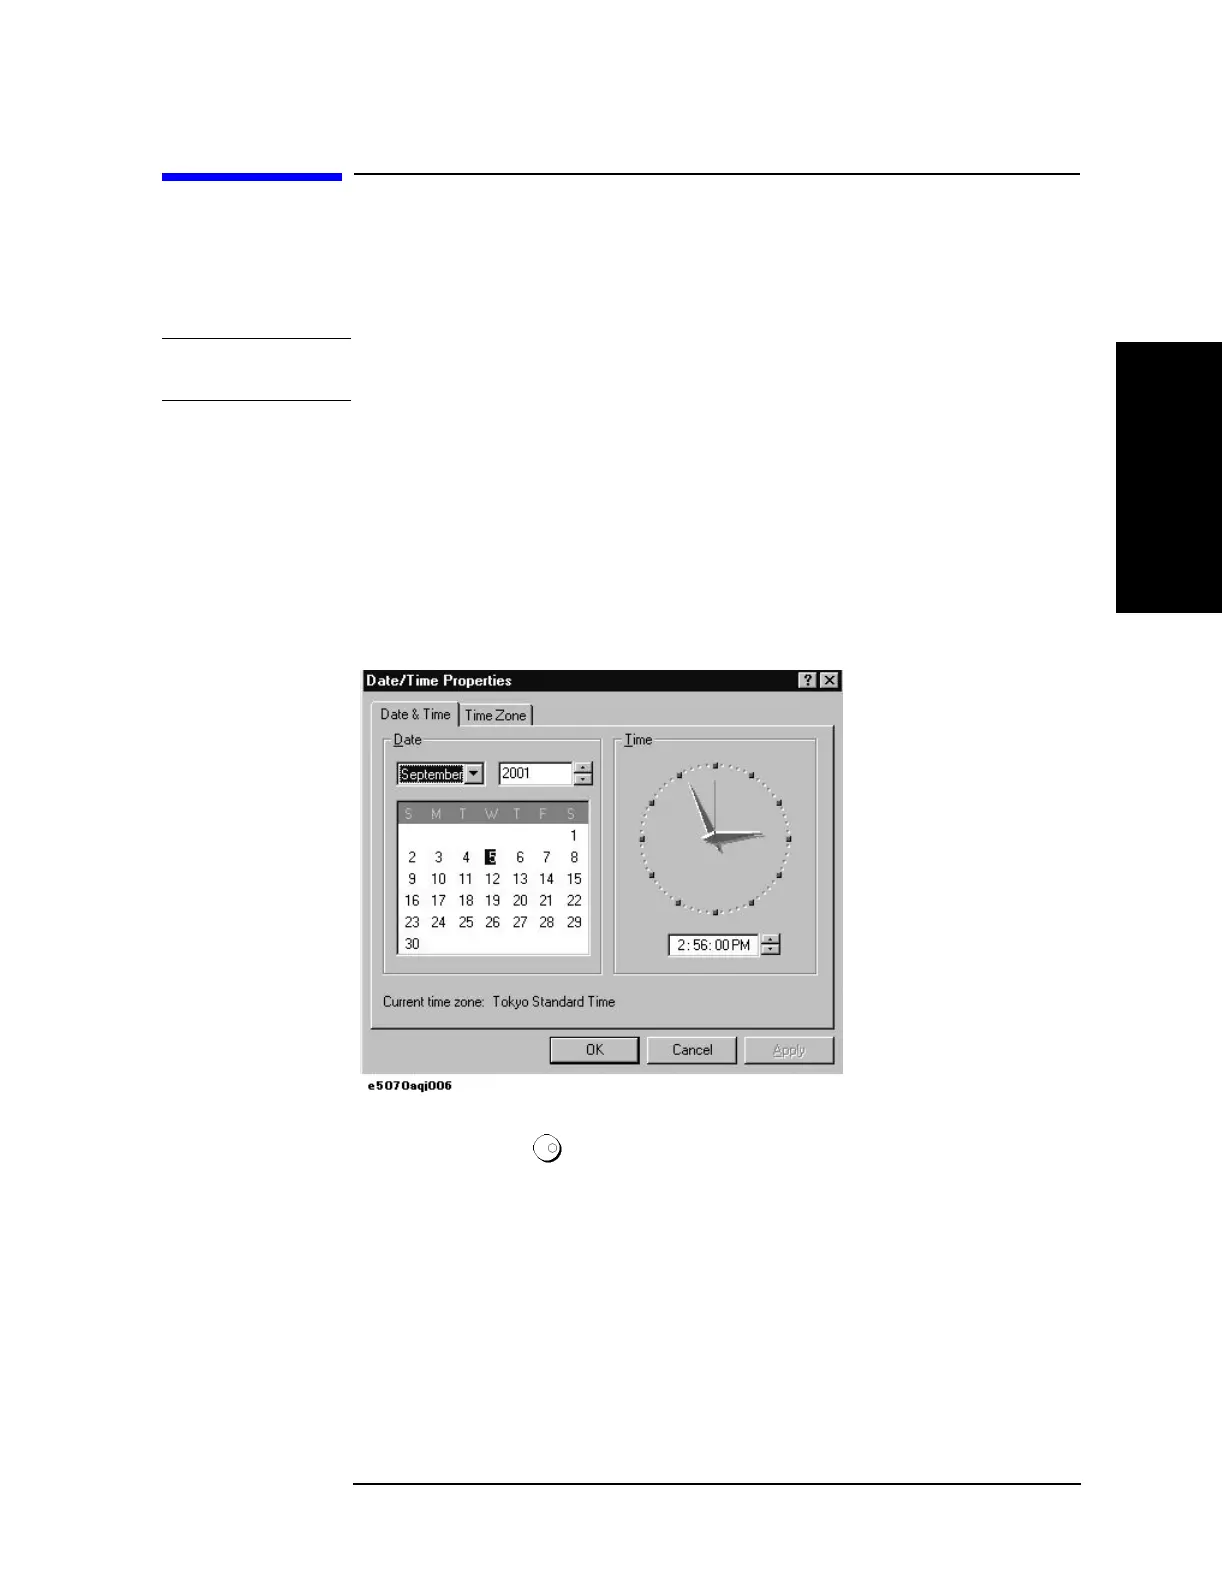
Set Date and Time button and press the [Enter] key. The Date/Time
Properties dialog box will appear (Figure 2-11).
Figure 2-11 Date/Time Properties Dialog Box (“Date & Time” Tab)
Step 2. Turn the rotary knob ( )on the front panel to point the focus to the
Date & Time tab and
press the
[→] key to move the focus to the Time Zone tab (Figure 2-12).
 Loading...


