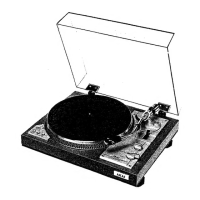
VII. MECHANICAL ADJUSTMENT
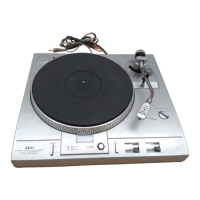
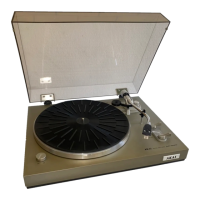
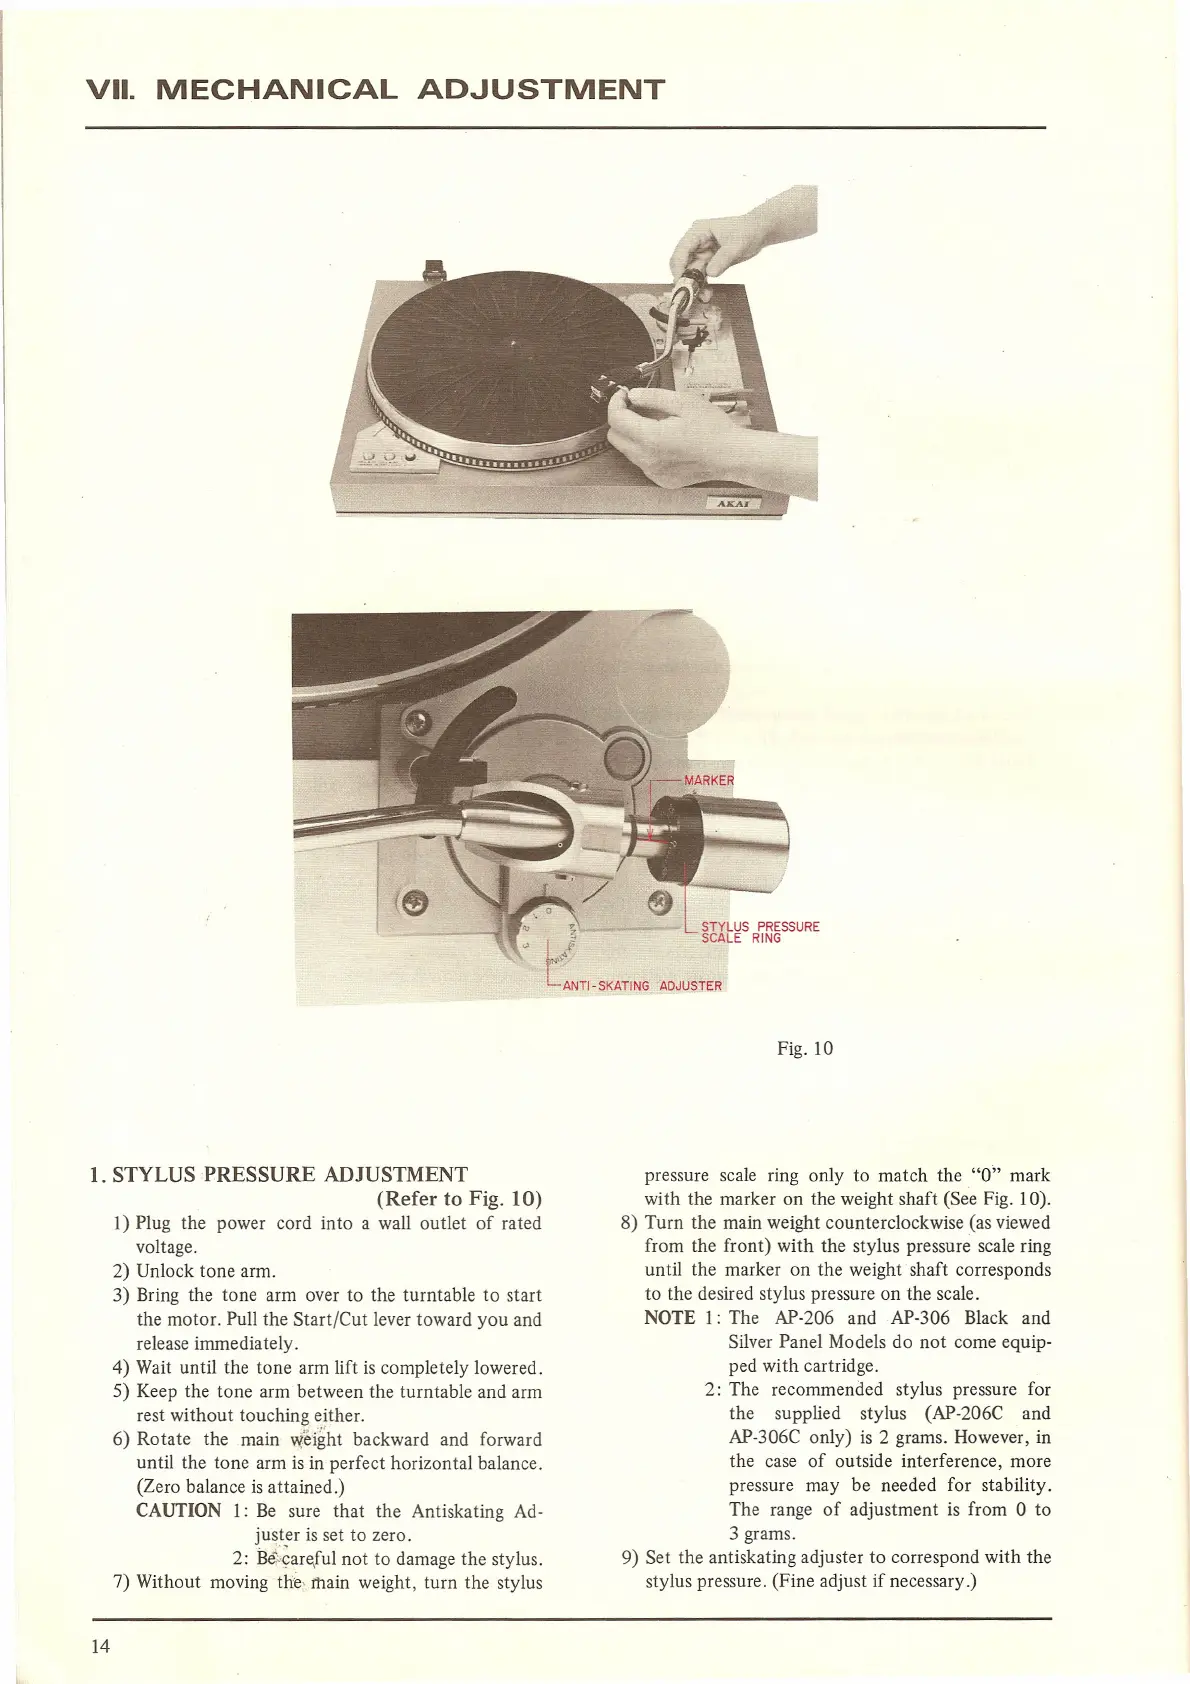
Fig. 10
'" 'Z STYLUS PRESSURE
" L".,i'
SCALE RING
[ANTI-SKATING ADJUSTER
1. STYLUS PRESSURE ADJUSTMENT
(Refer to Fig. 10)
1) Plug the power cord into a wall outlet of rated
voltage.
2) Unlock tone arm.
3) Bring the tone arm over to the turntable to start
the motor. Pull the Start/Cut lever toward you and
release immediately.
4) Wait until the tone arm lift is completely lowered.
5) Keep the tone arm between the turntable and arm
rest without touching either.
6) Rotate the main ,,{eight backward and forward
until the tone arm is in perfect horizontal balance.
(Zero balance is attained.)
CAUTION
1: Be sure that the Antiskating Ad-
juster is set to zero.
2: Bi·~areJul not to damage the stylus.
7) Without moving the, main weight, turn the stylus
pressure scale ring only to match the "0" mark
with the marker on the weight shaft (See Fig. 10).
8) Turn the main weight counterc1ockwise (as viewed
from the front) with the stylus pressure scale ring
until the marker on the weight shaft corresponds
to the desired stylus pressure on the scale.
NOTE 1: The AP-206 andAP-306 Black and
Silver Panel Models do not come equip-
ped with cartridge.
2: The recommended stylus pressure for
the supplied stylus (AP-206C and
AP-306C only) is 2 grams. However, in
the case of outside interference, more
pressure may be needed for stability.
The range of adjustment is from 0 to
3 grams.
9) Set the anti skating adjuster to correspond with the
stylus pressure. (Fine adjust if necessary.)
14
 Loading...