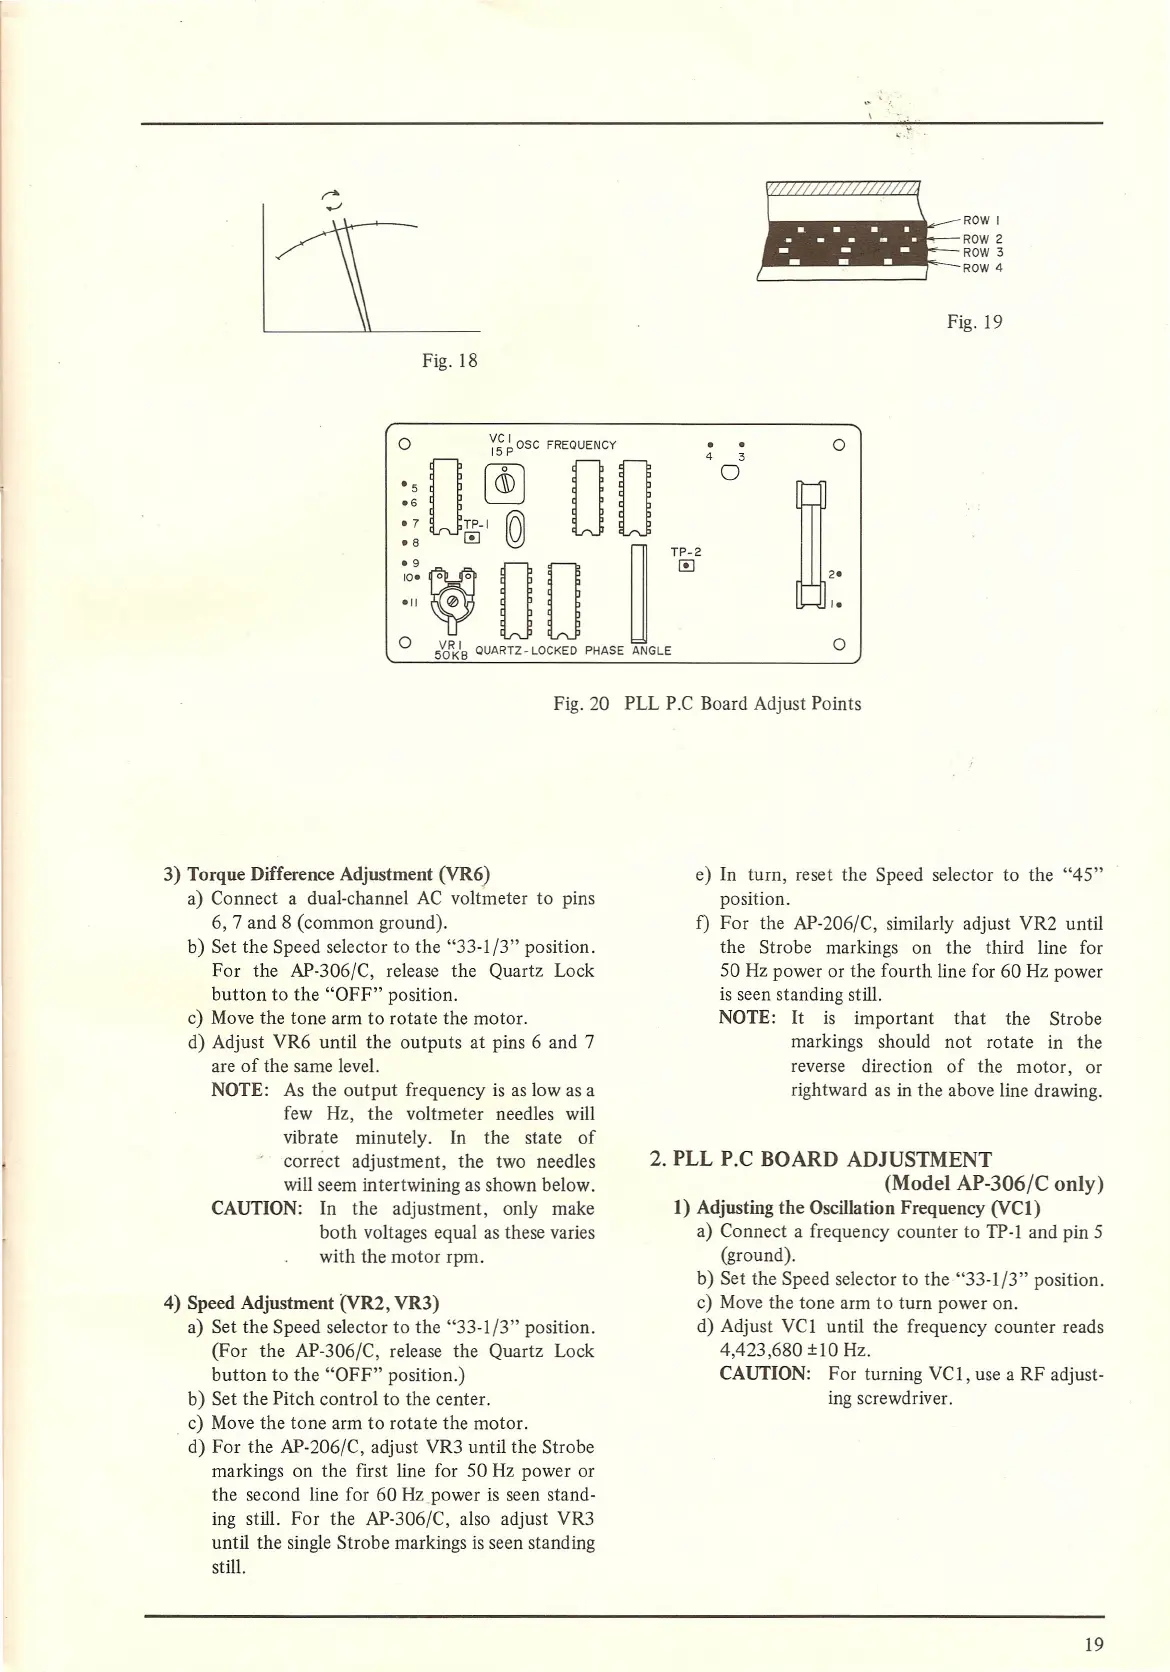
Fig. 18
~,ow,
ROW 2
ROW 3
ROW 4
Fig. 19
o
yg ~
OSC FREQUENCY
~~o~~
00
::~ 0 0 ~
'm'
o
5'g'K
I
B QUARTZ - LOCKED PHASE ANGLE
o
.
4 3
o
I.
o
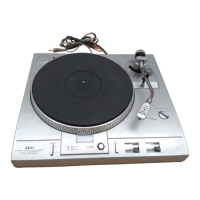
Fig. 20 PLL P.C Board Adjust Points
3) Torque Difference Adjustment (VR6)
a) Connect a dual-channel AC voltmeter to pins
6, 7 and 8 (common ground).
b) Set the Speed selector to the "33-1/3" position.
For the AP-306/C, release the Quartz Lock
button to the "OFF" position.
c) Move the tone arm to rotate the motor.
d) Adjust VR6 until the outputs at pins 6 and 7
are of the same level.
NOTE: As the output frequency is as low as a
few Hz, the voltmeter needles will
vibrate minutely. In the state of
correct adjustment, the two needles
will seem intertwining as shown below.
CAUTION: In the adjustment, only make
both voltages equal as these varies
with the motor rpm.
4) Speed Adjustment (\'R2, VR3)
a) Set the Speed selector to the "33-1/3" position.
(For the AP-306/C, release the Quartz Lock
button to the "OFF" position.)
b) Set the Pitch control to the center.
c) Move the tone arm to rotate the motor.
d) For the AP-206/C, adjust VR3 until the Strobe
markings on the first line for 50 Hz power or
the second line for 60 Hz .power is seen stand-
ing still. For the AP-306/C, also adjust VR3
until the single Strobe markings is seen standing
still.
e) In turn, reset the Speed selector to the "45"
position.
f) For the AP-206/C, similarly adjust VR2 until
the Strobe markings on the third line for
50 Hz power or the fourth line for 60 Hz power
is seen standing still.
NOTE: It is important that the Strobe
markings should not rotate in the
reverse direction of the motor, or
rightward as in the above line drawing.
2. PLL P.C BOARD ADJUSTMENT
(Model AP-306/C only)
I) Adjusting the Oscillation Frequency (VCI)
a) Connect a frequency counter to TP-l and pin 5
(ground).
b) Set the Speed selector to the "33-1/3" position.
c) Move the tone arm to turn power on.
d) Adjust VC1 until the frequency counter reads
4,423,680
±1O
Hz.
CAUTION: For turning VC1, use a RF adjust-
ing screwdriver.
19
 Loading...