GB
31
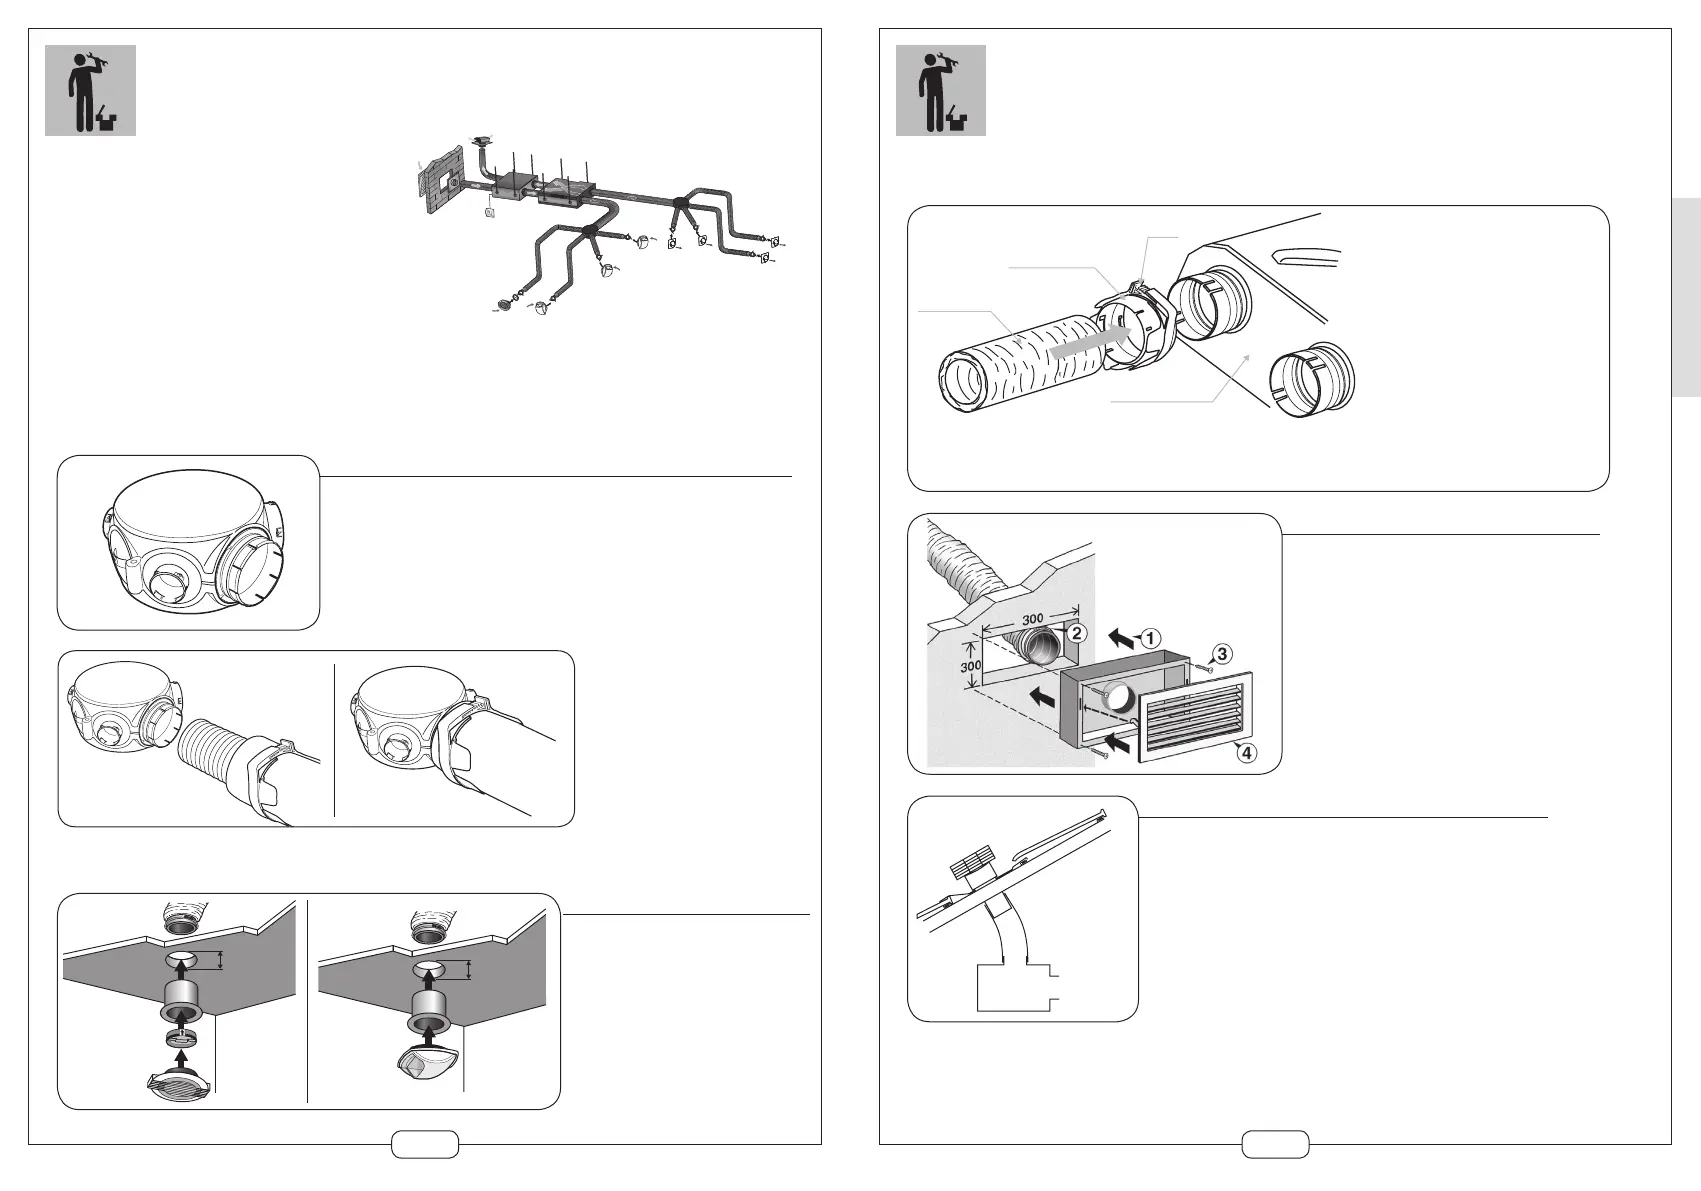
ASSEMBLY
Insulated flexible
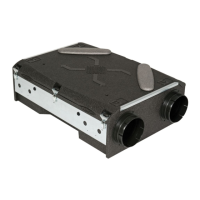
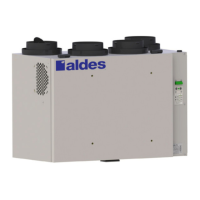
Motor unit Dee Fly
Clip
Connector
Fresh air inlet
building
losses, type AWA 300x300 for example.
Attach the inner duct to the
connector using a collar.
Attach the insulator and the outer duct and tighten it with the fixing collar
Make sure the duct is properly fitted and sealed.
Connection to technical elements (heat exchanger and motor unit)
Roof-mounted exhaust
crimped edges.
place along the lintels.
perpendicular to the slope of the roof.
30
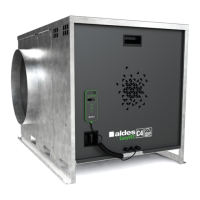
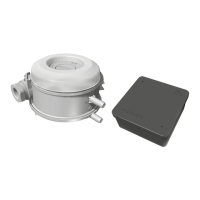
Distribution casing
Use of the insulating PPE distribution casing
and their number (caps)
Ductwork outside of the heated spaces:
Use of flexible ducts or insulated circular
ducts
Outside of the heated spaces it is imperative that
50 mm insulated ducts are used.
Ensure the ductwork is sealed around the sleeves
and connectors by adding a fixing collar or
specially-designed CMEV glue.
Do not crush ducts and leave them visible so that
another person will not crush them.
The discharge must be connected to the outside using
a special CMEV roof exhaust.
1 - Connect the inner duct to the
connector
2 - Bring the insulating cover over
the duct and hold it in place
using the easyclip collar.
1
2
FLEXIBLE DUCT ASSEMBLY
Grille connections
ceiling or wall
Remember to install the auto--ampli-
fier behind the kitchen grille
Ø 125
Ø 125
1
2