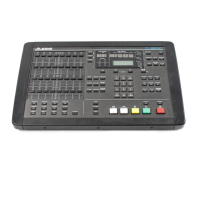
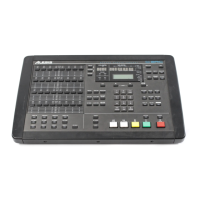
53
4. When the desired Offset Mode is selected, press the TAPE OFFSET
button again;
The second page will now be displayed, which will depend on the
type of Offset mode you selected.
• If the Offset mode = COUNTER OFFSET, then the following will
be displayed:
Offset Tape
X
X
+ aa:bb:cc
…where XX is the tape number (range 01 through 16) and aa:bb:cc is
the offset in minutes, seconds, and frames when the Display Type is
set to Normal. The offset amount defaults to 00:00:00 upon power-on
for all tapes. This offset can also be displayed and edited in either of
the other two Display Types: SMPTE, whereby the offset value is read
in hours:minutes:seconds:frames; or BARS, whereby the offset value
is read in bars:beats:sub-beats (sub-beats are displayed in 1/24ths of a
beat).
5a. With the cursor located in the upper-right corner of the display,
use the Numeric Keypad or the UP/DOWN buttons to select a
tape machine (01–16);
5b. Press the Right Cursor button to advance the cursor to the + sign;
5c. Use the UP/DOWN buttons to select either the + sign or the
– sign;
5d. Press the Right Cursor button to advance the cursor to the offset
amount;
5e. Use the Numeric Keypad or the UP/DOWN buttons to change the
offset amount;
When entering the offset amount, the cursor will automatically
advance to the next field until the last digit of the frames field is
reached.
5f. When the Display Type is set to either Normal or SMPTE, a second
page can be accessed by pressing the Right Cursor button past the
frames field, where you can fine tune the offset by adjusting its
position in sub-frames and samples;
Offset Tape
X
X
fine tune +sf:ss