8
SECTION 2
Installation
Three common ways to install the camera are:
• Anchoring the camera directly to a ceiling
• Installing the camera onto a wall with the ALI-AF10 Wall Mount Bracket with Flange Adapter
• Recess mounting the camera onto a ceiling.
The ALI-AJ10 Junction Box accessory is also useful for protecting the connections between the camera drop cables and the
extension cables.
2.1 Before you start
2.1.1 Remove the camera from the packaging
Remove the camera from the protective packaging.
CAUTION
To protect the camera dome from scratches and contamination, DO NOT remove the protecting packaging on the dome until
the camera is ready to power on.
2.1.2 Verify the contents of the package
• Check the package contents and make sure that the device in the package is in good condition and all the assembly parts are
included:
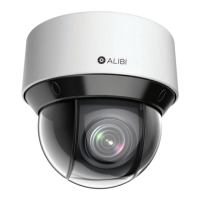
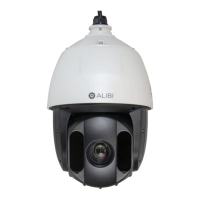
— PTZ camera assembly
— Security L-wrench
— Safety cable
— 12 Vdc power adapter
— Alibi IP camera network setup guide
— Drill template
— Ethernet weatherproof tting
• Determine the best location to install the camera. Make sure the mounting surface is strong enough to withstand at least 8
times the weight of the camera assembly and mounting hardware.
• Obtain the best fasteners for anchoring the camera (or camera and wall mount bracket) to the surface. Fasteners other then
those provided may be required to assure secure mounting. For cement walls, use an expansion screw to secure the mounting
bracket.
For outdoor installations, refer to “APPENDIX D Lightning and Surge Protection” on page 36 for additional installation
considerations.
SECTION 1: OVERVIEW