Back to Contents Page
System Board
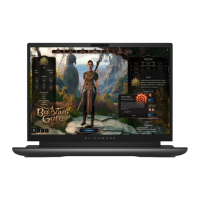
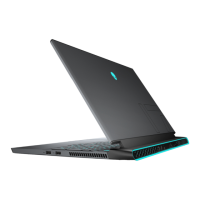
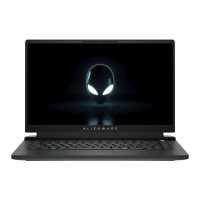
AlienwareM18xServiceManual
Removing the System Board
Replacing the System Board
Entering the Service Tag in the BIOS
The system board's BIOS chip contains the Service Tag, which is also visible on a barcode label at the bottom of the computer.
Removing the System Board
1. Follow the instructions in Before You Begin.
2. Remove any installed card or blank from the Media-Card Reader.
3. Remove the battery pack (see Removing the Battery Pack).
4. Remove the base cover (see Removing the Base Cover).
5. Remove the hard drive(s) (see Removing the Hard Drive(s)).
6. Disconnect the coin-cell battery cable from the connector on the system board (see Removing the Coin-Cell Battery).
7. Disconnect the video-card heat-sink fan(s) cable from the connector on the system board (see Removing the Video-Card Heat-Sink Fan(s)).
8. Disconnect the processor heat-sink fan cable from the connector on the system board (see Removing the Processor Heat-Sink Fan).
9. Remove the center control cover (see Removing the Center Control Cover).
10. Remove the keyboard (see Removing the Keyboard).
11. Remove the macro keyboard (see Removing the Macro Keyboard).
12. Remove the display assembly (see Removing the Display Assembly).
13. Remove the palm-rest assembly (see Removing the Palm Rest).
14. Remove the Bluetooth card (see Removing the Bluetooth Card).
15. Remove the memory module(s) (see Removing the Memory Module(s)).
16. Remove the Mini-Card (see Removing the Mini-Card).
17. Remove the video-card heat-sink(s) (see Removing the Video-Card Heat- Sink(s)).
18. Remove the video card(s) (see Removing the Video Card(s)).
19. Remove the processor heat-sink (see Removing the Processor Heat-Sink).
20. Remove the processor module (see Removing the Processor Module).