Rockwell Automation Publication 750-PM001N-EN-P - February 2017 441
Application Notes Appendix C
Figure 79 - Torque Proving Flow Diagram
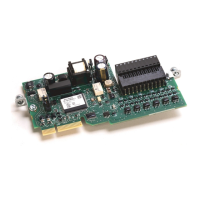
(1) For torque proving to function properly, wire a mechanical brake to a
relay output on a digital I/O option module. On the I/O module, set P10
[RO0 Sel] to Port 0, P1103 [Trq Prove Status] Bit 4 “Brake Set” and set
P6 [Dig Out Invert] Bit 0 “Relay Out 0” = 1.
Tuning the Motor for Torque Prove Applications
It is possible to use the Start-Up routine to tune the motor (See page 15).
However, it is recommended to disconnect the motor from the hoist/crane
equipment during the routine.
Torque
Prove Initiated
Brake
Released
Float
Initiated
Brake
(1)
Set
Brake
Slip Test
Run
Command
Run
Command Released
Drive Running
Run can be initiated anytime
All times between Drive Actions are programmable and can be made very small
(i.e. Brake Release Time can be 0.1 seconds)
[ZeroSpdFloatTime]
Parameter 1113
[Brk Release Time]
Parameter 1107
[Brk Set Time]
Parameter 1108
Operator
Commands
Time
Drive
Actions
ATTENTION: To guard against personal injury and/or equipment damage due to
an unexpected brake release, verify the digital output that is used for brake
connections and/or programming. The PowerFlex 755 drive does not control
the mechanical brake until TorqProve is enabled
. If the brake is connected
to a digital output, it could be released. If necessary, disconnect the digital
output until wiring/programming can be completed and verified.
Control
Voltage
R0NO
R0C
I/O Module TB2
Brake
Relay
 Loading...


