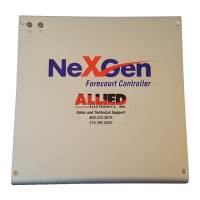
NeXGen Wayne Direct - Gilbarco / Installation and Start Up Guide
Copyright 2019 by Allied Electronics, Inc.
December 31, 2019 Page
2-1
2 Installation Information
2.1.1 Procedures
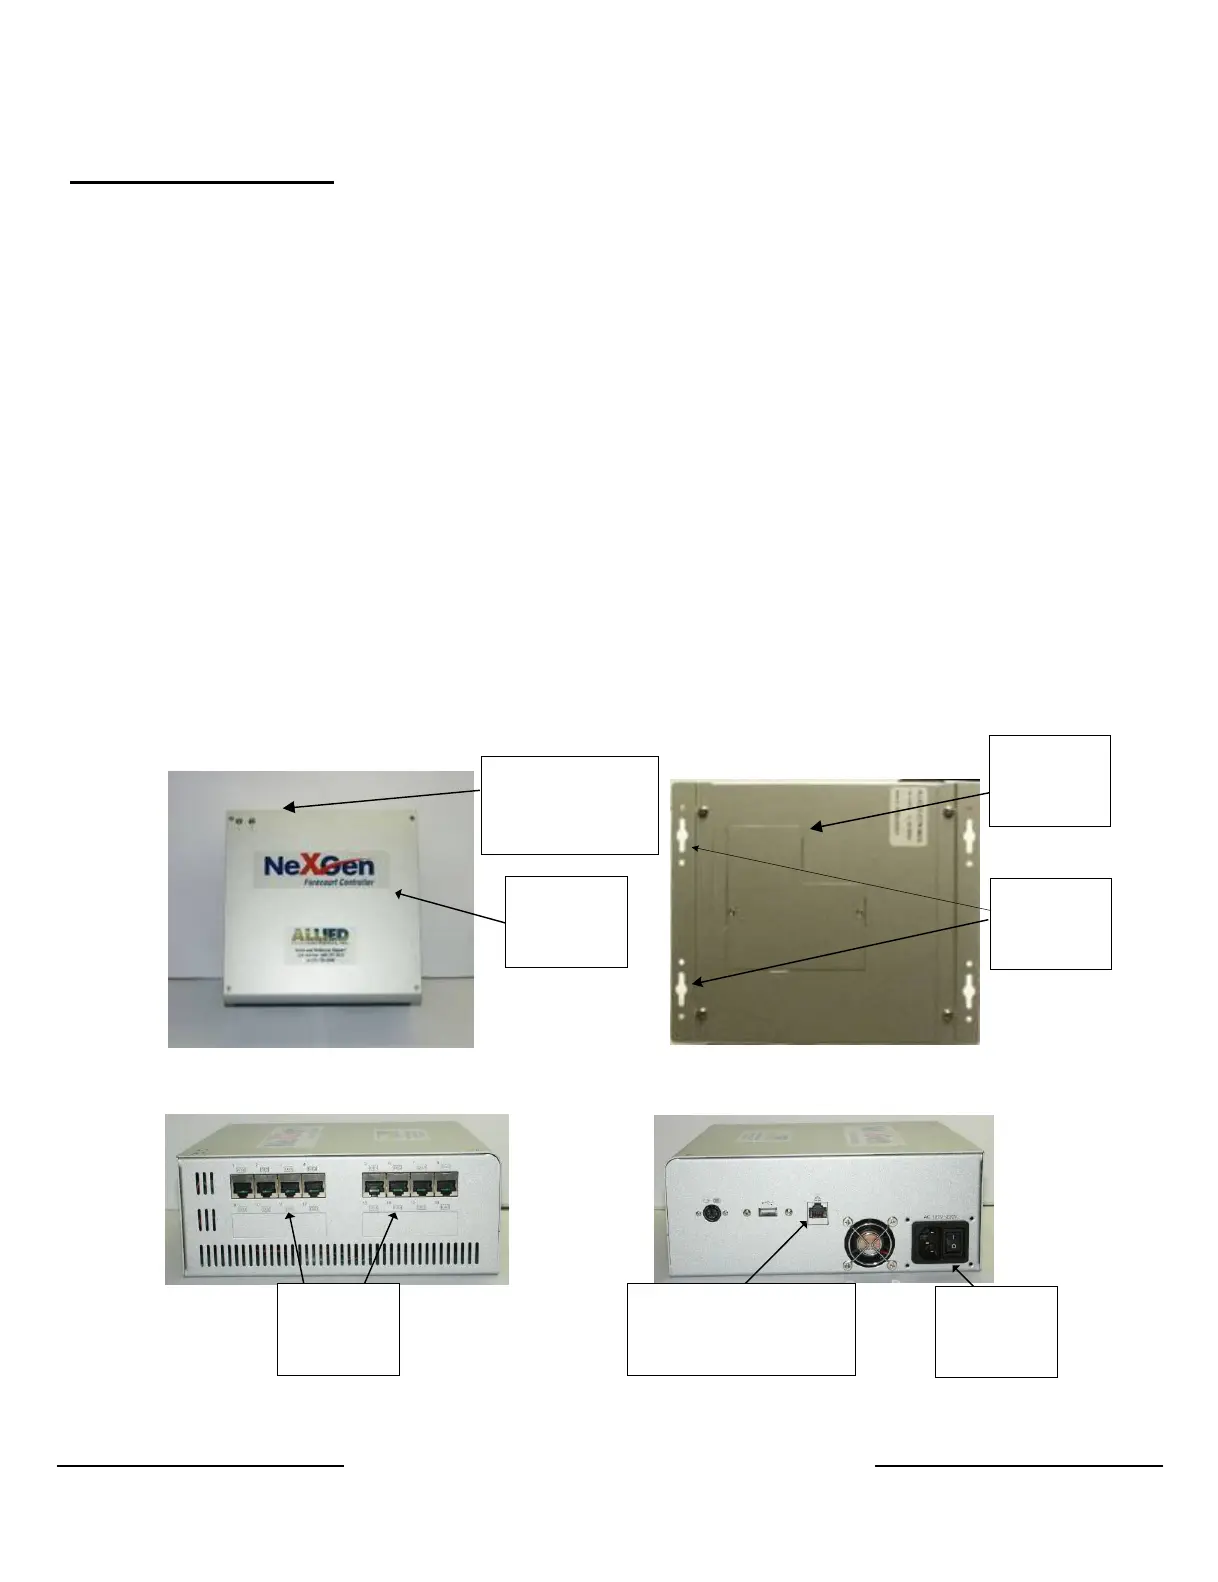
1. Hardware Installation
a. Attach the two mounting brackets to the NeXGen controller as shown in figure
2.
b. Mount the NeXGen controller unit to the mounting area using the mounting
holes as shown in figure 2. Underwriters Laboratories (UL) requires that
NeXGen be mounted horizontally to the floor on a shelf perpendicular to the
wall. The bottom of the unit, with the CF access panel, should lay flat on the
mounting surface. The mounting brackets secure NeXGen to the mounting
surface.
c. Route and connect all communication cables as labeled. Refer to
“Configuration Diagrams” section (see figure 3).
d. Apply AC power to unit by turning the power switch to the ON position (see
figure 4).
LEDs:
Grn- power
Red- CF access
Figure 3 Figure 4
Mounting
Holes (4)
NeXGen
(Top View)
Ports for
peripheral
Ethernet Port
(Optional POS)
Power
Connection &
On/Off Switch
Bottom
 Loading...