%5HY
5. Installation
:$51,1*
7KH$OSKD);0PRGXOH0867EHFRUUHFWO\JURXQGHGIRUSURSHURSHUDWLRQ
7KHLQSXWDQGRXWSXWOLQHVWRDQGIURPWKH$OSKD);00867KDYHGLVFRQQHFWGHYLFHV
DWWDFKHG
7KH$OSKD);0PXVWEHLQVWDOOHGLQDUHVWULFWHGDUHDDFFHVVLEOHRQO\E\TXDOL¿HGVHU
YLFHSHUVRQQHO
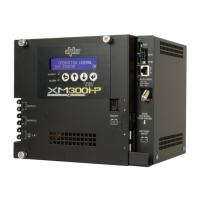
Once the installation location has been planned and prepared, you are ready to install the Alpha FXM. There are
three steps to setting up the Alpha FXM:
1. Mounting the Alpha FXM.
2. Wiring the external batteries.
3. Wiring the Alpha FXM.
5.1 Tools and Equipment Required for Installation
1. DC voltmeter.
2. Labels or masking tape and marker.
3. Torque wrench for input/output terminal blocks.
4. Slot head screwdriver to fit the terminal blocks.
5. Minimum #10 AWG copper wire for input/output terminal blocks.
6. High strength, flame-proof tape such as duct tape.
7. Battery terminal corrosion inhibitor such as NOCO Company’s NCP-2 or Sanchem Inc.’s No-Ox ID Grease
“A”.