%5HY
&$87,21
7RVXFFHVVIXOO\FRPSOHWHWKLVSURFHGXUH\RXVKRXOGKDYHDZRUNLQJNQRZOHGJHRI
QHWZRUNSURWRFROVDQGKRZWRFRQ¿JXUHWKHP&RQVXOW\RXUQHWZRUNDGPLQLVWUDWRUIRU
GHWDLOV
,IPXOWLSOH836¶VDUHLQVWDOOHGRQWKHVDPHQHWZRUNFRQ¿JXUHHDFKXQLW¶V,3DGGUHVV
EHIRUHWKHLQVWDOODWLRQ(DFK836RQWKHQHWZRUN0867KDYHLWVRZQXQLTXH,3DGGUHVV
6HH&RPPXQLFDWLRQV&RQ¿JXUH7&3,3
6.11 Communicating Via The Intranet or Internet
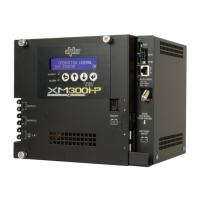
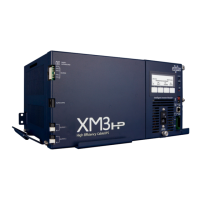
If the Alpha FXM is equipped with the optional, factory-installed FXM communication module, then the internet or
a company intranet can be used to communicate with the Alpha FXM. In addition, the Alpha FXM can be moni-
tored and controlled via a web browser or with SNMP protocols.
6.11.1 Installation and Set Up
The following tools and materials are needed:
• Computer with network card and web browser.
• Cross over cable or hub.
• The UPS’s: Final IP Address and Subnet Mask and if needed the Default Gateway and the DNS Server ad-
dresses.
6.11.2 Procedure
1. Connect the Alpha FXM to the computer with either the cross over cable or a hub.
2. Switch on the computer.
3. Configure the network card to talk to the FXM communication module. The module’s default address is
http://192.168.0.90.
4. Type the IP address into the browser and press ENTER. The input and output screen appears. See “UPS
Monitoring”.
5. Go to the communications screen, “Configure TCP/IP”, and configure the TCP/IP properties according to
your network’s requirements. Push the Apply Settings button. The screen will prompt for the password. The
factor y default password is 1111.
6. Connect the Alpha FXM to the configured network according to your new properties.
7. Access the Alpha FXM according to the new network properties.