3.3 You need to make a proper degree of tightness of the pull belt for X axis& Y axis.
3.4 Ensure manual operation slide smoothly when you install the X, Y, Z axis.
3.5 When equipped the hotbed, you should keep the 4 angle level for sure.
3.6 Ensure the correct wiring for controller board and plug tightly into the exact socket.
3.7 Don’t plug and unplug the wiring for controller board when power on, especially don’t plug and
unplug the connect wiring for power supply.
3.8 Don’t touch the extruder and hotbed when printer is power on to avoid the scald.
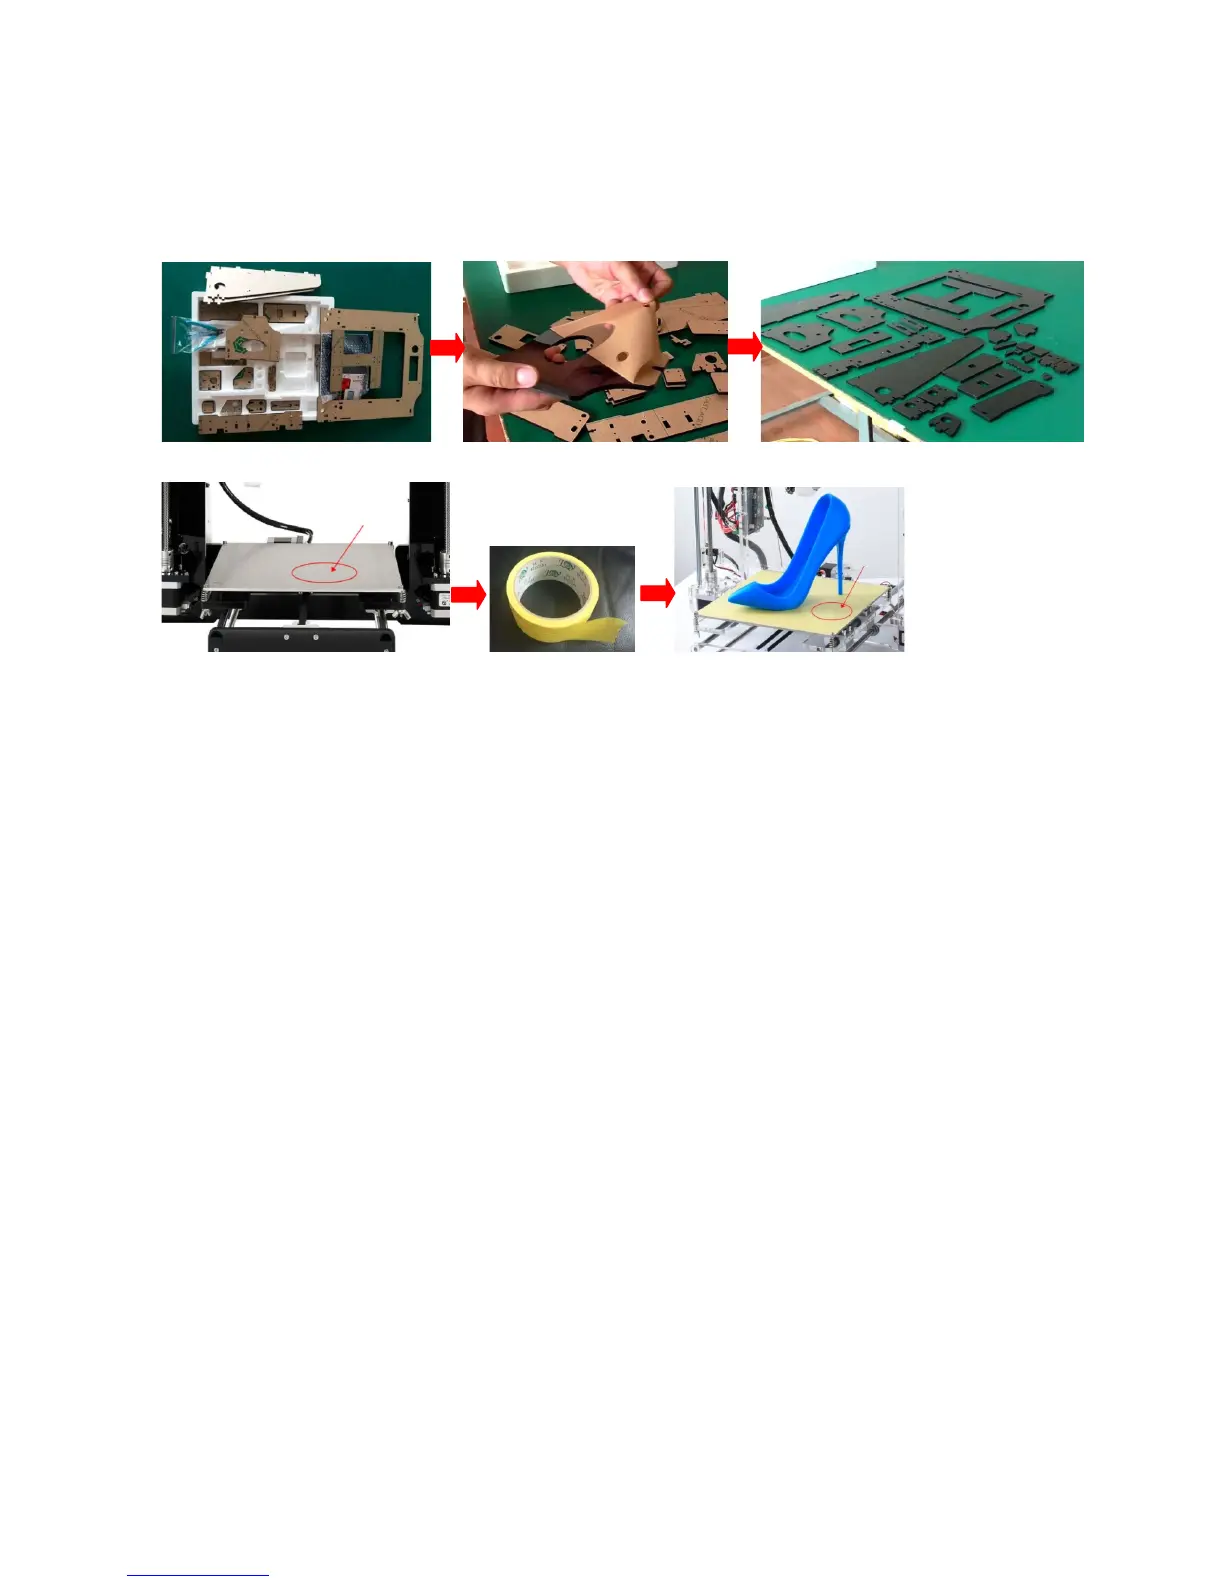
3.9 Before installation please remove the protective paper.
3.10 Before printing please paste on crepe paper.
4. Preparatory Work
1. Tool and kit preparing: one level desk at more than 2 sq. m. size, one computer, one scissor, SD card
reader, power supply and so on.
2. Open the box you got, and read the “Guide“ from the SD card. We suggest that you should copy all
the documents to the computer from the SD card and then start assembling according to the
“Guide” (SD-Card: \Installation Instruction\ALUNAR 3D Printer M508 Quick Start Guide)
5. Preinstallation Checklist
5.1 Step Way of Opening Box
Please look over the whole box appearance and make sure whether the box is damaged (if damaged,
please feel free to contact with our customer service); and then please open the box and check the kits list as
per “opening the carton” (SD-Card: \Packing list\Open the carton.)And “Video of opening carton” (SD-Card:
\Installation Instruction\Video\ Open Carton.MP4)
5.2 Take an account of kits
Please check out all the parts and make sure if any part is lost or damaged as per the “Packing List”
(SD-Card: \Packing list) and video “Open carton” (SD-Card: \Installation Instruction\Video\Open Carton.mp4.)
Please feel free to contact our customer service once you find out that you lost or got any defective parts
(except leading by the inartificial reason). We will try our best to settle your problems as soon as possible).
6. Assembly and Calibration for M508
M508 assembly: Please assembly the printer by following the step1- step7 on assembly diagram and video,
and pay attention the prompt for key of assembling.(SD-Card: \Installation Instruction\Video)