© Copyright 2014 Amano McGann, Inc. OPUS7000_Installation_10032014 27
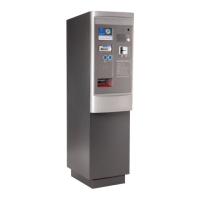
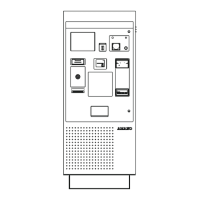
OPUS-7000 Installation Manual
2.12 Inserting a Receipt Header Logo
1. Create a black and white logo with a width of 605 pixels and a height of 75
pixels.
2. Save the logo as LOGO.bmp. The file extension/type must be .bmp (Bitmap).
3. Power OFF the Paystation, remove the iCore SD card, and insert the SD card
into a laptop.
4. Place the .bmp logo into the SD Card\ReceiptPrintInfo\LOGO location and
overwrite the current receipt logo.
5. Insert the SD back into the iCore board and power the Paystation ON.
6. Enter the First Time Operation menu, select Next to page two, and press
Manager Operation. Enter the Management Menu password (C1441104).
7. Press Next to page two and select Engineer Operation.
8. Press System Parameters and select Common Parameters followed by
Setting.
9. Read the number 19-0001 and change the value to 1.
10. Read the number 22-0002 and change the value to 1.
11. Back out of the System Parameters menu and restart the Paystation when
prompted.
2.13 Enabling the Lost Ticket Button (Negotiated and Flat Fee)
1. Open the Paystation door and toggle the Management Switch to enter the
First Time Operation menu.
2. Select Next to continue to page two and press Manager Operation. Enter
the Management Menu password (C1441104).
3. Press Next to continue to page two and select Engineer Operation.
4. Press System Parameters and select Common Parameters followed by
Setting.
5. Read the number 29-0034 and change the value to 2.
6. Back out of the System Parameters menu and restart the Paystation when
prompted. The Lost Ticket button is displayed in the lower-right corner of the
display once the Paystation entrance loop is armed.
Note: The Lost Ticket button can be a pre-determined flat fee, or a
negotiated fee.

 Loading...