Page 10 OM001-16 Otowave 102 Operating Manual
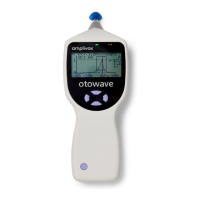
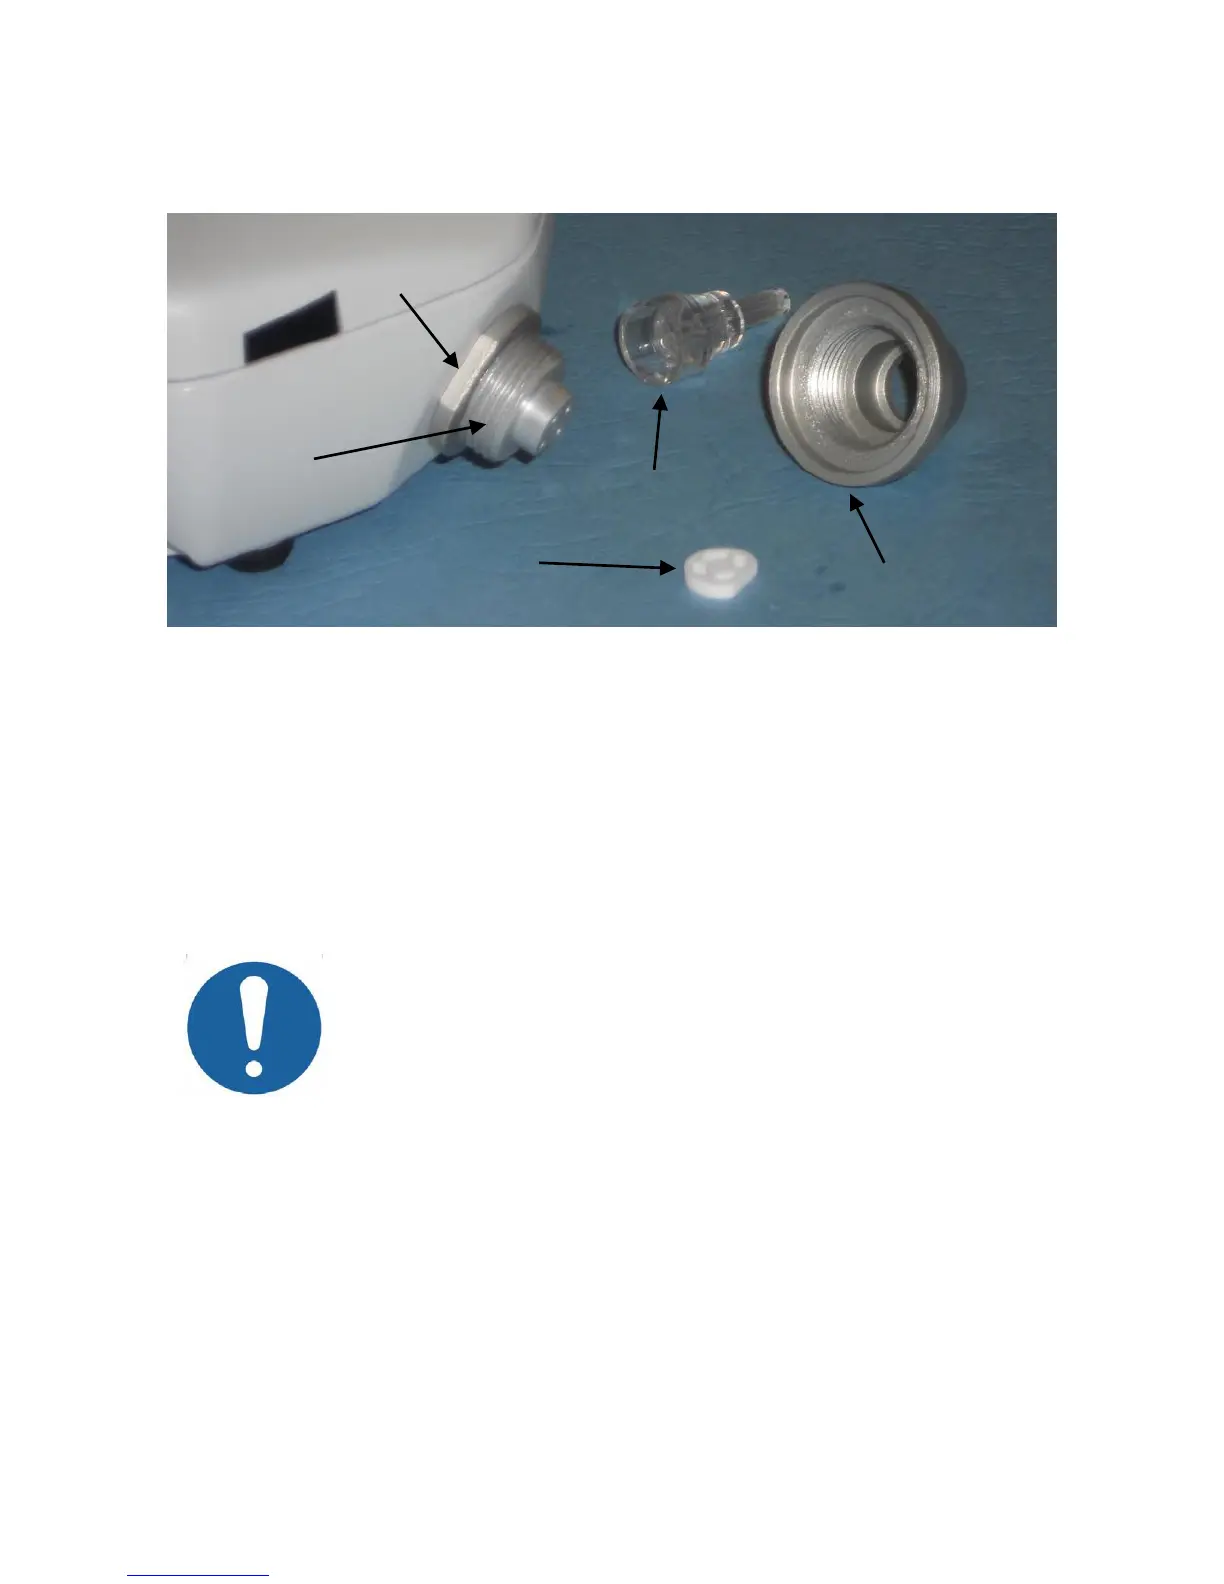
4.4. The probe
The small holes through the Otowave probe tip must be kept clear. If these
become blocked a warning message will be displayed. The probe tip must
be removed and cleaned or replaced.
To remove the probe tip, unscrew the nose cone and remove the probe tip
from the boss. A small seal will be found in the base of the probe tip. This
should be examined and replaced if it is blocked or damaged. Do not
remove the nut securing the boss to the body of the instrument.
When replacing the probe tip, ensure that the seal is
correctly located with the flat side aligned with the flat
side within the base of the probe tip. Push the probe
tip over the boss and replace the nose cone. Make
sure that the nose cone is screwed home firmly but do
not over-tighten. Do not use any tools to tighten the
nose cone.
After replacing the tip a Daily Check should be carried out (see Section 10).
4.5. Start-up and menu displays
When the Otowave 102 is turned on the start-up screen is shown while
internal tests are performed and the pump is initialised. When the start-up
sequence is complete the MAIN MENU is displayed:
 Loading...