Battery Life and Replacement
152
MVP-5100/5150 5.2" Modero Viewpoint Touch Panels
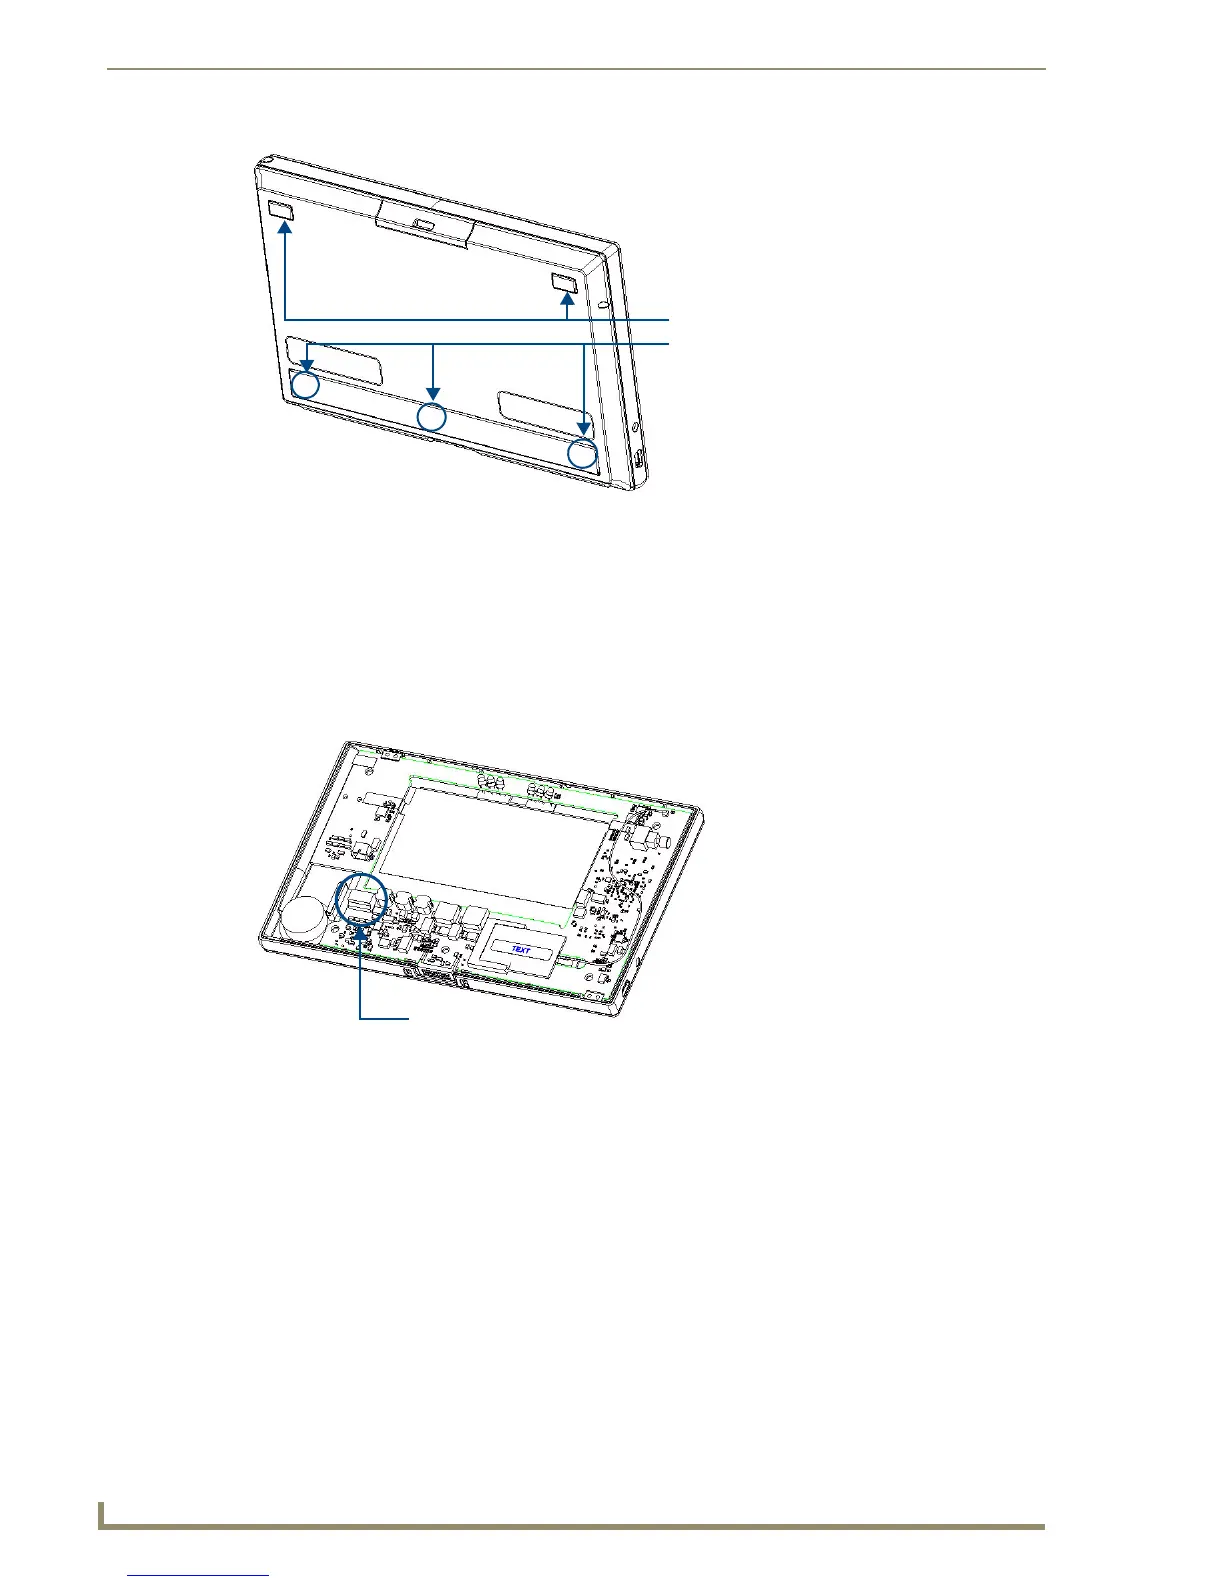
Two of the screws are at the upper corners of the device, underneath rubber feet that also act as
screw covers. Remove the rubber feet to access the screws.
Remove the lower rubber foot to reach the remaining three screws.
3. Discharge all static electricity that may have built up on your body, either by using a static discharge
strap or by touching a nearby piece of metal.
4. Carefully remove the back of the device and detach the battery lead at the battery connector
(FIG. 85).
This will allow the back cover to be detached from the device.
FIG. 84 Screw placement at the back of the MVP-5100
FIG. 85 Interior of MVP-5100, including female battery connector
Upper screws (underneath rubber feet)
Lower screws (underneath rubber feet)
 Loading...