Accessories
18
MVP-5100/5150 5.2" Modero Viewpoint Touch Panels
Strip 0.25 inch (6.35 mm) of wire insulation off all wires.
Insert each wire into the appropriate opening on the connector.
Turn the screws clockwise to secure the wires in the connector. Do not over-torque the screws;
doing so can bend the seating pins and damage the connector.
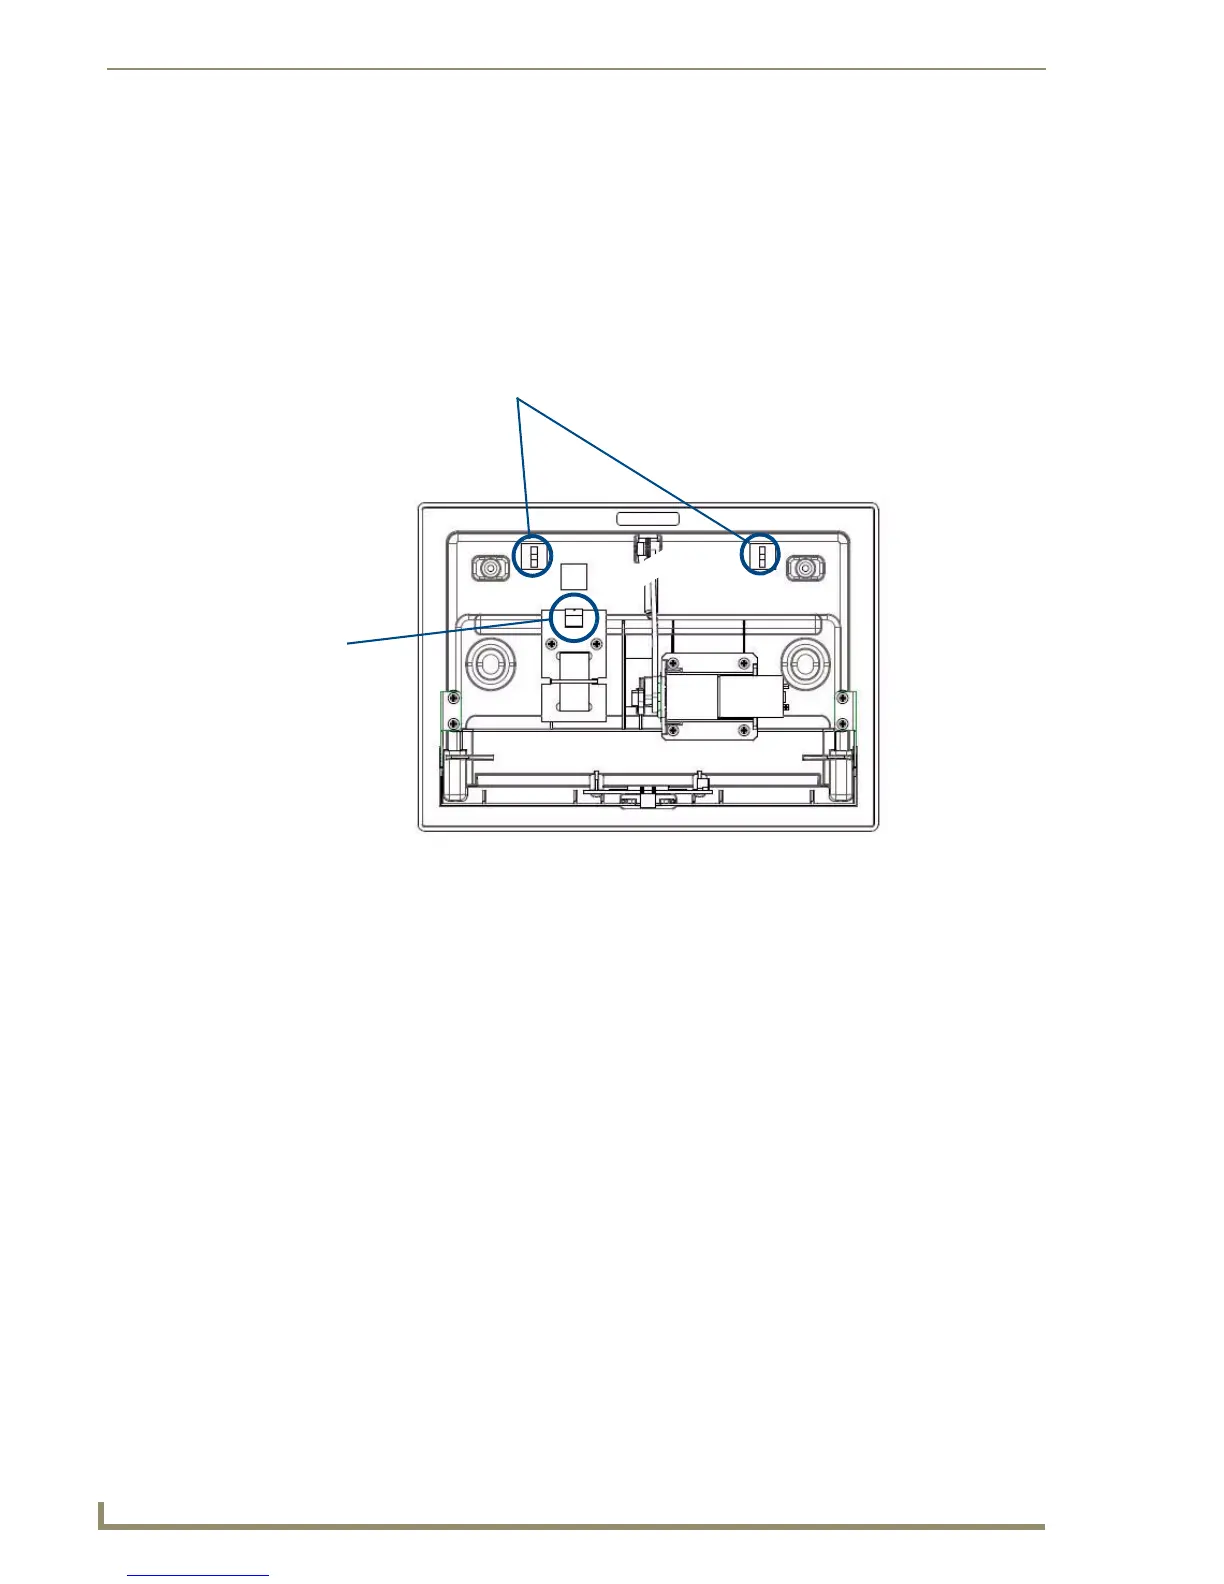
7. Secure the power cable to the device, using either of the two tie-wrap anchors included in the
Installation Kit at the top rear of the device (FIG. 8). Point the head of each tie wrap toward the
center of the device.
8. Firmly seat the mini-captive wire connector to the power connector on the device.
9. Firmly seat the device against the box. Make sure that the tab connector at the top of the device is
locked into the box.
10. Insert the two installation screws from the MVP-WCS-52 Installation Kit into the screw holes in the
interior compartment of the device and tighten them to anchor the device to the box (FIG. 9).
FIG. 8 MVP- WCS-52 - Rear
Tie-Wrap Anchors
Mini-Captive Wire
Connector Plug
(female)
 Loading...