• The instrument is supplied non-sterile.
• Before use, disinfect the lamp handle. The fiber optic and
the eye protection can be sterilized in a steam autoclave
up to 135°C.
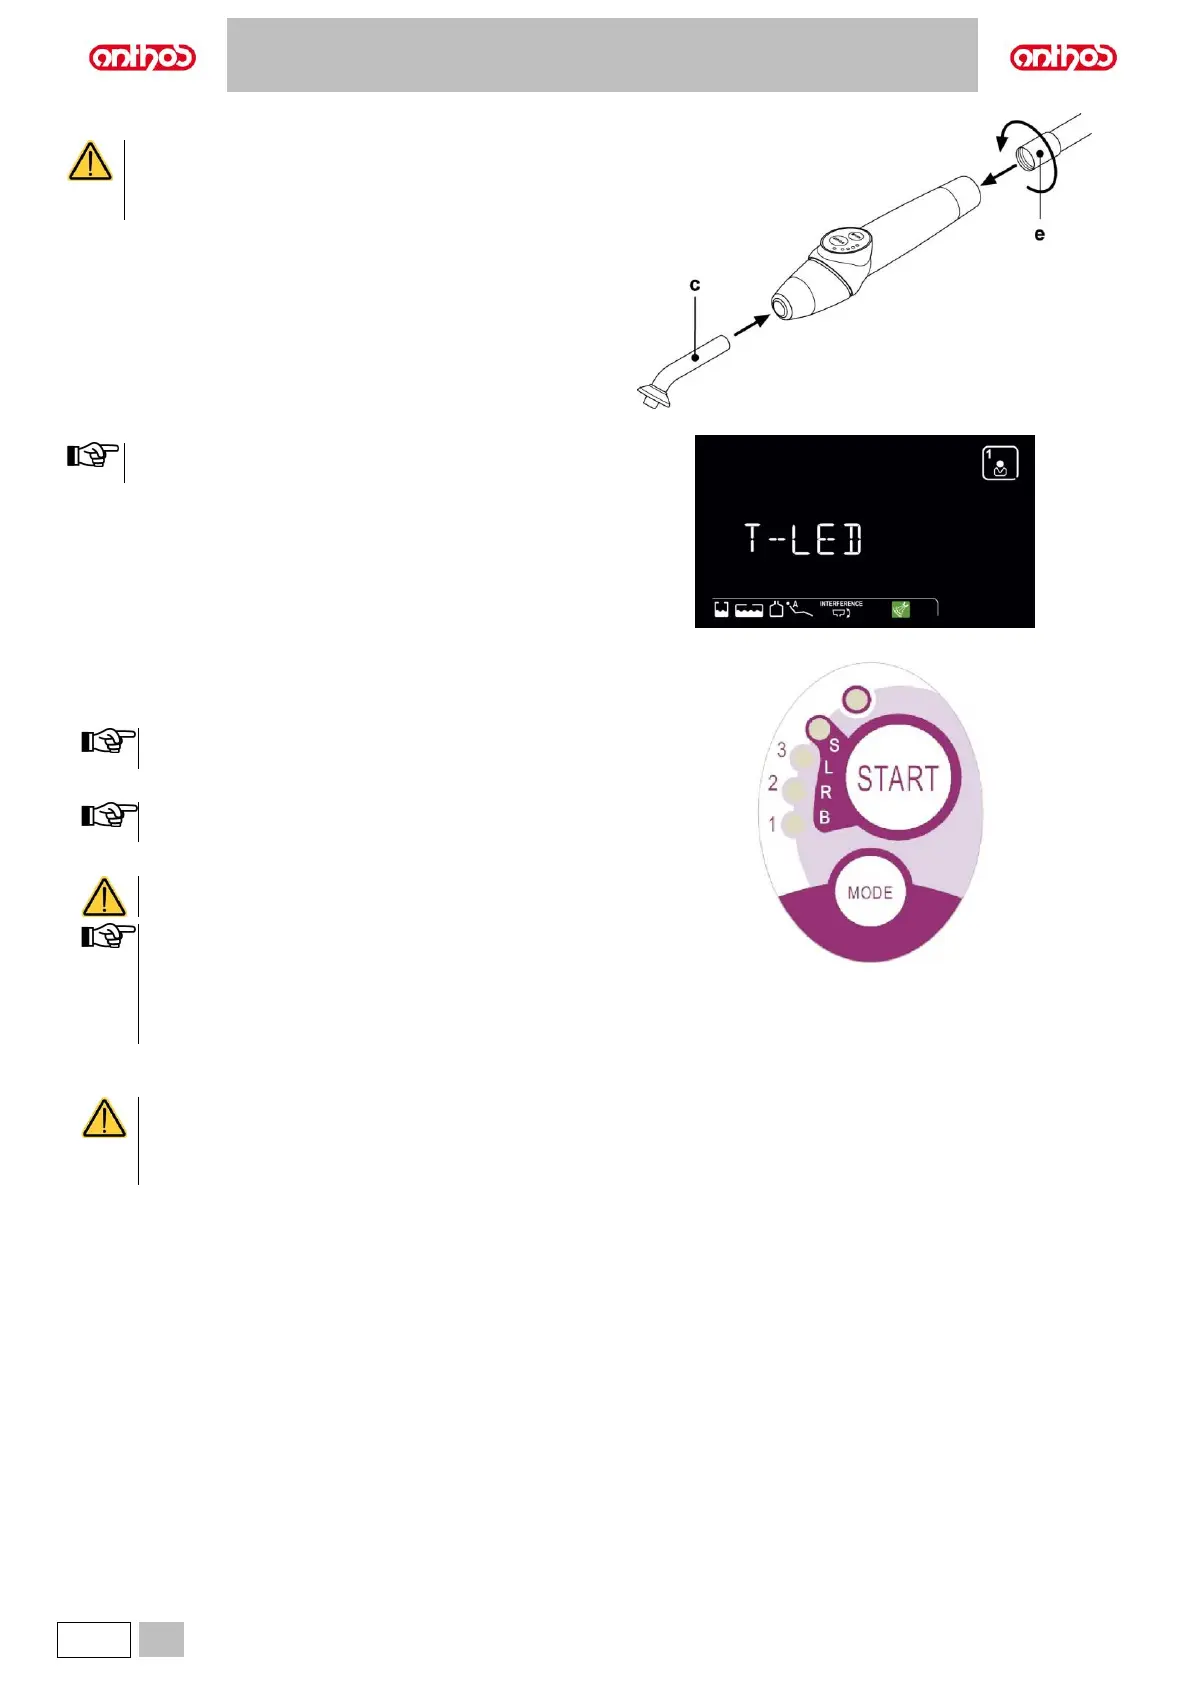
• Put the fiber optic (c) in its housing until it clicks.
• Attach the curing light handpiece to the end of its power hose and tighten
the ring nut (e).
• Take the lamp out of its housing on the assistant’s board or dentist's
board.
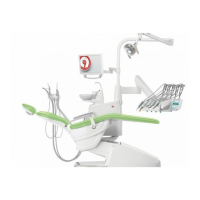
Instrument activation is highlighted by the relevant managing
screen appearing on the DISPLAY.
• Turn the front of the lamp and/or fiber optic to the position most suitable
for curing (wand, gun or intermediate positions).
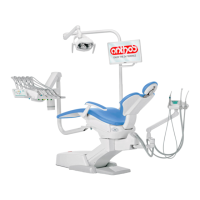
• Use the MODE button to select the desired cycle as previously directed
(the selected cycle is always indicated by the illuminated LED).
The curing light has a permanent memory therefore the last
cycle used will always be present the next time it is used.
• Place the fiber optic in the position required for curing.
The fiber optic should be placed as close as possible to the
material to be cured without touching it.
• Press button START to start the cycle.
Operating mode: work 2 consecutive cycles, rest 60
seconds.
When a programmed cycle is activated, the LEDs (1, 2, 3, B,
R, L) indicate the time that elapses (in multiples of 5 seconds)
and turn off every 5 seconds of operation.
The curing light comes with a beep that BEEPS when the cycle
starts, BEEPS every 5 seconds of operation and lastly BEEPS
twice at the end of the work cycle.
• Allow light emission to stop by itself. However, it can be stopped at any
time by simply pressing the START button again.
• The curing light is equipped with a system that signals
malfunctions by illuminating the LEDs in different
combinations (see next paragraph).
• The curing light is equipped with a thermal cut-out.