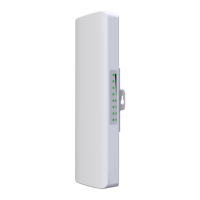
Double click ‘Internet Protocol Version 4 (TCP/IPv4)’
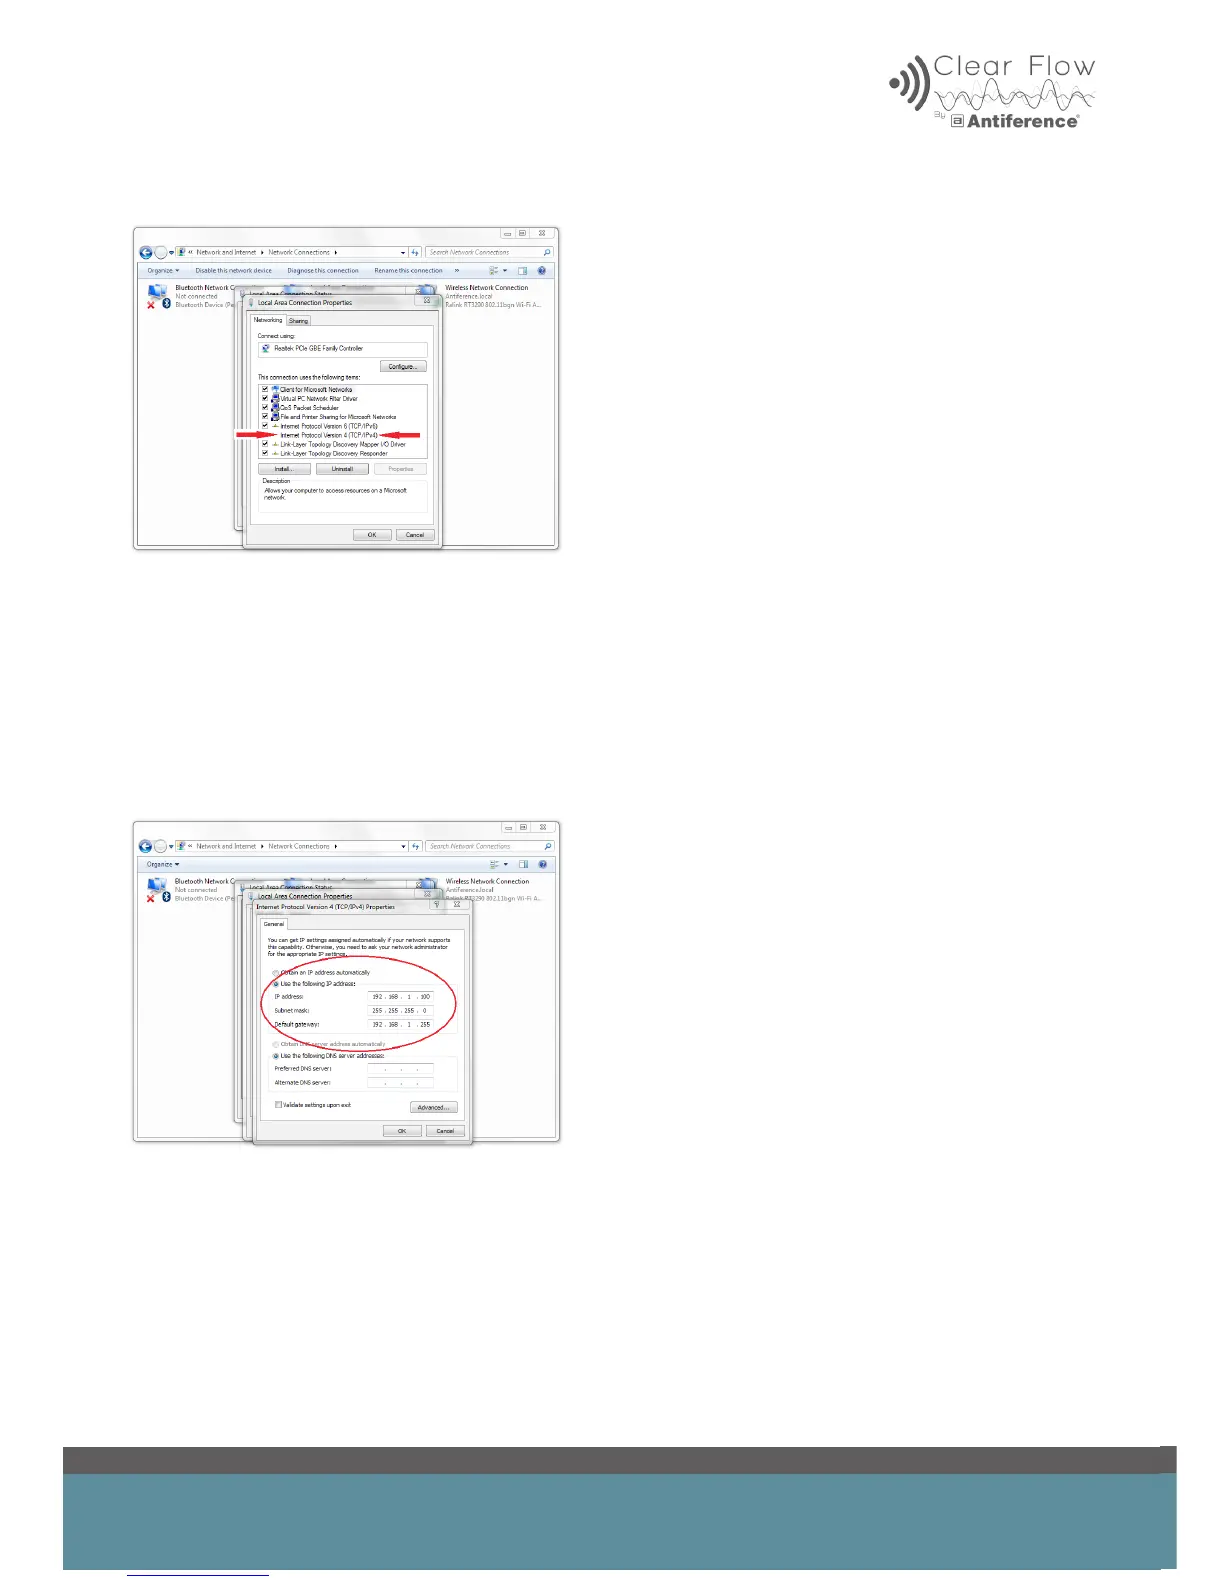
Next, toggle option to ‘use the following IP address.
Insert an IP address within the same IP range as the AP/Bridge such as 192.168.1.100, for
example
The Subnet Mask should automatically load and should be 255.255.255.0.
The Default Gateway should be 192.168.1.255 as this opens all IP addresses in this range.
Click OK to return out of the networking menu. The IP address of your PC will now be changed
and the AP/Bridge can be accessed via your web browser.
Power up the AP/Bridge and wait for the device to boot-up. This may take a few minutes.
Open a browser and login to the AP/bridge using the default IP address 192.168.1.200.