110
ò to move the cursor to the “RMT-ID” selection point. Use the main dial or ï ð keys
change the AR8200 RS232 IDENTIFICATION ADDRESS when multiple units are connected to the
same port.
It is possible to connect up to 99 units at once, each radio being assigned a different address. The value
is adjustable between 00 and 99, the default is 00. The key may be used as a short cut 00.
&Important note: It is extremely important to set the RMT-ID to 00 for normal operation
of the RS232 connection and clone of data between radios.
to accept the data and return to a standard display. Alternatively
to abort entry or ò to move to the next item on the config menu (FREQ DISP).
14-7 CONFIG FREQ DISP
It is possible to instruct the AR8200 NOT to display frequencies while in memory read, search and scan
modes (should you wish for prying eyes not to see specifically what you are listening to). Liberal use of
‘text comments’ is recommended if you disable frequency display (turned it off) unless you choose to
have really anonymous operation!
&Note: Frequency display will be provided in VFO and VFO search and VFO scan even with
the frequency display disabled.
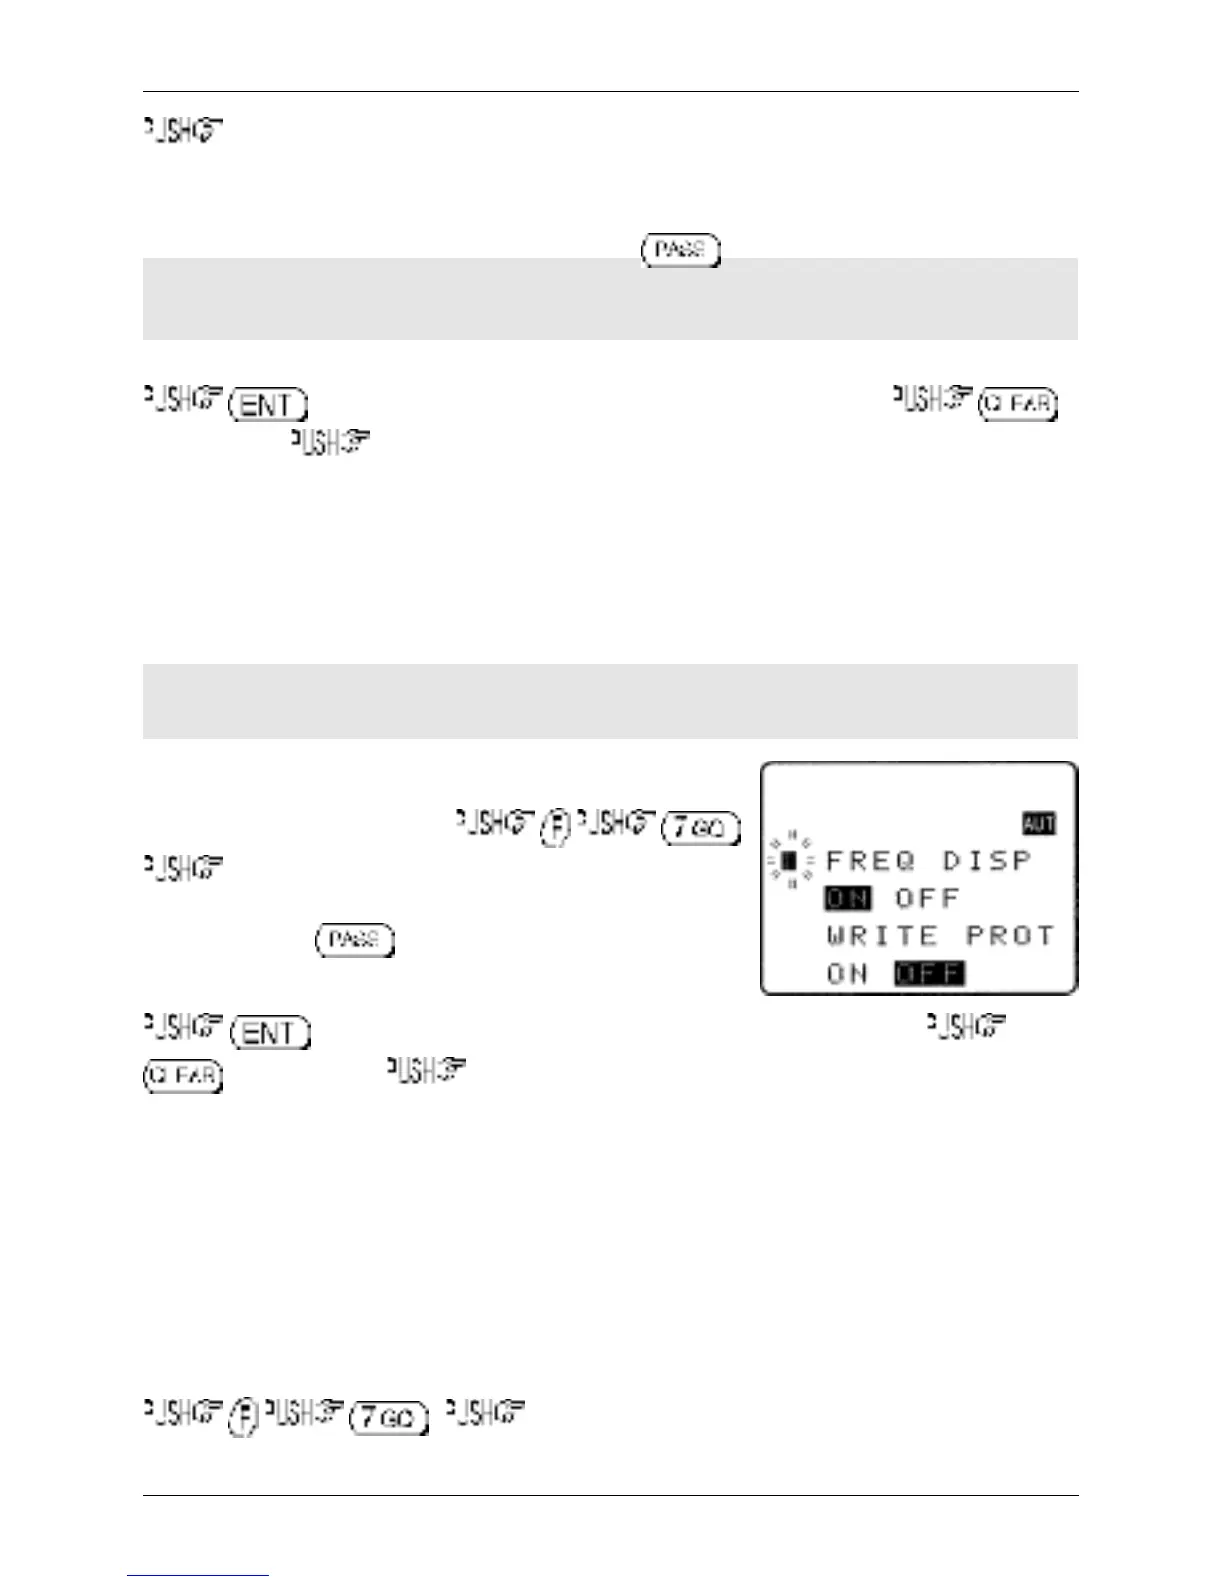
The FREQUENCY DISPLAY parameters are setup in the CONFIG
menu. To access the config menu .
ò eight times to move the cursor to the “FREQ DISP”
selection point. Use the main dial or ï ð keys to toggle between
ON and OFF. The key may be used as a short cut to ON
(which is default).
to accept the data and return to a standard display. Alternatively
to abort entry or ò to move to the next item on the config menu (WRITE PROT).
14-8 CONFIG GLOBAL write protect
It is possible to globally write protect the entire AR8200 data storage, this prevents memory entry, search
bank programming, loading of data via the option socket, loading of data from the optional EM8200 etc.
Use this feature carefully.
Should you wish to leave your AR8200 safe in the knowledge that no-one will ‘mess it up’ (well
maybe!)… toggle global write protect on.
The global “WRITE PROTECT” status is setup in the CONFIG menu. To access the config menu
. ò nine times to move the cursor to the “WRITE PROT”
selection point.
Section 14-6, 14-7, 14-8