11
© 2014 Dectro International. All rights reserved.
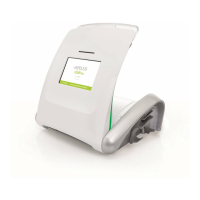
SETTING UP YOUR
APILUS XCELL
Install your Apilus xCell on a solid table of about 86
cm (34 inches) high for easy access to the screen.
Refer to page 6 to identify the Apilus xCell’s dimen-
sions and other components.
1. Plug the power cord into the power socket
at the rear of the unit.
2. Connect the power plug to the wall outlet
(see section: precautions).
Pedal
The pedal must be connected to the appropriate
connection port at the rear of the unit. Gently
insert and tighten the pedal connection into the
Apilus xCell’s connection port, making sure that the
connection is properly aligned. The locking mecha-
nism must be secured to prevent any accidental
disconnection.
Probeholders
The probeholders are inserted into the connec-
tion ports located at the front of the unit. The pro-
beholder cord must be securely screwed into the
connection port. There are rubber supports atta-
ched to each side of the epilator in order to hold
the probeholders in place when not in use.
VitaPhase Devices
Plug the VitaPhase into the connection ports loca-
ted on each side of the unit. Make sure the Vita-
Phase connections are properly aligned with the
connection ports on the epilator. A support is fixed
on each side of the unit to hold the VitaPhase when
not in use.
WARNING: The VitaPhase IonoMassage IM device
must be connected to the right side of the unit
(front view).
WARNING: It is important to unplug the VitaPhase
StimuloMassage SM device when working Blend
in order to prevent any power loss through this
connection.
Cables
1. Connect one end of the red cable into the red
connection port located at the front of the unit.
Connect the bar or plate electrode to the other
end of this cable.
2. Connect one end of the black cable into the
black connection port located at the front of the
unit. Connect the multifunction electrode holder
to the other end of this cable.
A support is fixed on each side of the unit to hold
the electrodes in place when not in use.
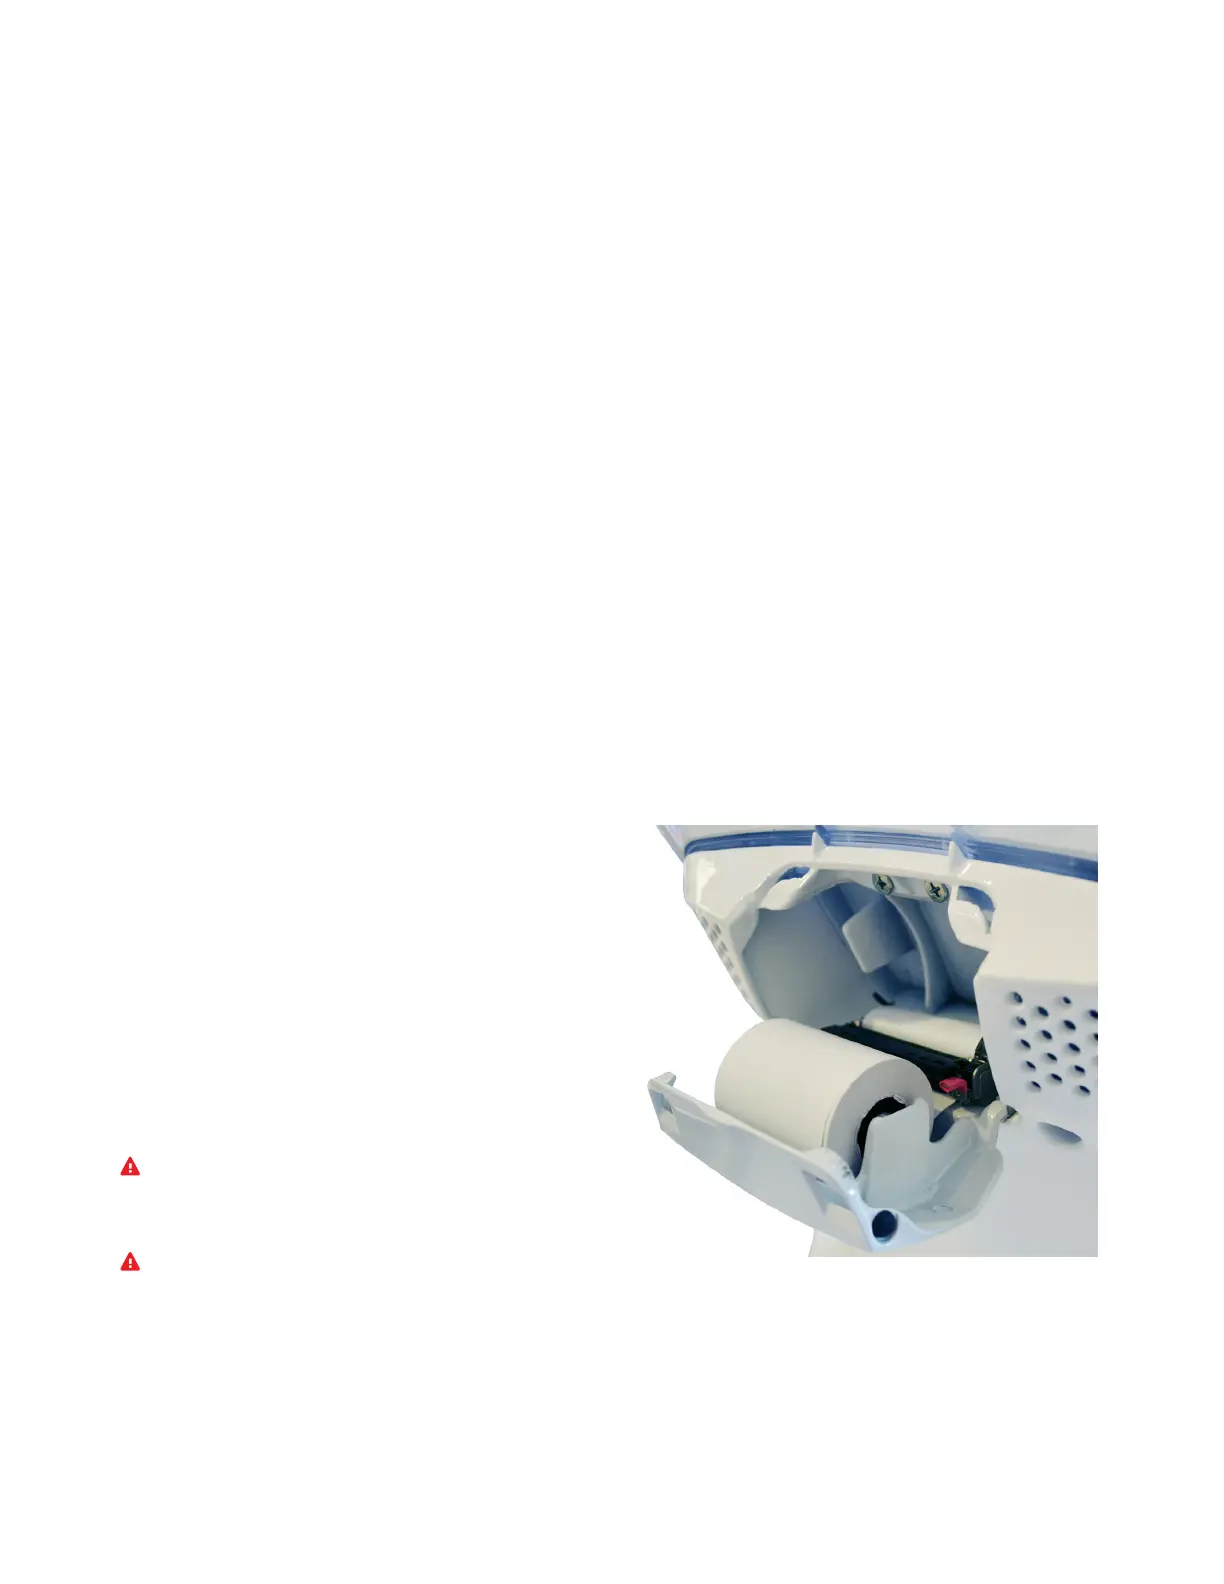
PAPER INSTALLATION
To install the thermal paper roll in the Apilus xCell
Pro, lift the printer door (6) located at the top of the
back of the unit, and pull it towards you. Press the
red button next to the printer mechanism to disen-
gage it. Install the paper roll by inserting the metal
rod into the roll and pull out the paper through
the slot in the front of the unit. Reinstall the printer
mechanism aligning it with the slots on each side
and press firmly until you hear "click".