APsystems YC500-A Installation/User Manual 17
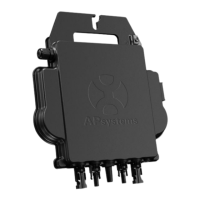
Replace a Microinverter
Follow this procedure to replace a failed APsystems
microinverter
A. Disconnect the APsystems microinverter from the PV module, in
the order shown below:
1. Disconnect the AC by turning off the branch circuit breaker.
2. Disconnect the AC connector from the adjacent inverters in the
branch circuit.
3. Disconnect the PV module DC wire connectors from the micro-
inverter.
4. Remove the microinverter from the PV array racking.
B. Install a replacement microinverter to the rack. Remember to
observe the ashing LED light as soon as the new microinverter is
plugged into the DC cables.
C. Connect the AC cable of the replacement microinverter and the
neighboring microinverter to complete the branch circuit connections.
D. Close the branch circuit breaker, and verify operation of the
replacement microinverter.
WARNING: Be sure to verify the voltage and current specications
of your PV module match that those of the microinverter. Refer to the
APsystems website for a list of approved PV modules.
WARNING: You must match the DC operating voltage range of the
PV module with the allowable input voltage range of the APsystems
microinverter.
WARNING: The maximum open circuit voltage of the PV module
must not exceed the specied maximum input voltage of the
APsystems microinverter.