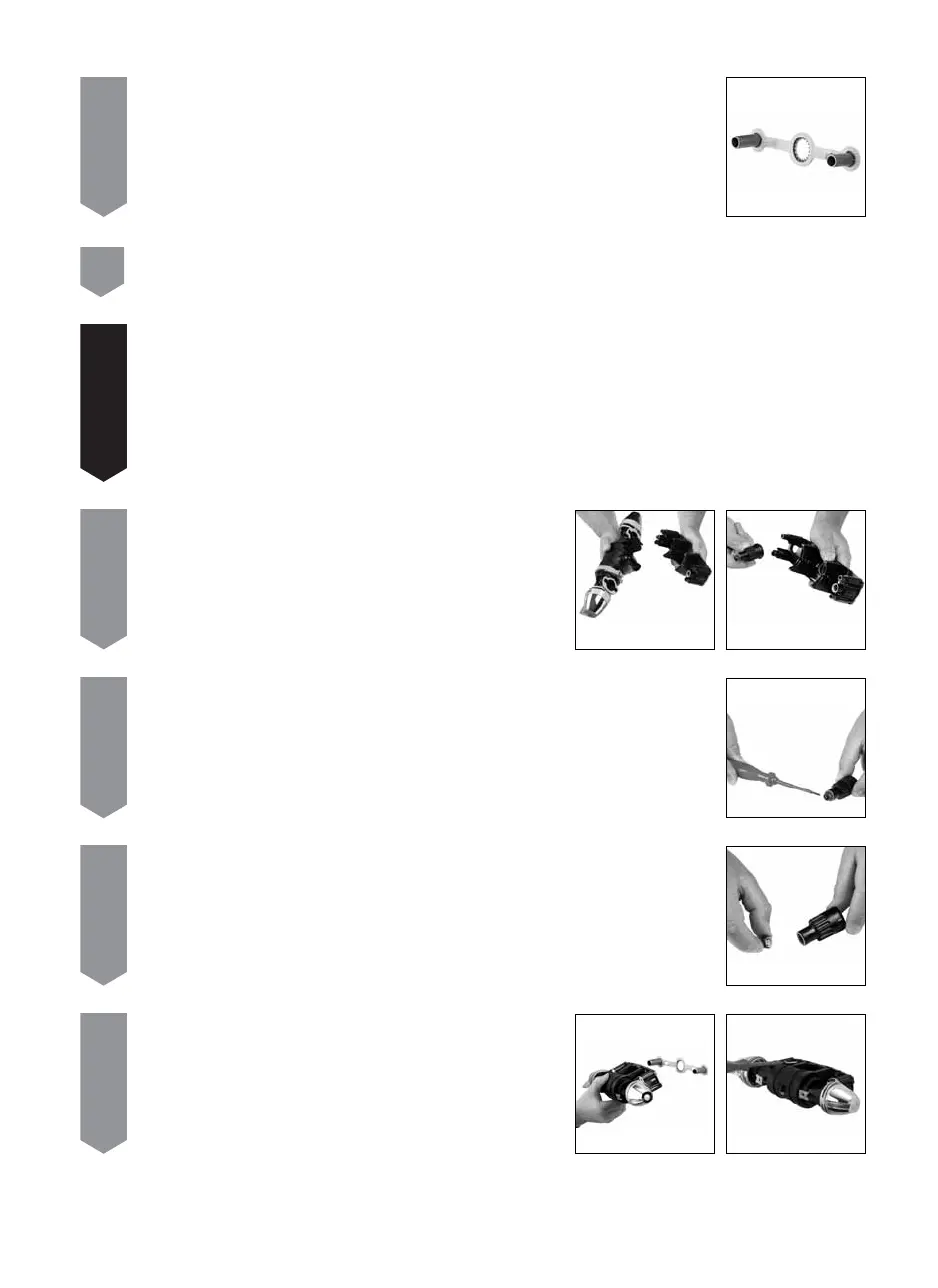
12
6
Briefly run the hot and cold supplies to flush out any debris that may be present in the system.
7
If the removal and replacement of the factory fitted regulator is
necessary, remove the flow cartridge fixing screws and carefully detach
the cartridge assembly from the backplate. Remove the hot water inlet
connector from the rear of the back plate assembly.
8
Remove the flow regulator assembly using a small flat bladed screwdriver if necessary.
10
Run a thin bead of silicone sealant in the mastic groove of the back
plate. Using a silicone based lubricant, lubricate the projecting pipe
ends before carefully pushing the shower valve into position fully home.
Secure using the screws provided.
9
Fit the relevant flow regulator into the hot port fully home, with the central O ring facing into
the filter. Refit the hot water connector to the back plate assembly. Refit the cartridge to the
back plate using the four fixing screws ensuring the hot and cold markings on the cartridge are
uppermost.
5
Remove the gripper ring assembly from the rear of the back plate and ensuring correct alignment
of the gripper rings, slide over the projecting pipes flush to the wall face. Cut the supply pipes to
their finished length (18mm – 21mm) using a rotary type cutter.
!
IF FITTING AN OPG4111 GRAVITY OPTO, OR AN OPH4111 HIGH PRESSURE OPTO, PLEASE PROCEED TO STEP 10.
If the valve is being installed for use with a gas fired instantaneous (multipoint) heater or a combination boiler, an
OPC4100 system should be fitted. The PINK cartridge is factory fitted with a YELLOW flow regulator in the hot inlet port,
suitable for use with an 80,000 Btu rated combi boiler. If fitting to a system supplied by a 100,000 Btu combi boiler,
the regulator should be replaced by a OLIVE regulator. If fitting to a system supplied by a 120,000 Btu combi boiler,
the regulator should be replaced by a BLUE regulator. The replacement regulators are supplied as part of the system
components.



 To Next Page