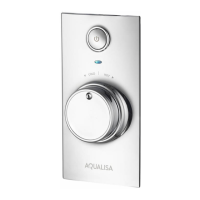
Opto valve installation - Exposed shower valve
!
In addition to the guide below it is essential that the written instructions overleaf are read and understood and that
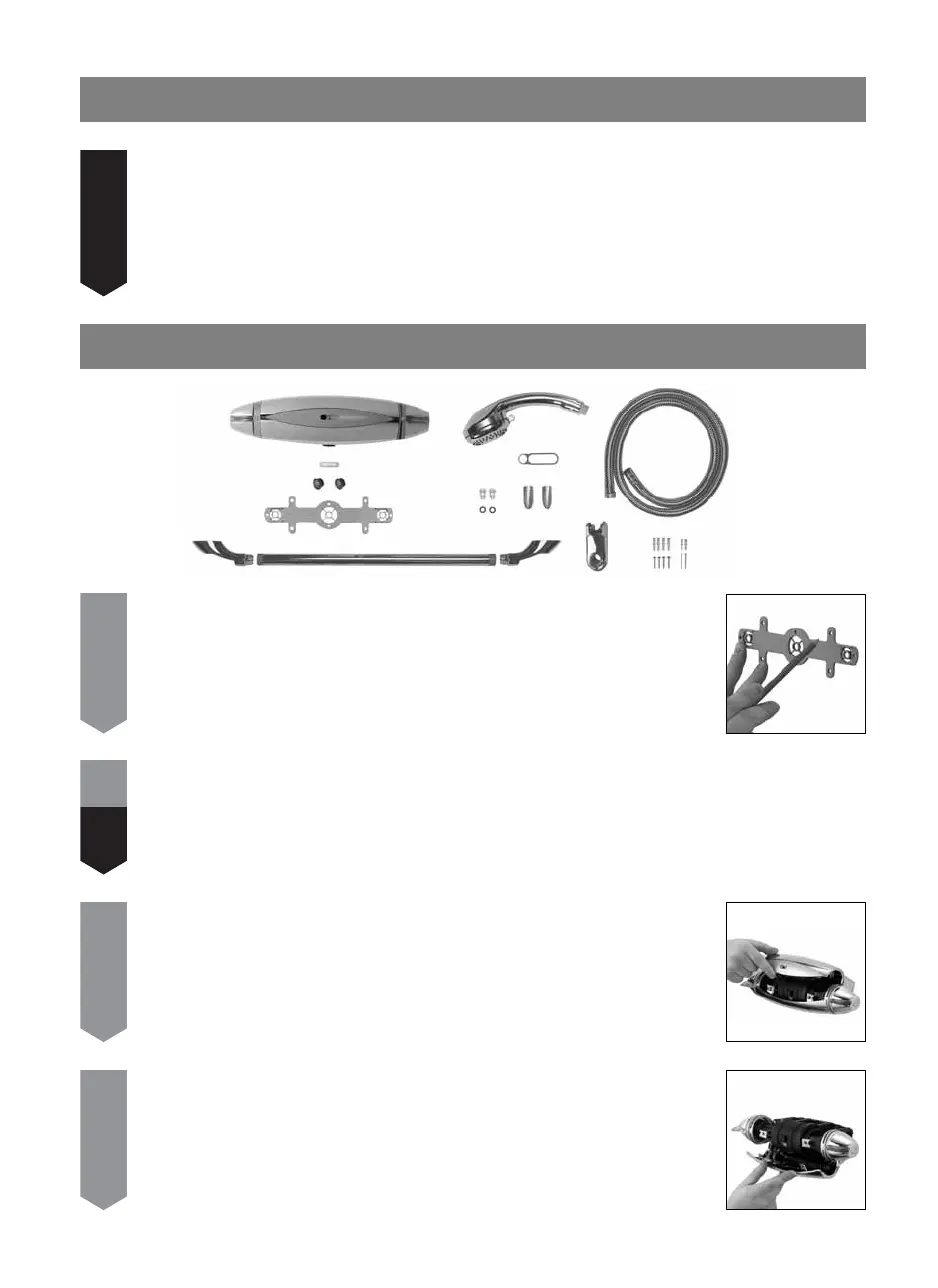
you have all the necessary components (shown below) before commencing installation. Failure to install the product in
accordance with these instructions may adversely affect the warranty terms and conditions. Do not undertake any
part of this installation unless you are competent to do so. Prior to starting, ensure that you are familiar with the
necessary plumbing regulations required to install the product correctly and safely.
Opto shower valves are supplied with universal fittings.
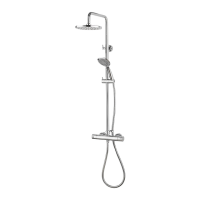
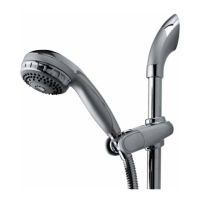
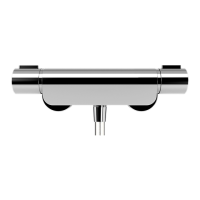
Components
1
In most cases for hollow wall fixing it will be necessary to first install a suitable sound fixing surface
within the cavity area before fixing the valve. Mark out the position of the pipe work entry points
using the template provided. The 15mm supplies must emerge from the wall at right angles at
150mm pipe centres. The template may also be temporarily secured to the wall to ensure correct
orientation of the pipe work during making good if required.
2
After making good, using the template, mark and prepare the four fixing points as outlined above.
3
Remove the fixing screw from the centre of the valve fascia and carefully lift the upper shroud
assembly clear from the back plate.
4
Remove the two fixing screws to release the lower shroud assembly from the back plate.
Carefully remove and set aside.
!
IT IS ESSENTIAL THAT THE WALL SURFACE IS FLAT AND EVEN TO AVOID DISTORTION OF THE SHOWER BACK
PLATE.
11



 To Next Page