13
13
Turn on the supplies and check for any leaks upstream of the valve. Slowly open the on/off control
and check for leaks downstream of the valve. If all is sound, turn off the on/off knob fully and turn
off the supplies.
14
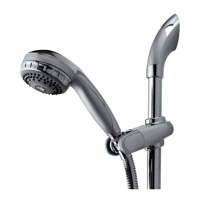
Refit the upper shroud assembly by locating the lugs into the back plate and moving the shroud down into position.
Fix using the centrally located locking screw taking care not to over-tighten.
15
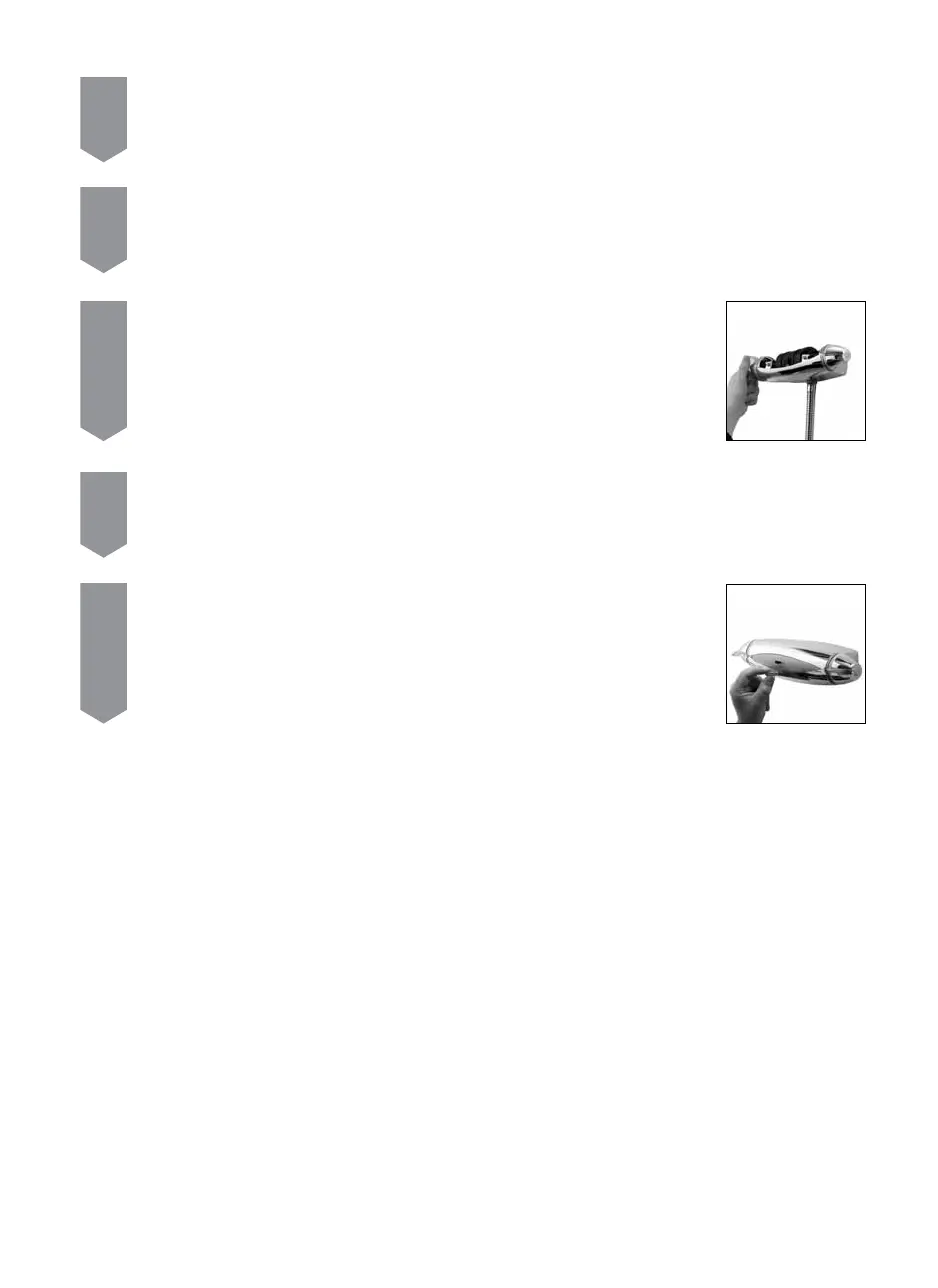
Remove the paper backing from the badge and push firmly into position in the recess in the shroud
assembly.
12
The installation may now be checked for leaks. Turn the on/off knob (left hand knob) fully forwards to ensure the valve is
fully turned off. Ensuring the hose washer is in place, attach the shower hose to the ⁄÷™“ BSP outlet on the underside of the
valve to allow the water to discharge safely to waste.
11
Refit the lower shroud by locating the lugs into the back plate and moving the shroud into position. Align the fixing screws
with the screw holes, and fix into place ensuring not to over-tighten the fixing screws.
 Loading...