1-10-2018 Page 33 of 54 ARB Copyright 2018 3789194
If you have any queries regarding the installation of this product please contact the distributor from whom it was purchased, or alternatively the ARB office in your state.
Head Office – ARB Corporation Ltd VIC: 42-44 Garden Street, Kilsyth, Victoria, 3137 Tel: (03) 9761 6622 Fax: (03) 9761 6807
WA:(08) 9244 3553 NSW: (02) 9821 3633 ACT: (02) 6280 7475 SA: (08) 8244 5001 QLD: (07) 3872 3872 NT: (08) 8947 2262 TAS: (03) 6331 4190
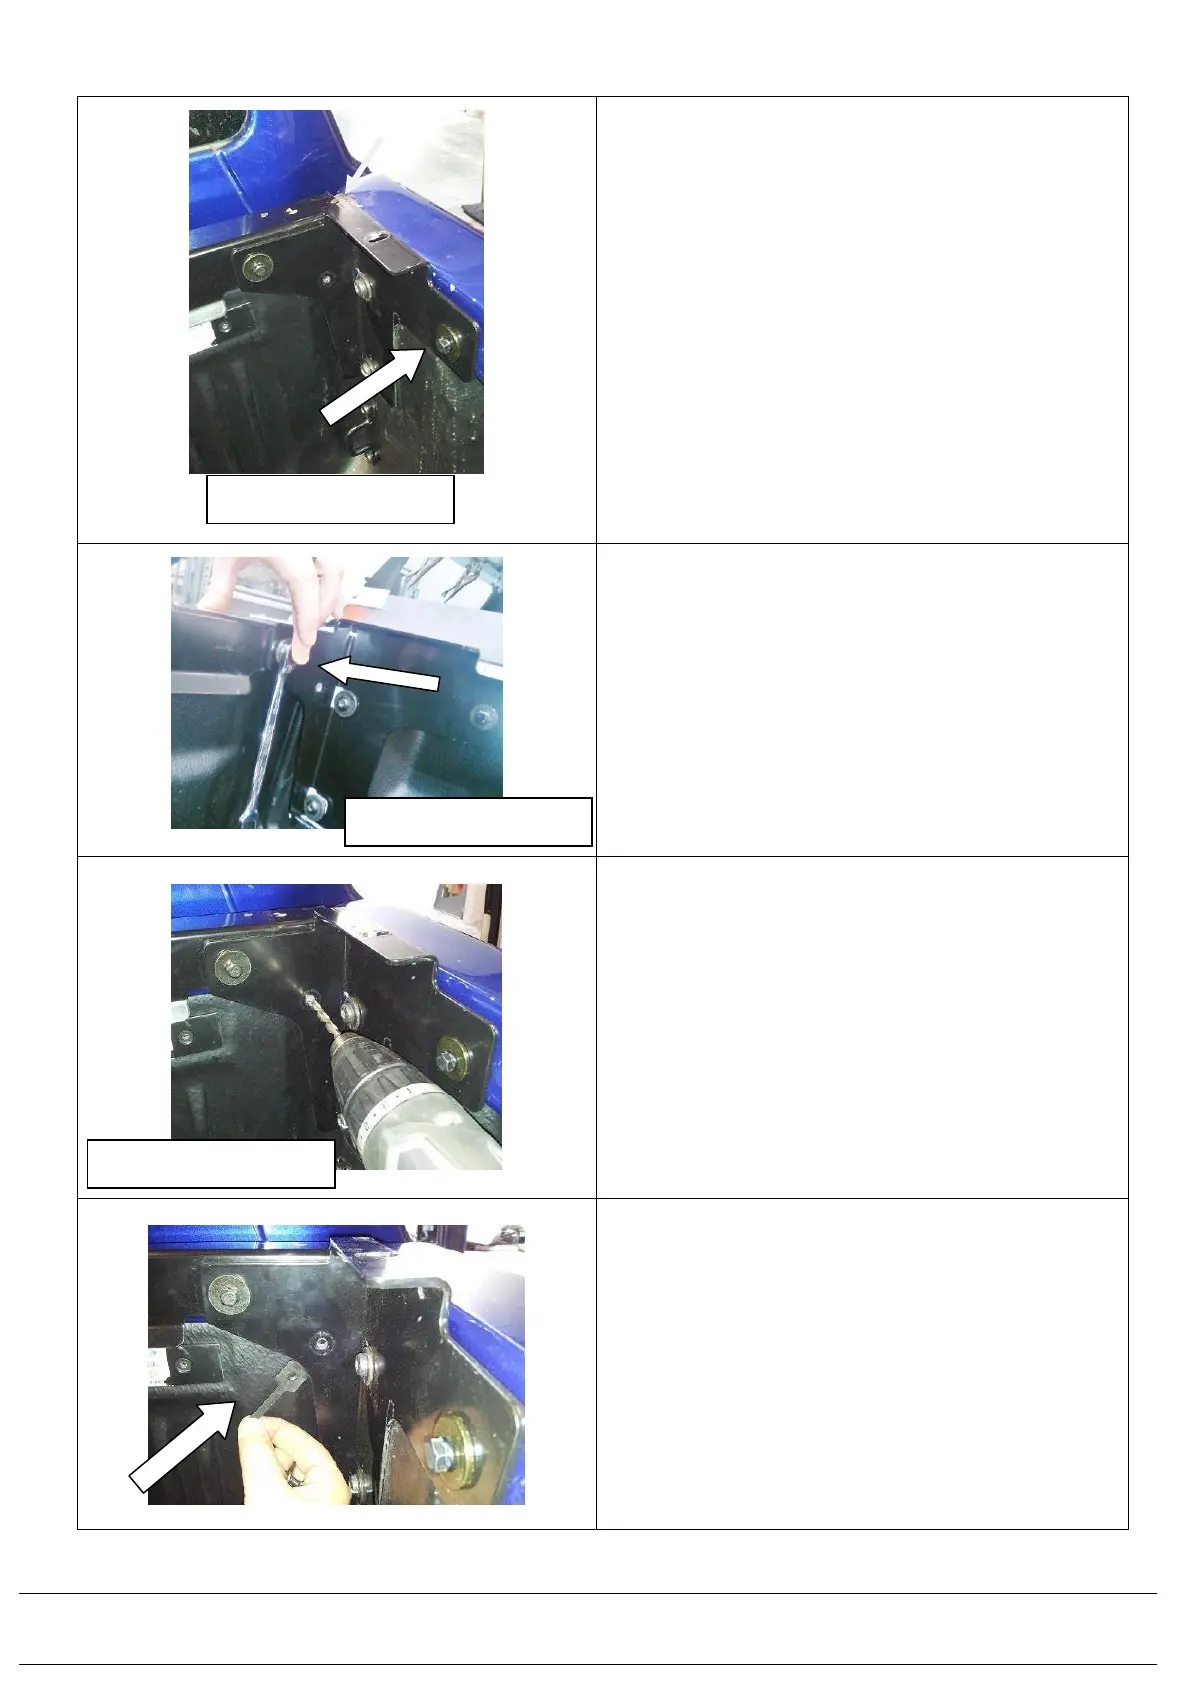
3.40) Insert into the hole an M6x20mm hex screw with
M6 x 25mm flat washer with M6 flange nut on the
back, inside the tub lip flange. Do up to 9Nm.
3.41) Repeat front bracket fitment on LH side.
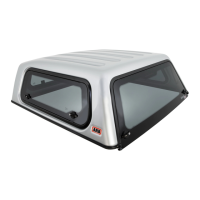
3.42) Between the front tub corner mounting brackets
and the front head board rail insert M6 x 20 Hex
screw, M6 spring washer and M6 x 25mm flat
washer. Repeat on other side. Do these up to
9Nm
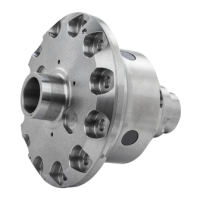
3.43) Using a drill fitted with a 12mm deep drill stop to
prevent drilling into the front tub sheet metal skin,
drill with 6.5mm bit through the hole in the front
corner bracket through into the front mount rail
bracket (668PD011).
Apply rust inhibitor to the hole to prevent
corrosion after drilling.
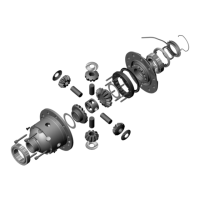
3.44) Place in behind the hole, the weld nut plate
(668AQ010) with the flat face of it to the flat face of
the inside of the front mount rail.
3.45) Insert into the hole an M6x20mm hex screw with
M6 x 25mm flat washer and do the screw up into
weld nut plate to 9Nm.
3.46) Repeat on the opposite LH side of the tub. Ensure
the leg on the weld nut plate is not seen and is up
behind the brackets.