1-10-2018 Page 43 of 54 ARB Copyright 2018 3789194
If you have any queries regarding the installation of this product please contact the distributor from whom it was purchased, or alternatively the ARB office in your state.
Head Office – ARB Corporation Ltd VIC: 42-44 Garden Street, Kilsyth, Victoria, 3137 Tel: (03) 9761 6622 Fax: (03) 9761 6807
WA:(08) 9244 3553 NSW: (02) 9821 3633 ACT: (02) 6280 7475 SA: (08) 8244 5001 QLD: (07) 3872 3872 NT: (08) 8947 2262 TAS: (03) 6331 4190
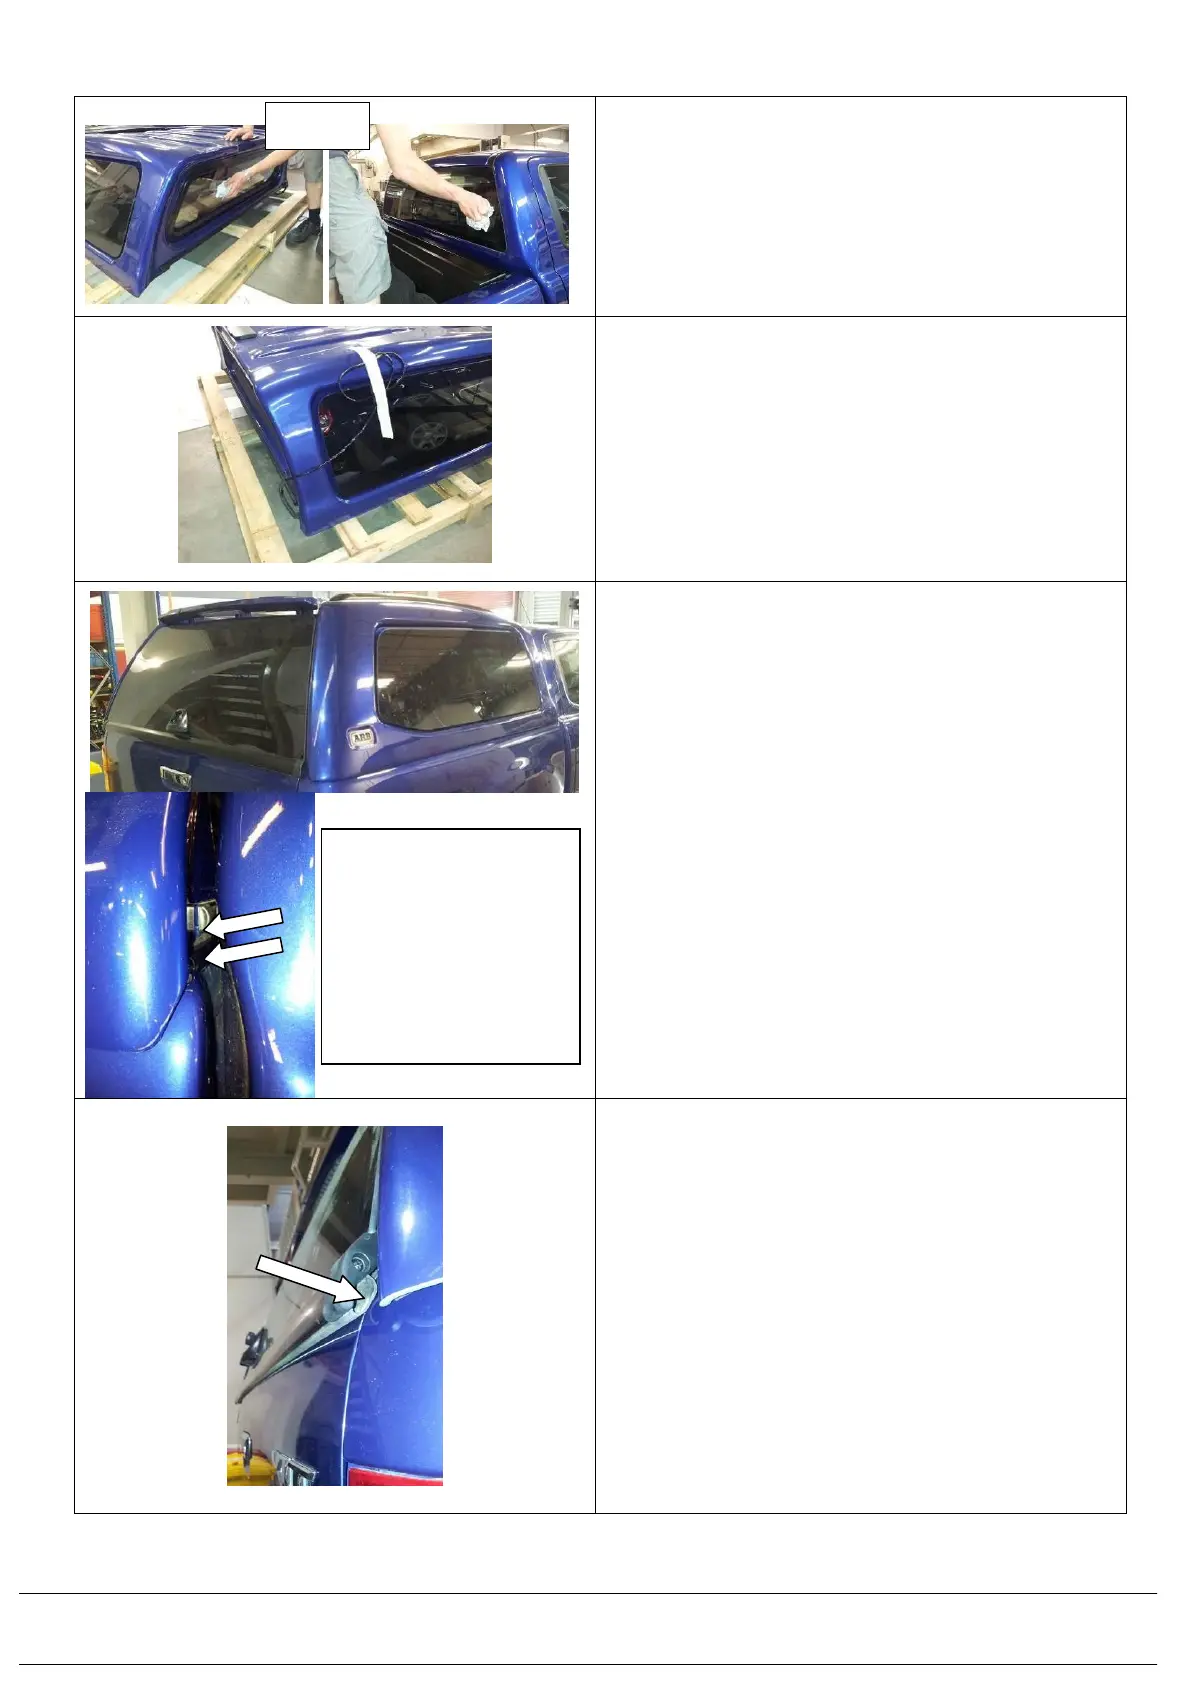
5.2) Clean the front window of the canopy on the outside.
5.3) Clean the rear window of the vehicle’s cabin.
5.4) Close the vehicle’s tailgate.
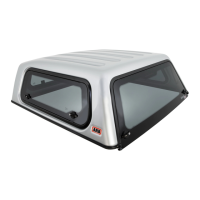
5.5) Cut the cable tie holding the wiring harness to the
window frame bracket inside the front corner of the
canopy. Using masking tape, tape the harness up
over the front LH corner of the canopy.
5.6) Close the canopy’s rear door. Using 4 people, lift
the canopy from the pallet and place it carefully
down onto the vehicle’s tub with the front rail
moulding at the front of the canopy, level to the front
rail on the vehicle’s tub.
Be careful not to dislodge the foam tape around
the inside edge of the canopy shell’s lip
perimeter.
Take care during this process to ensure the trim
edge of the canopy shell is lowered down evenly
and is not contacting the vehicle tub to avoid
paint damage.
When re-positioning the canopy lift the canopy,
to avoid dislodging the weather seal
underneath.
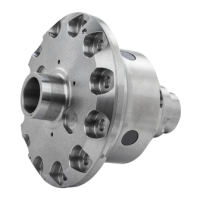
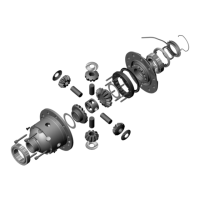
5.7) Position the canopy rearward so the lower rear door
sash seal JUST contacts the edges of the tub
corners above the brake lights on the tub evenly.
Measure with a ruler between the lower door sash to
the tub to ensure this is even on both sides.
Between the cabin
the canopy, the
lower point on the
plastic end cap
should align with the
vertical face of the
mount rail
668PD011.