48
❑
Dryer Service Notices
No. Service Parts Notices
1 Replacing the Humidity sensor Be careful of the terminal connection
humidity sensor Be careful of loose attachment
2 Replacing/fixing panel f assy PCB/BUTTON/HARNESS Be sure that the panel f assy does not interfere in the
drum after the service
3 Replacing the lifter LIFTER Remove only the plate top to replace the part
4 Replacing roller assy ROLLER Be cautious of the direction of the roller/insertion of
the washer
5 Replacing the terminal block TERMINAL BLOCK Be careful of wiring connection
6 Replacing the heater Drying heater Do not use oversized screws.
Replacing the burner GAS BUNNER Be sure of the proper assembly.
(Loosening should be little)
Be careful that no object (e.g. screws) is dropped
into the heater when assembling.
Be careful of the direction / insertion of the
connector. Use only standard screws.
7 Replacing the sensor Temp and safety sensor Be careful of the direction / insertion of the connector.
Use only standard screws.
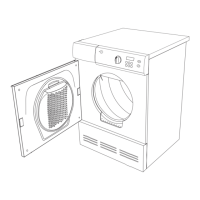
8 Door assembly Door hinge Be careful not to scratch chromium plating when
fastening the screws to fix the door as. A claim is
expected.
9 Disassembly/assembly Door as Be careful about the up/downward direction of door
of the door as glass and insertion of a gasket. Use only standard
screws.
10 Disassembly/assembly MOTOR AS Be careful not to nip the finger when assembling the
of the motor as BELT motor (hold the edge of the motor).
Replacing the belt Be careful about the direction of the belt and insertion of
a fan/case fan (incorrect assembly may cause noise) as
well as the connector.
11 Disassembling the drum DRUM Do not drop the motor.
roller of sup r sup f. before fastening.
Be sure that he drum is accurately put into the