2-13
ASUS RS700-E9 Series
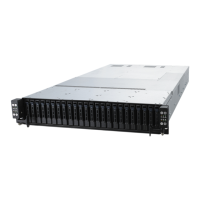
RS700-E9-RS12
Thesystemsupportstwelve(12)2.5”hot-swapSATA/SAS/NVMestoragedevices.The
storagedeviceinstalledonthestoragetrayconnectstothemotherboardSATA/SAS/NVMe
portsviatheSATA/SAS/NVMebackplane(SASdrivesrequireanoptionalASUSPIKEII
card).
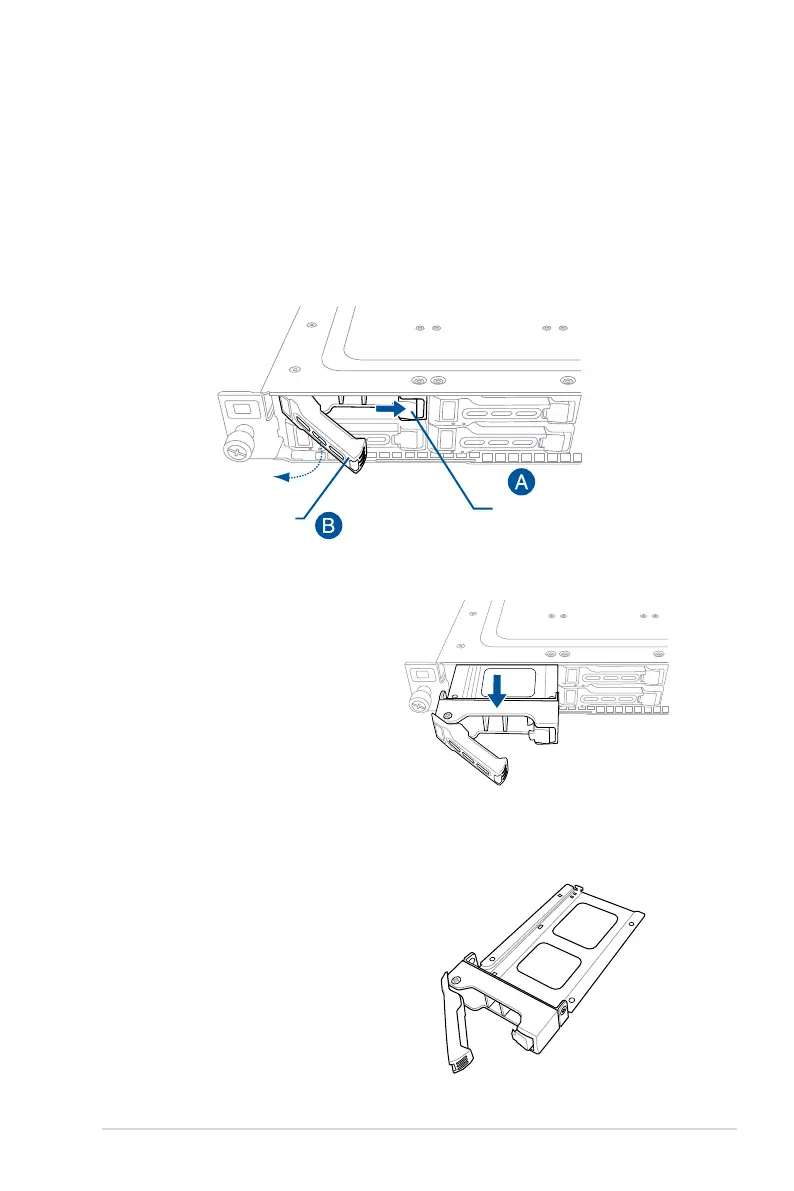
Toinstalla2.5”hot-swapSATA/SAS/NVMestoragedevice:
1. Push the spring lock to the right (A) then pull the tray lever outward (B) to release the
storage tray. The storage tray ejects slightly after you pull out the lever.
2. Firmly hold the tray lever and pull the
storage tray out of the bay.
3. Placethestoragetrayonaatand
stable surface.
4. PreparetheSATA/SAS/NVMe
storage device and the bundled set
of screws.
Spring lock
Tray lever